When I started looking at maps with an aim to ride out my back door for an S24O, being that I live in a rural area I found plenty of space. I was a bit hesitant to just pirate camp anywhere for fear of pissing off landowners and/or encountering hostile local yahoos. There’s a river that runs pretty much north/south a few kilometers behind my house and rail trail that runs next to it. I started thinking about the best way to go about establishing some contacts with folks who lived and/or owned property along the river/trail. Then it dawned on me. I sit on the board of the river watershed association (an illustrious postion granted mainly since I provide pro-bono design and web work) and after an email to the Pres, within minutes I was in contact with some folks.
Out watershed association has a tree nursery (for purposes of growing trees to be replanted along the river to fight erosion) on a portion of the river on land loaned by someone who lives nearby. I’d inquired about camping there. Turns out the woman that owns the property is very cool, and very amenable to people using and enjoying her property respectfully, particularly if that doesn’t involve motorization of any kind. I was in.
Takeaway: if you’re a bikepacker, joining and/or participating in as many local environmental, landowner/stakeholder type groups as possible would be a great way to network. Folks are a lot more likely to let you recreate on their land if they know you, and maybe even like you first.
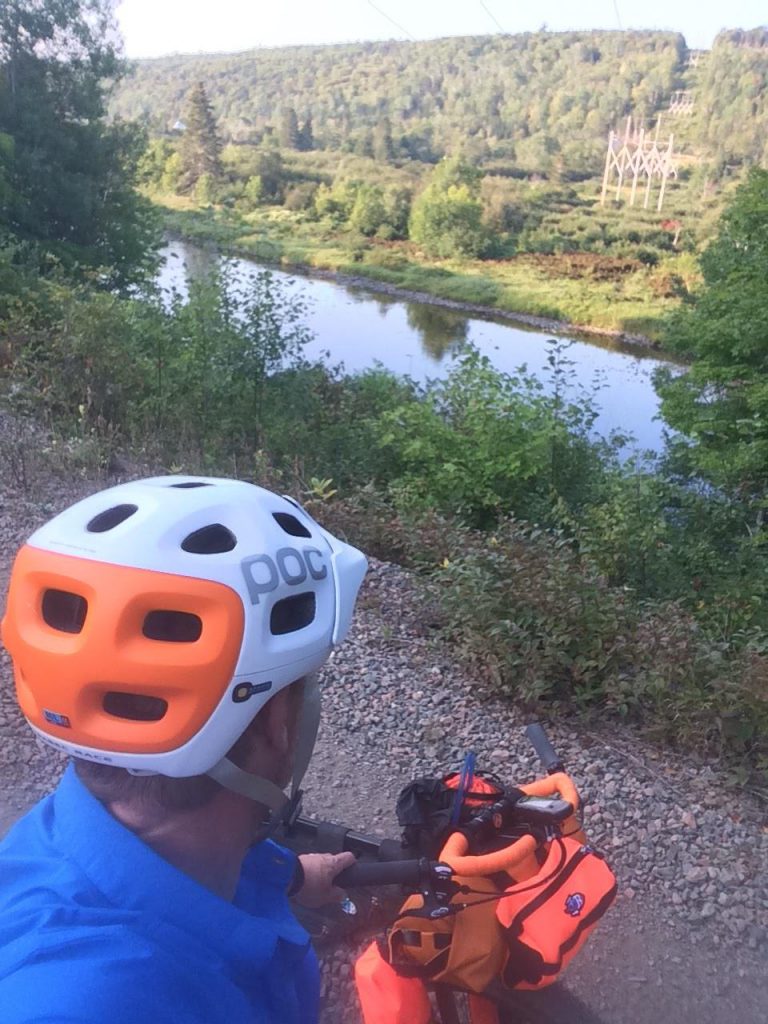
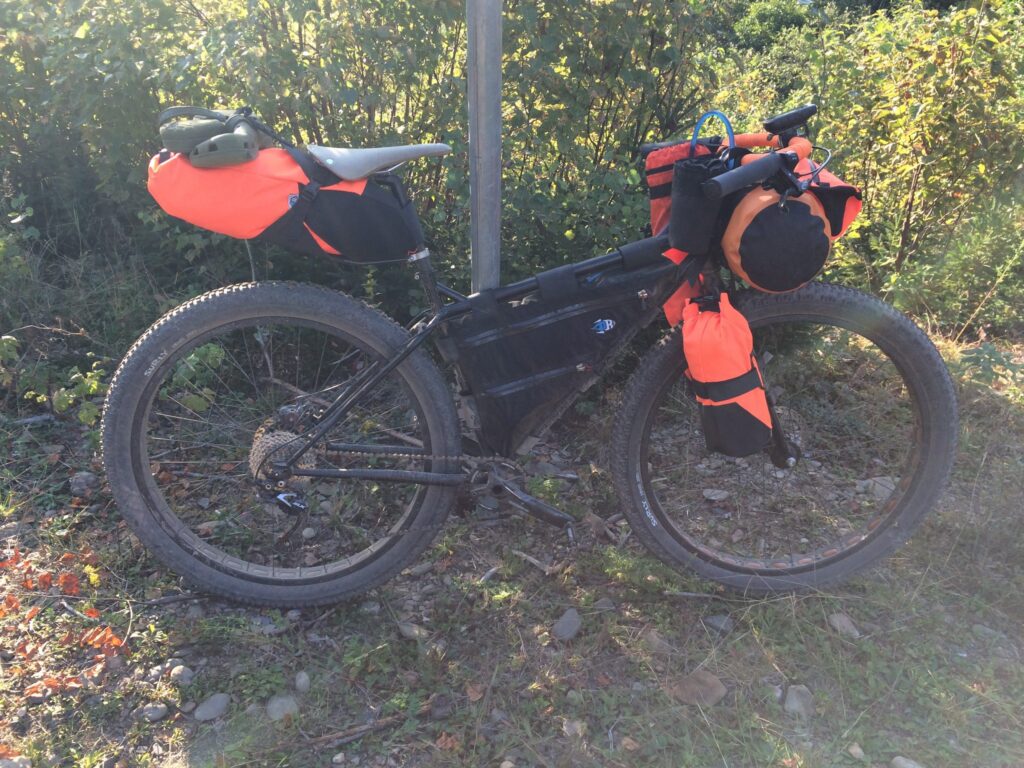
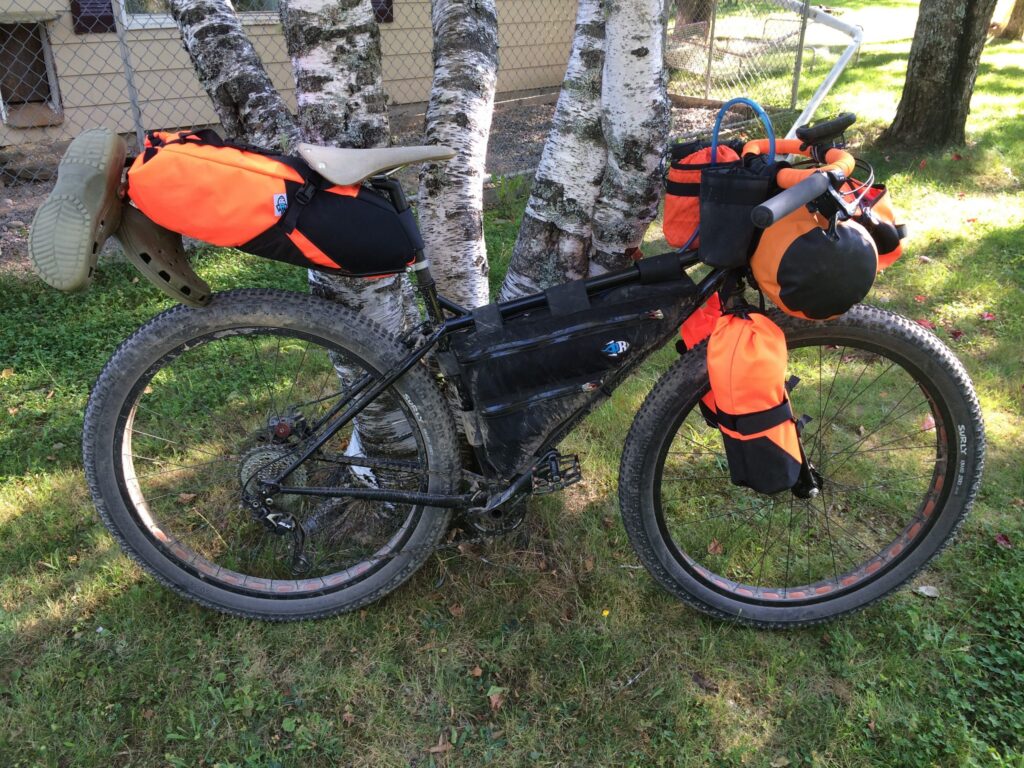
The spot I’d picked was only about 20km (12mi) up the trail/river. My purposes of this trip were not really to slog forever, more to test out all my kit/carrying setup/bike fit and get my first S24O under my belt. My plan was to head out in the evening, leaving myself some light, then hit the spot, make some dinner and camp. The next morning I wanted to get up and head further up the trail to scope out some other potential spots I’d seen on day rides for camping, as well as a ‘shelter’ I’d seen a sign for but never gone far enough to check out. I had to get up and roll early ’cause I only had a Kitchen Pass until noon the next day. Weather was looking good with no rain predicted, however it was forecast to be super hot – 30-35ºC (86-95ºF) with high humidity pushing into the feels like 40ºC (104ºF) range.
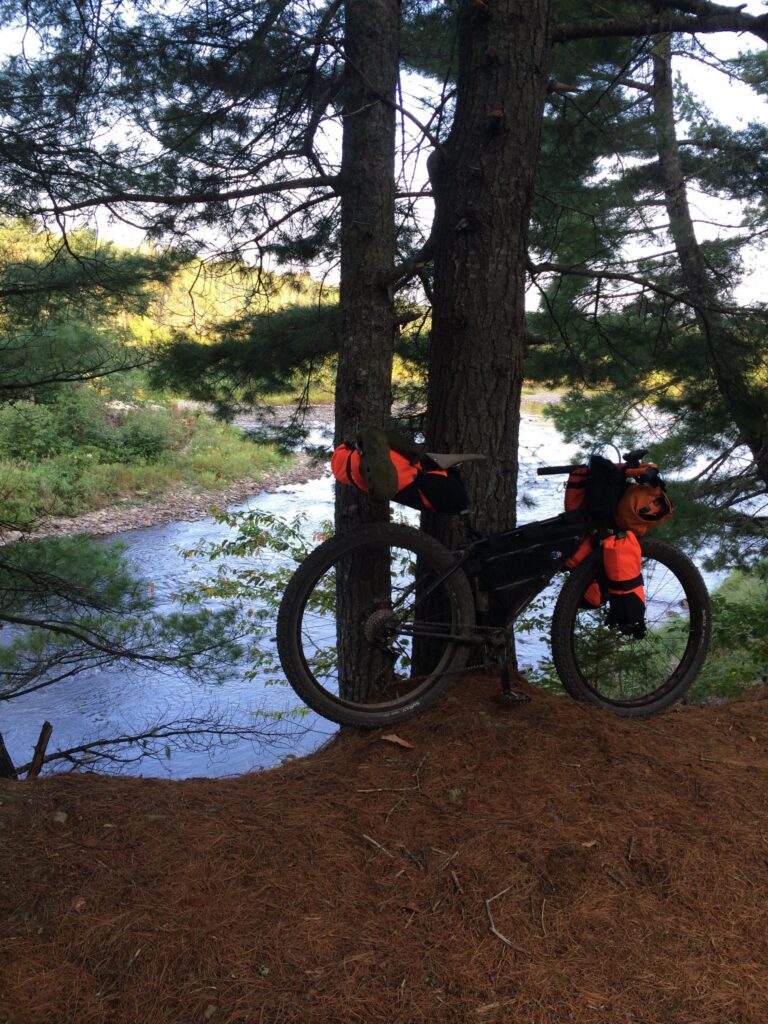
I set out around 5pm, made it to the tree nursery and made contact with the property owners. Super cool people. Couldn’t be happier that I was there. They live in a house on the property and said if I needed anything let them know. Win.
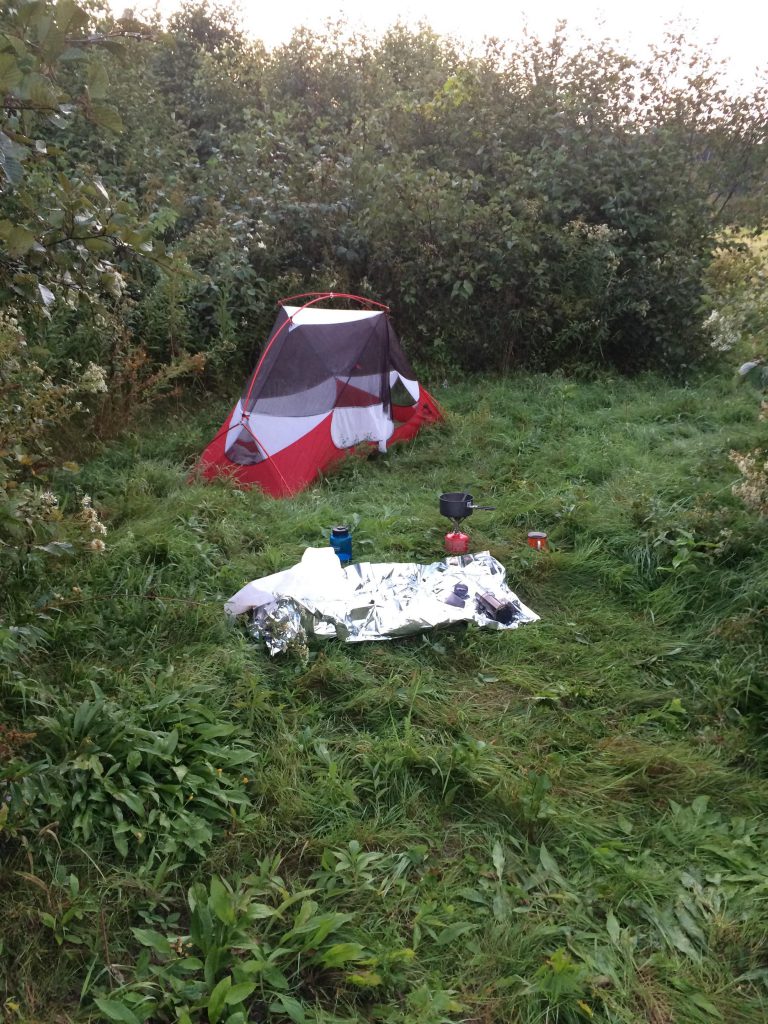
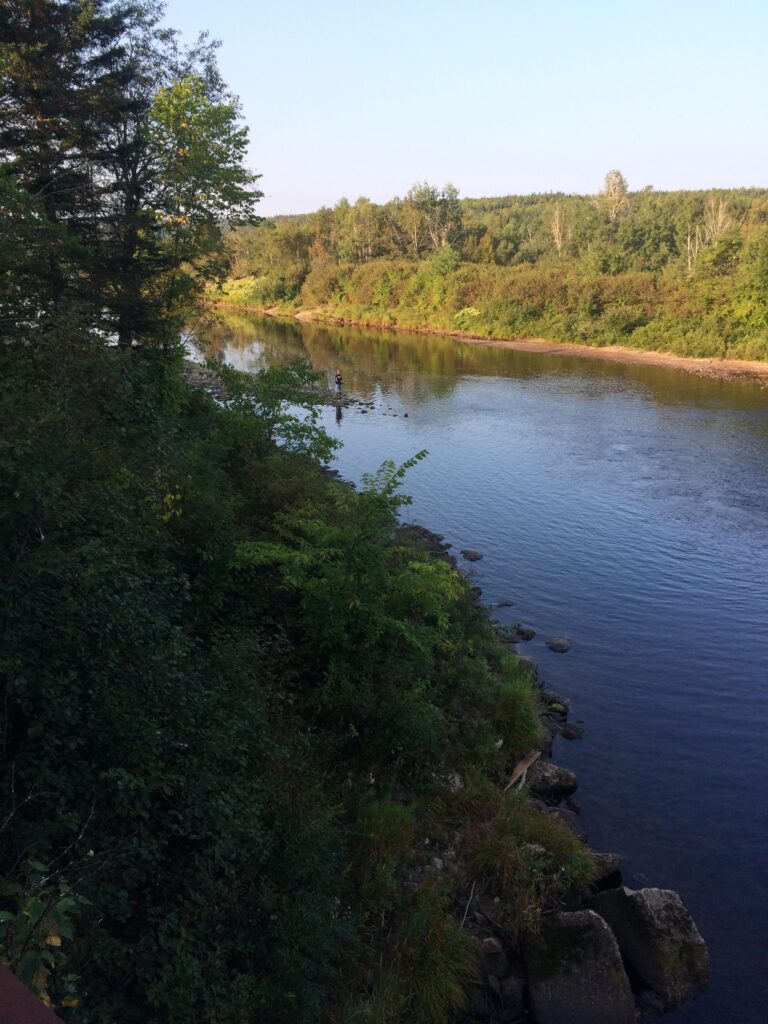
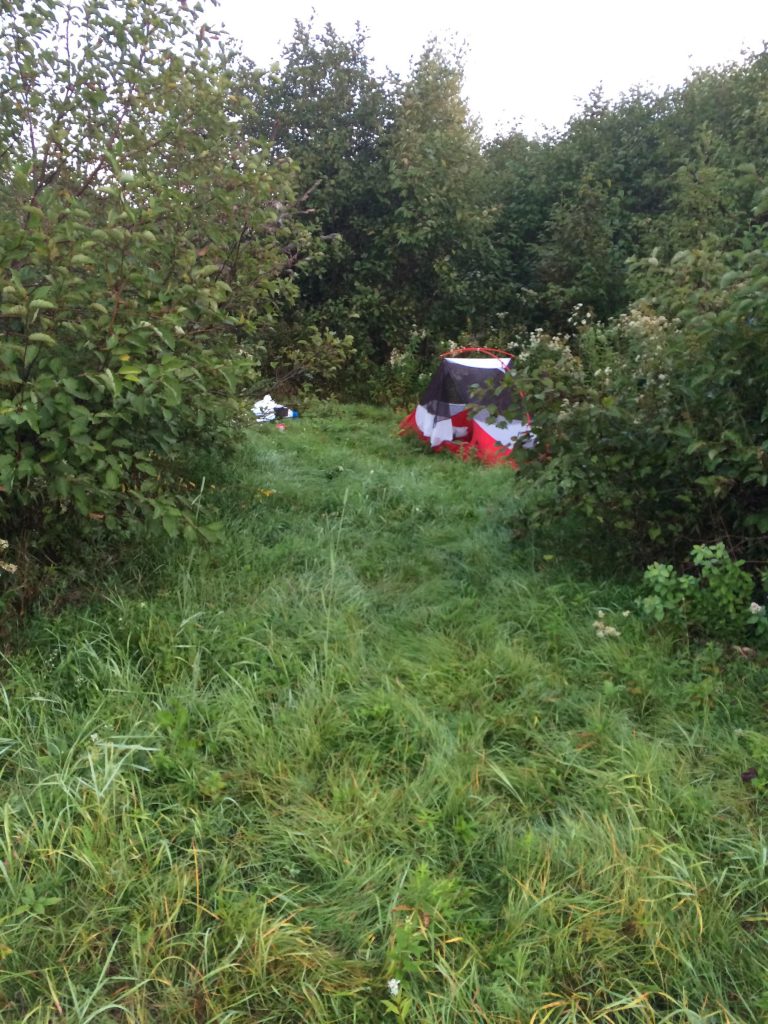
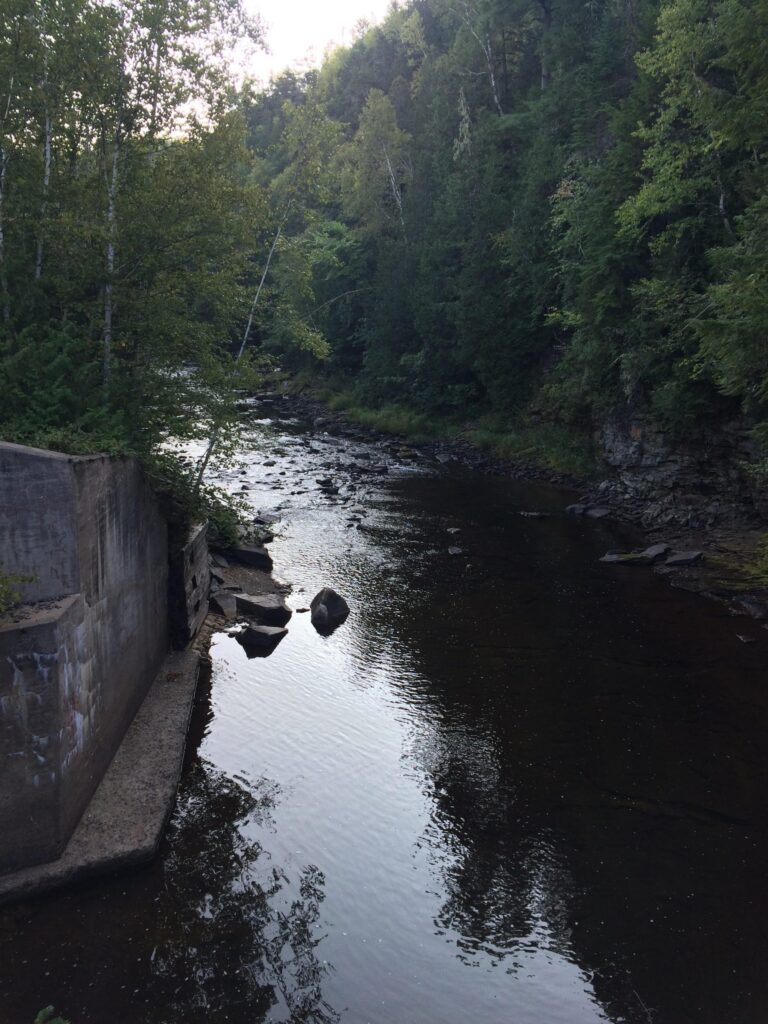
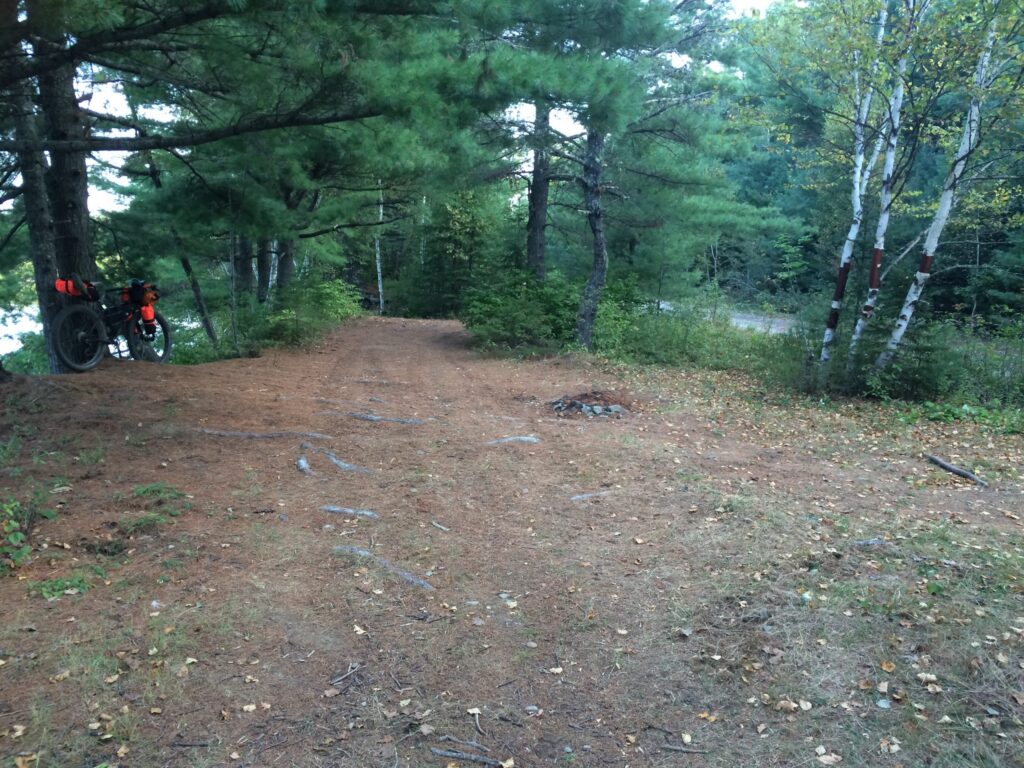
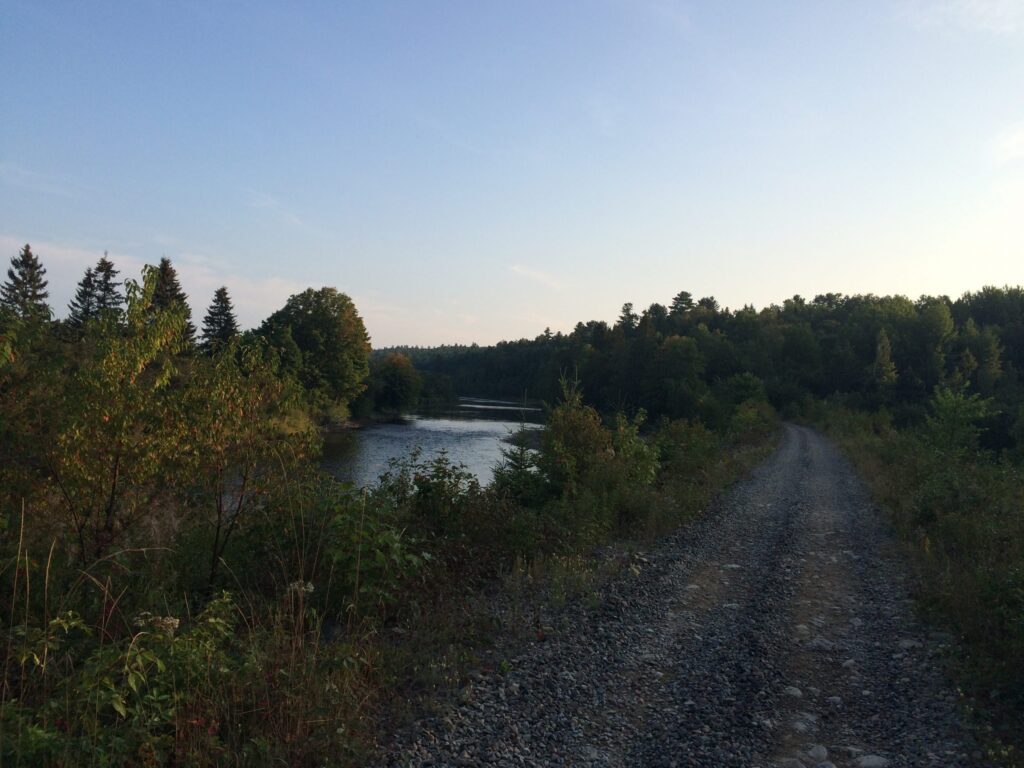
I headed across the field from the house ’cause I wanted more seclusion and set up camp. Made dinner and some coffee and then walked down to the river and sat in it for about an hour – it was too low for actual swimming, only about waist deep, and watched the sun go down. Felt great in the heat though.
Had a good night’s sleep. Checked out the stars through the tent roof with my SkyGuide app. Their spot is near a highway a few KM away so there was some road noise, but as the evening wore on it tapered to none and eventually it was nice to hear nothing but the breeze in the trees, the bugs and I was happy to realize I could even hear the river water moving over the rocks in the distance.
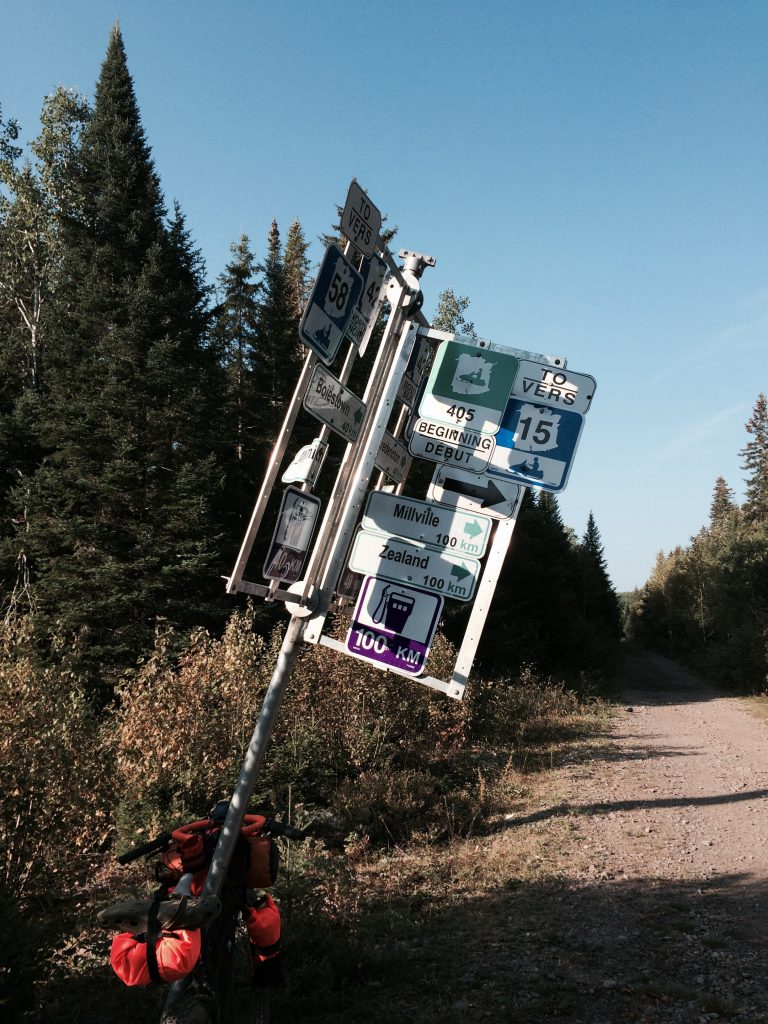
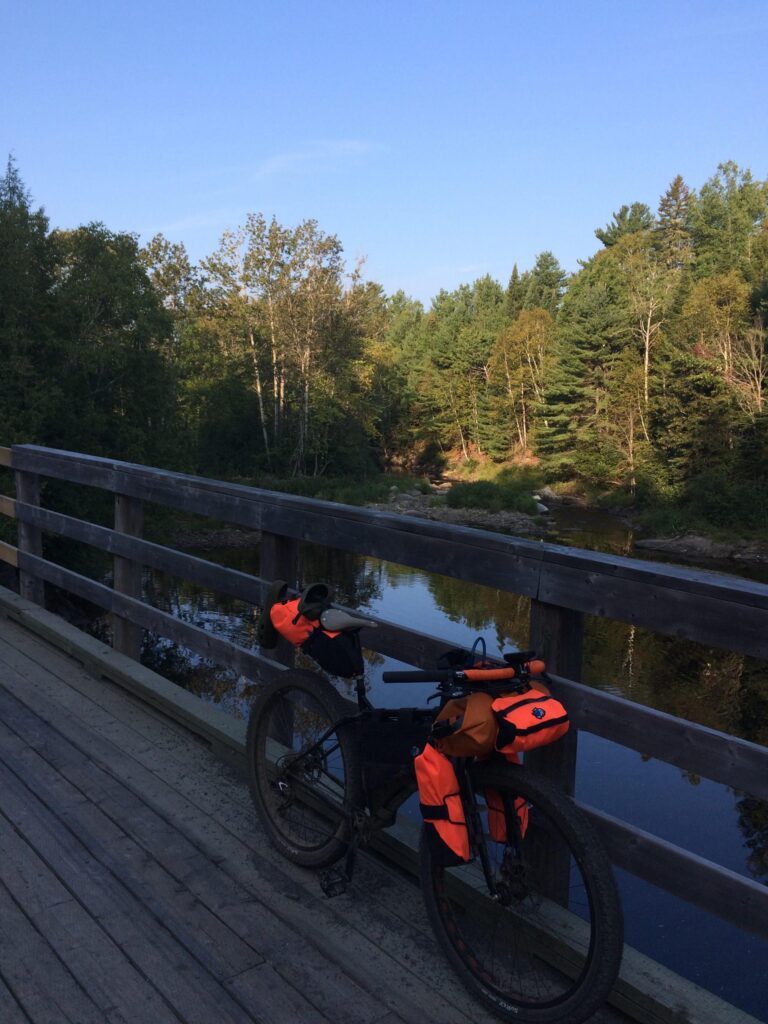
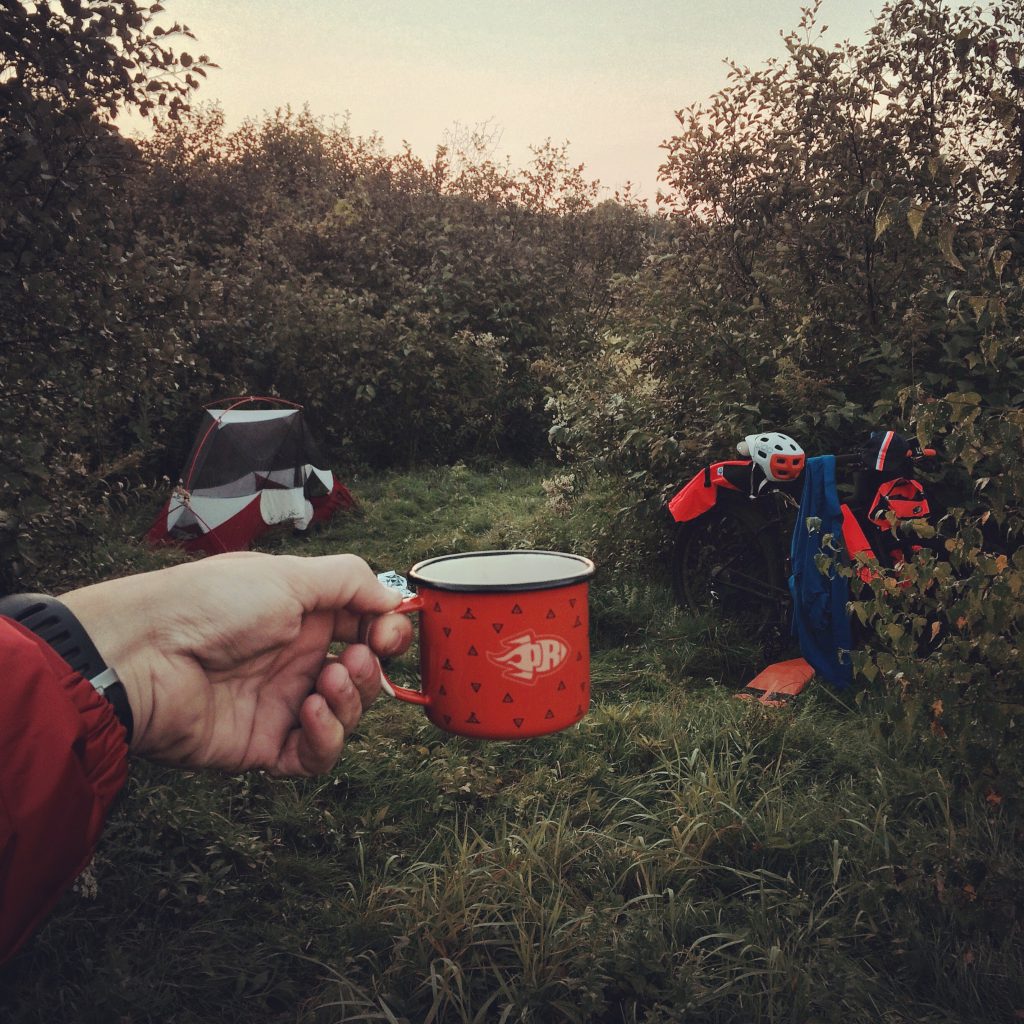
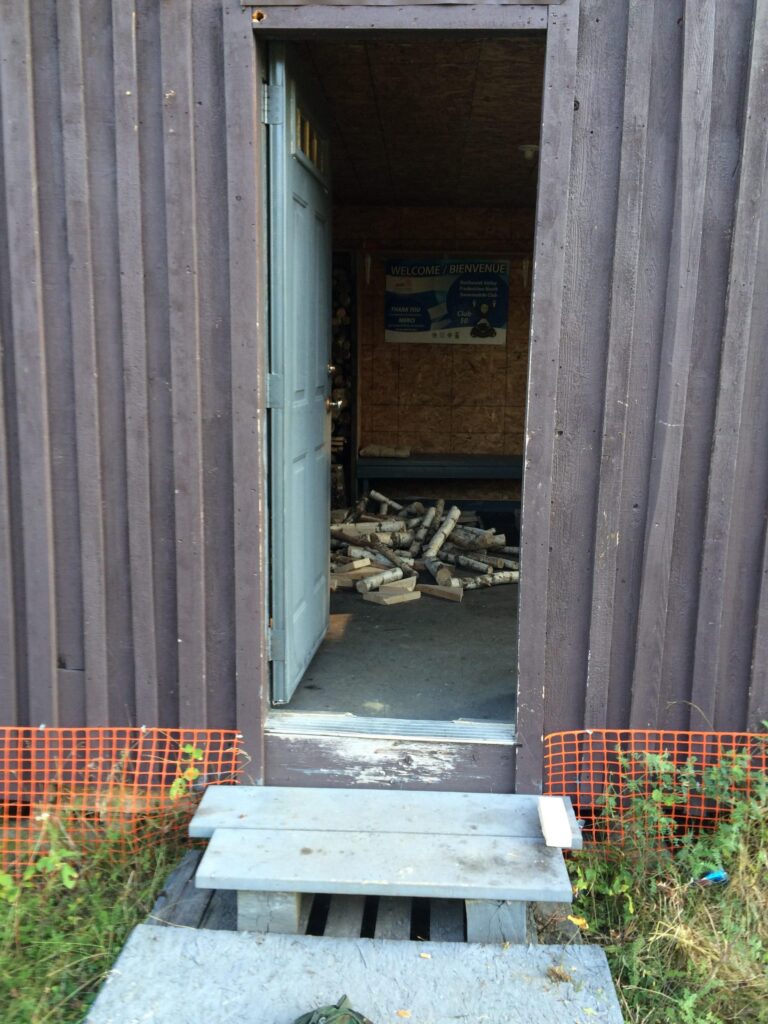
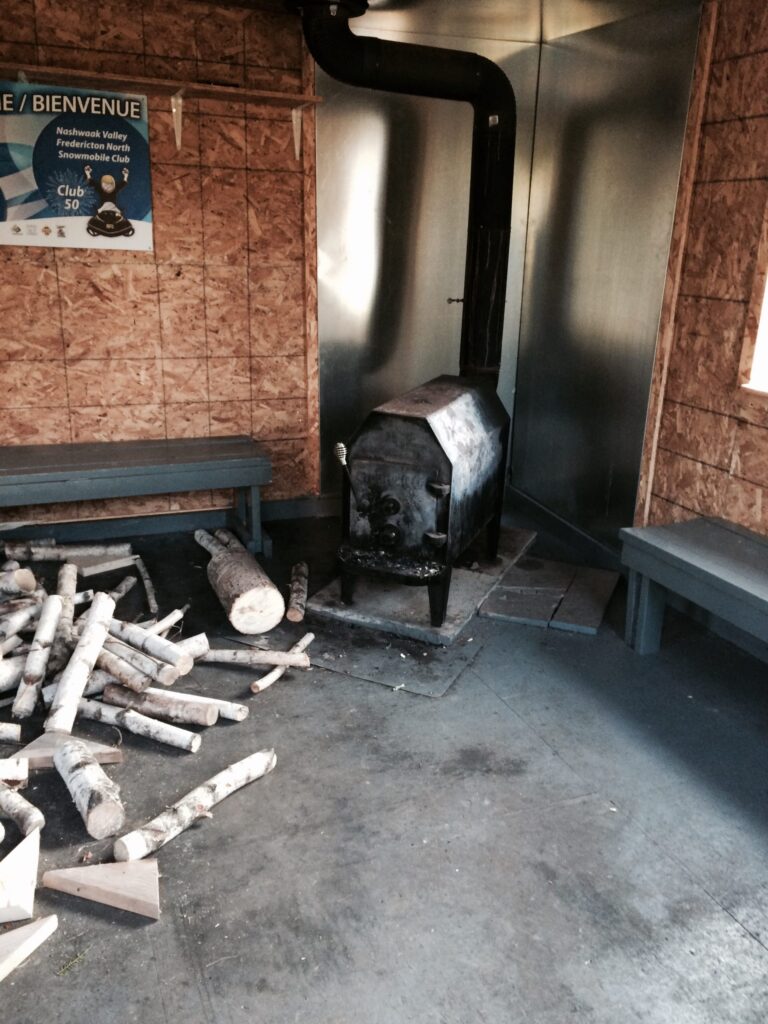
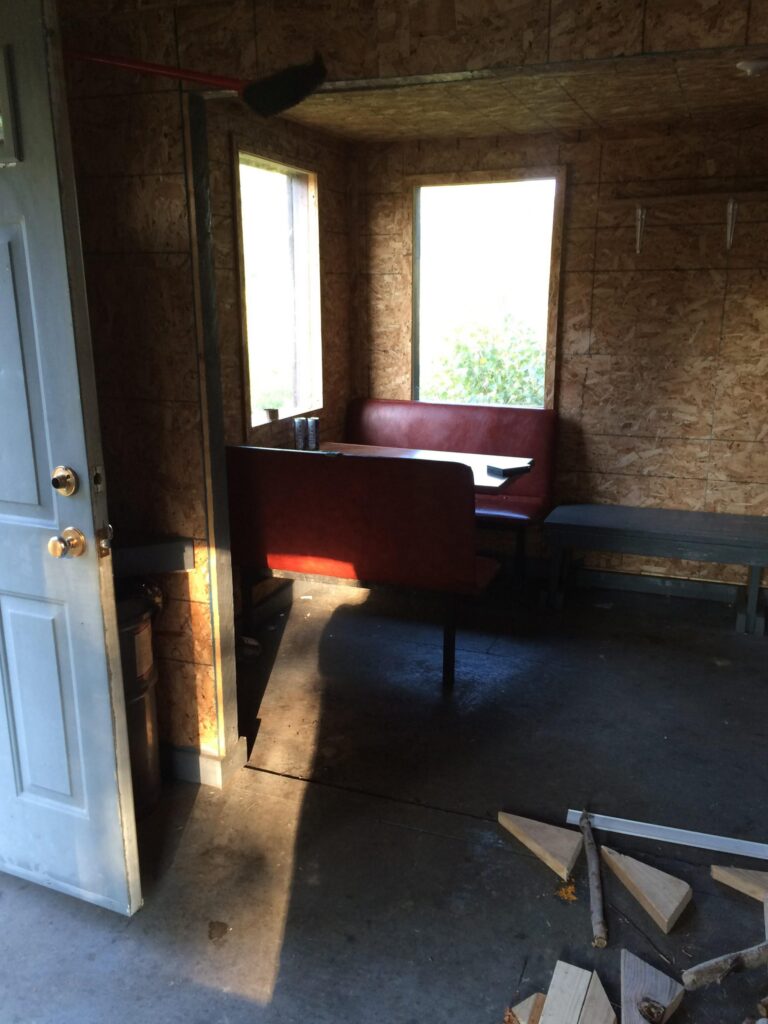
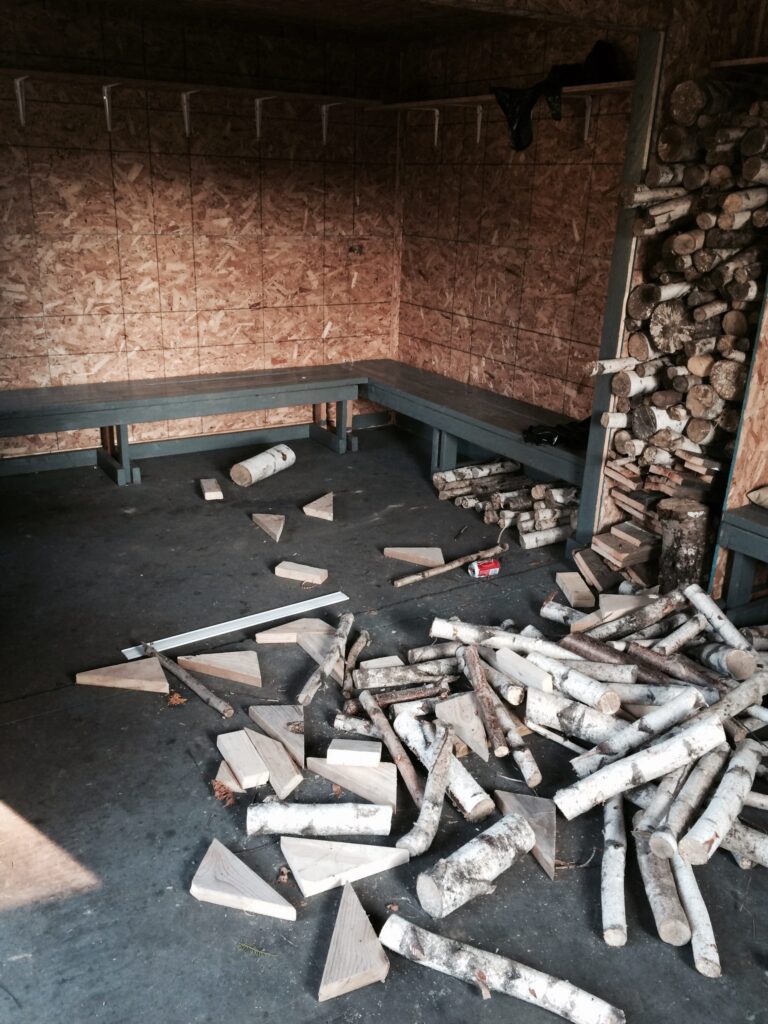
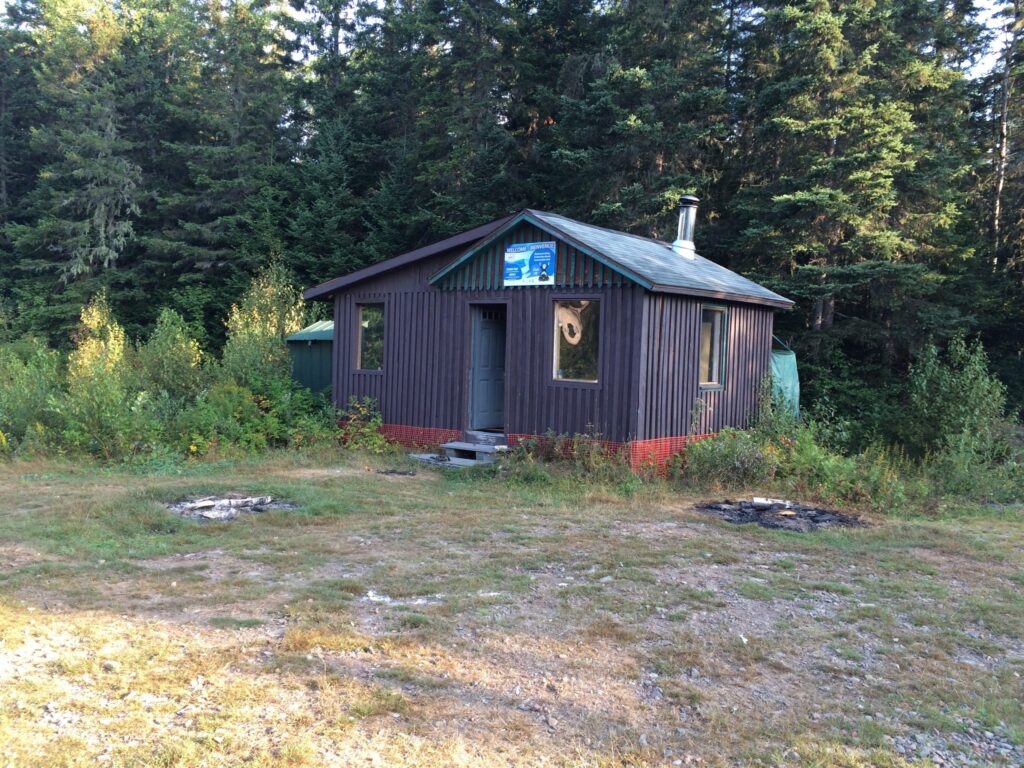
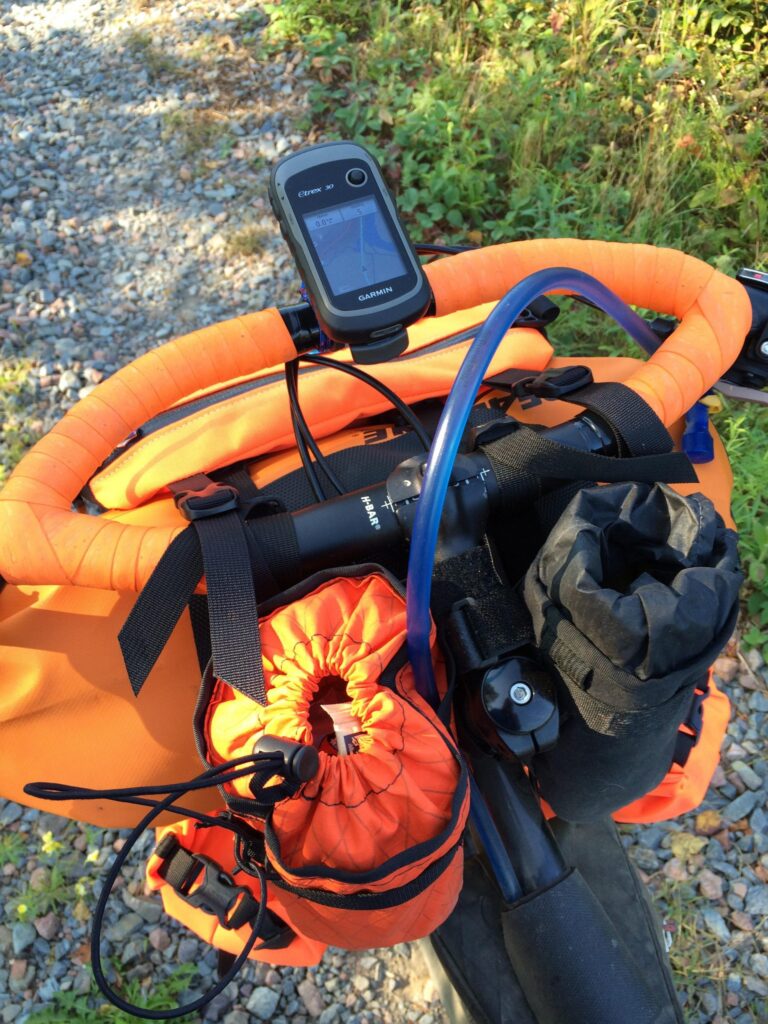
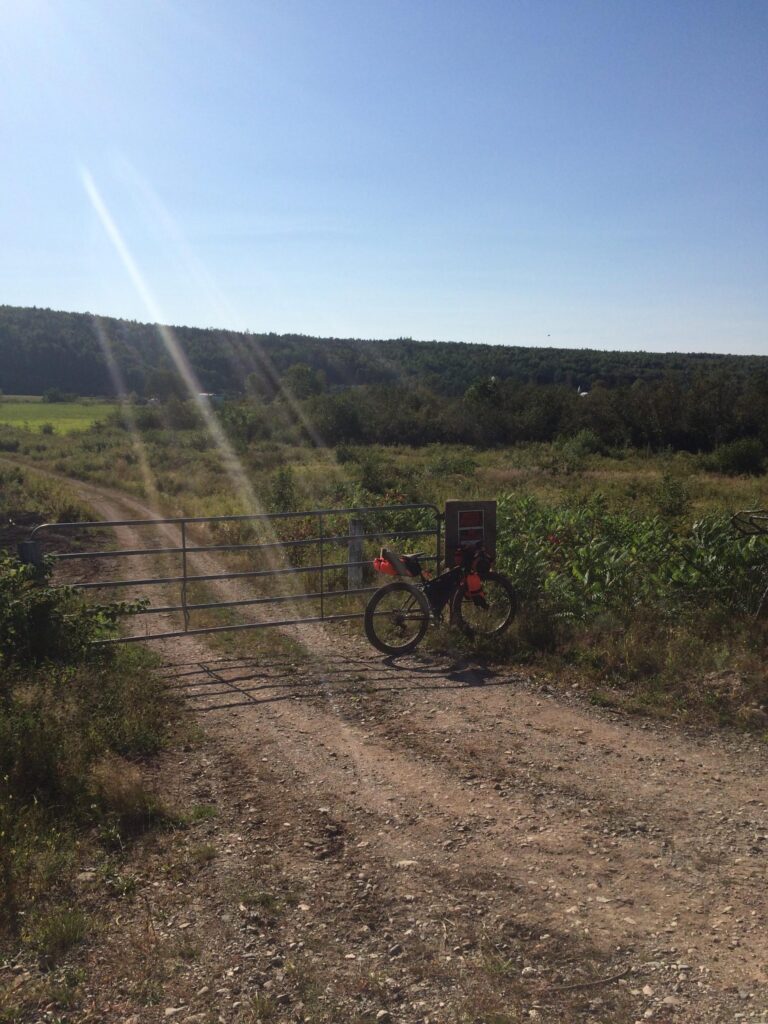
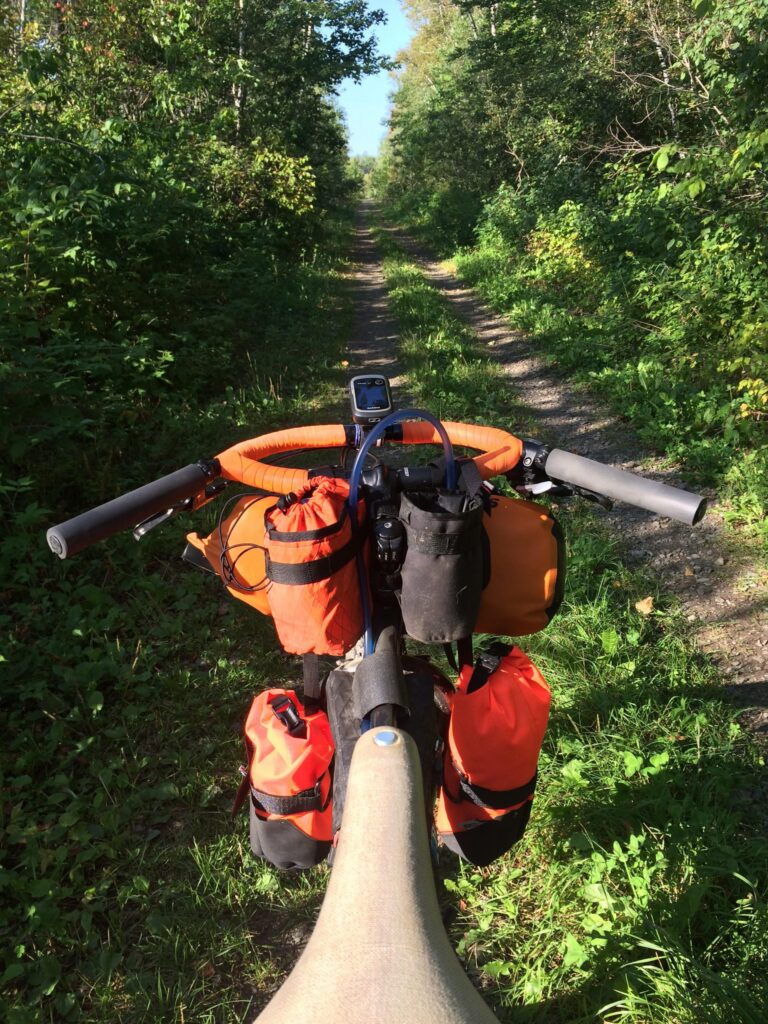
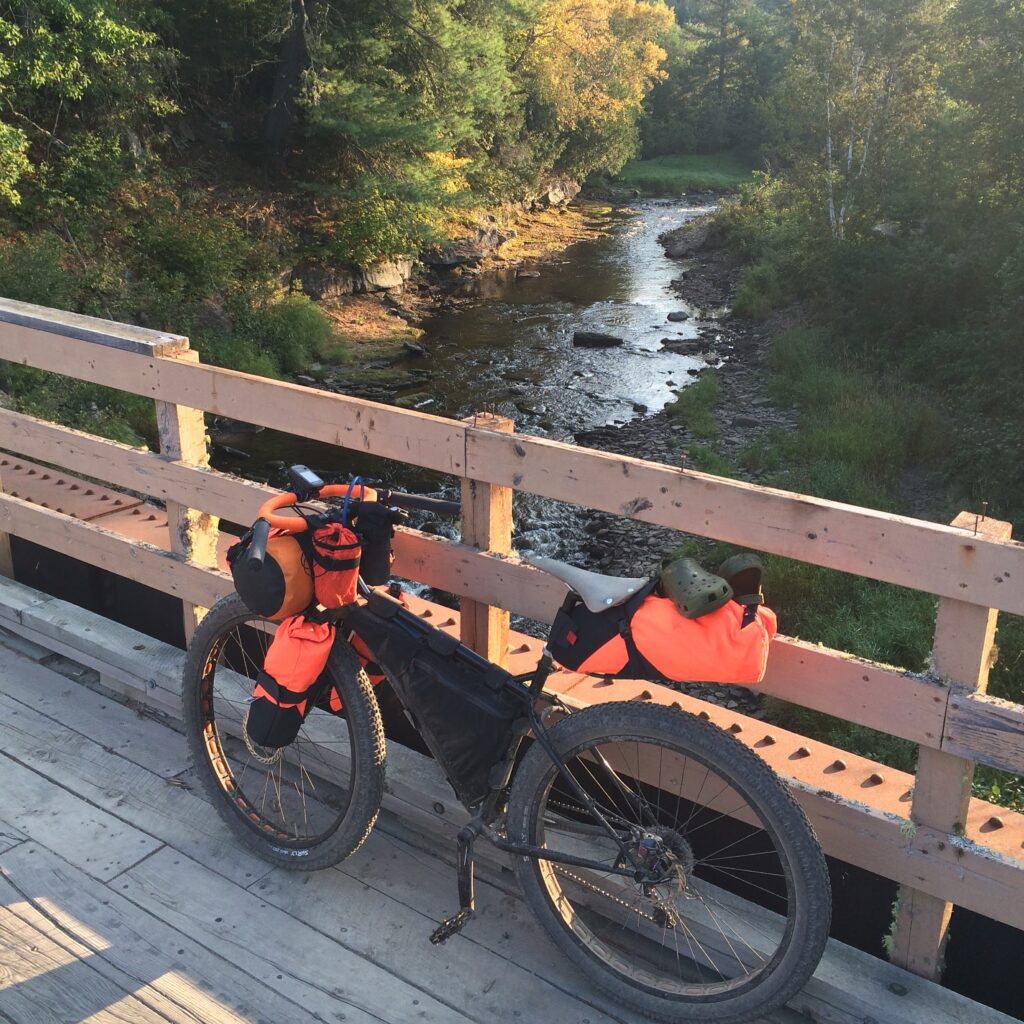
Got up just before light and made breakfast. Oatmeal, coffee. Standard. started to break camp. Was rolling by about 7:30. I wasn’t exactly sure how far up the spots I wanted to check out were. Turns out the ‘shelter’ I had seen signs for was a snowmobile warming hut at the intersection of the provincial snowmobile trail system. I had seen signs for this on a ride before and thought it might be a good S24O spot, but wanted to know for sure. Turns out it probably would be. It’s about 20 kms (12mi) further than the tree nursery, so roughly 40kms (25mi) from my house. Would make a good winter ride destination too. Waypoint added to GPS.
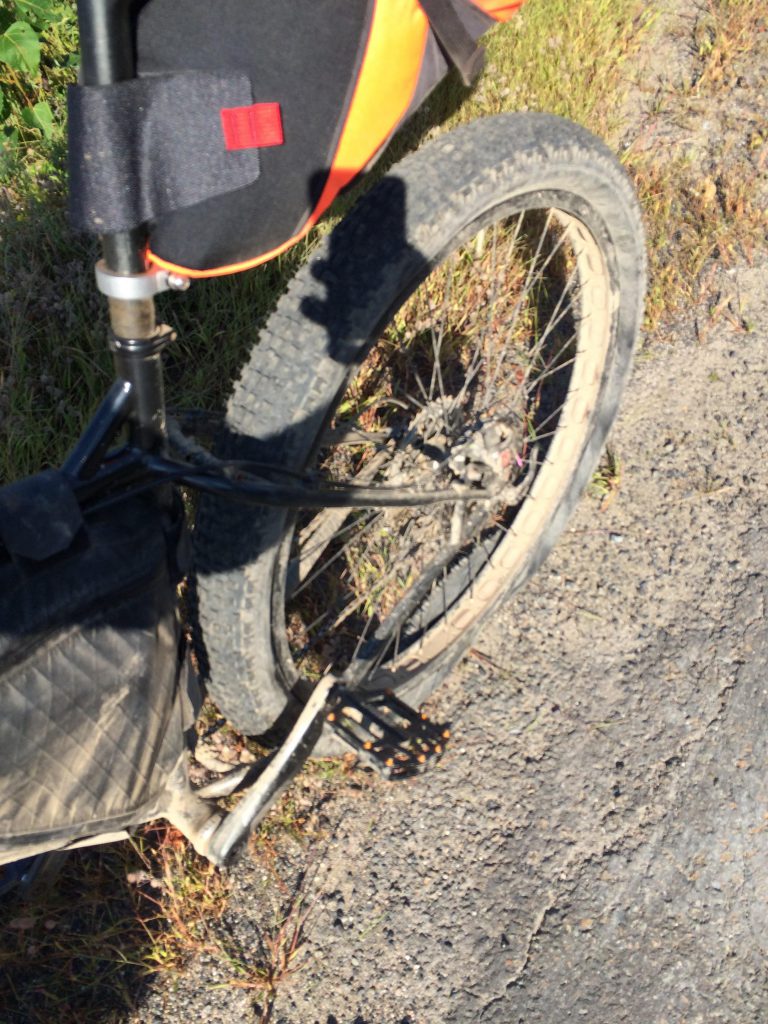
Made coffee at the shelter and then started to head home. The day before when I was packing in a hurry to get out, I was distracted. On my way to the Tree Nursery I realized I hadn’t packed a tube, patches, pump, or anything to do with repairing/fixing flats. I was past the point of no return. I rolled with it. Heading home the next day I was flying, making good time, set to be home around 11. EARLY, ffs. POW. Rear tire blows. Sigh. Had to call the SAG Wagon (wife) for a pickup about 12k (7mi) from home. Lesson, learned. Some other things I learned:
- Don’t pack in a hurry. See above.
- I didn’t bring enough water. I’d packed my Camelbak in the frame bag with about 80oz of water in it and I’d brought a 1L Naglene for cooking. The 1L was gone after dinner (2 bags Mr. Noodles) and coffee the first night. Luckily I bummed some water from my hosts at the Tree Nursery for breakfast. I had water left in the Camelbak and could have used that, but dispensing it out of the Camelbak is a drag. Plus, I had just about drank all of it when my tire blew up due to the heat, so if I had use some for breakfast I’d prolly have run out. Realizing now that I need to allow for more water packing and/or definitely a filter/purification strategy for any longer trips. In this case the river would have been fine (probably could have drank it straight even without filtering) but if I had a filter or tablets/drops, would have been perfect.
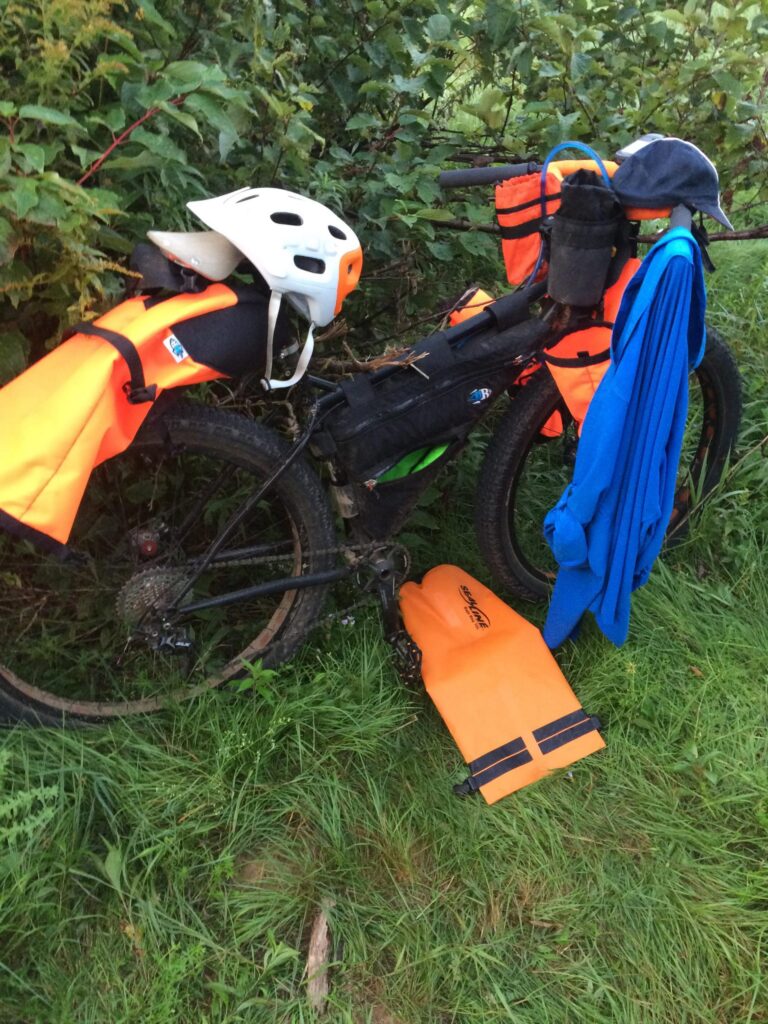
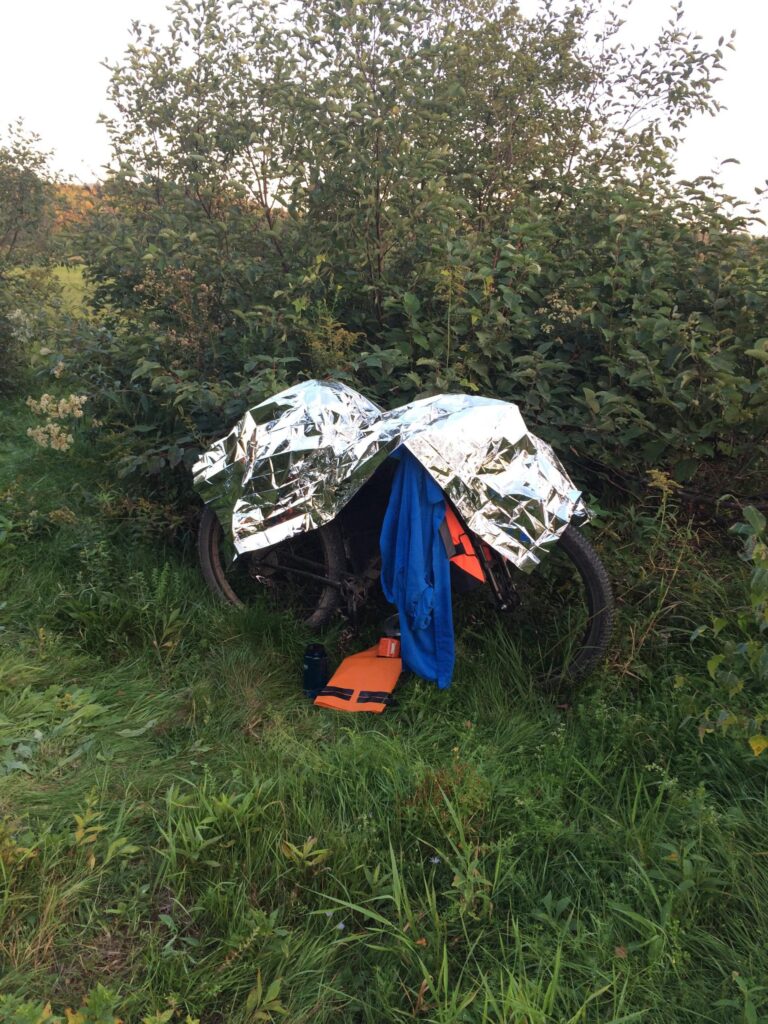
- Everything will get wet. Plan accordingly. I’d decided to leave the rain fly off my tent so I could look at the stars since I knew it wasn’t going to rain. Being that I was on a low-lying flat right at water level, in a valley, the next morning, everything was soaked from condensation/a fine mist. Not a huge deal, given I was going home, but if I had to go for a few more days, packing a damp tent and sleeping bag would have been a drag to unpack/use. Possibly a future idea would be to always use the rain fly, but pack it in a separate drybag so if it’s wet, it doesn’t get everything else wet. I realize in some regions of the world/climates this isn’t an issue. It pretty much always is here. We get dew most nights year round. I had brought a cheapo foil emergency blanket that I’d covered the bike with the night before and that somewhat helped there. The emergency blanket also proved useful for putting on the wet grass to sit on when cooking.
- Even if an item of kit comes with it’s own stuff sack/bag, that’s not necessarily the best way to pack it. A couple of examples. My Sea to Summit Pillow comes in a little bag – probably would be easier to just throw it in with sleeping bag and compress – same time use items anyway. Even though my MSR Hubba Hubba comes in a nice compact bag – I think if I took the poles out, and put them in the framebag, I would actually be able to compact the tent considerably more and create more seatbag space.
- I’m pretty sure the Brooks Cambium C17 won’t be the go-to saddle for this bike. After that much riding (the most continuous riding I’d put on it) I was finding it a bit to hard and not comfortable. I think it would be ok for pavement rides or dirt roads, but for these trails that were often large gravel, rock, etc, it was harsh. I think I will try my Selle-Anatomica NSX on it. Though I have some concerns about water with the NSX, I know a lot of bikepackers use them, so maybe they’re resilient enough. I think the added cush of the leather/suspended saddle will be more comfortable.
Gear MVP Award for this trip: Sea to Summit Aeros Pillow: after messing about with clothing/makeshift pillow options on some family camping trips, I decided to spring for one of these after hearing good things. My local outdoor shop has trouble keeping them in stock, they’re so popular and I had to wait for a new shipment to come in. TOTALLY worth the negligible weight/space penalty on this even if there is one at all. Very comfy, and to me, having a decent pillow makes a huge difference in the quality of a nights’ sleep. 5 stars.
I think total distance was somewhere in the 50-60km (30-40mi) range, I forget exactly. Great weather and riding conditions. Fantastic scenery and excellent mojo. All in all, a great trip – even with the tire blowup – and a very productive one as well!