Late Season Bontrager Gnarwhal Review

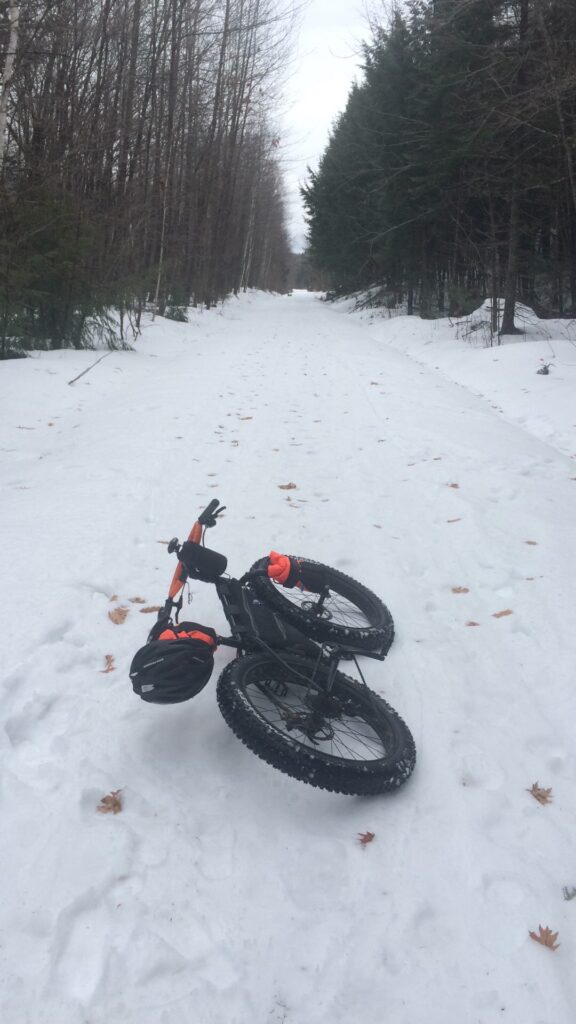
After holding out on dropping the mad dollars for some studded fat bike tires for a few years, I finally caved. Here’s what I found out.

When I first got my Surly Pugsley, I was an instant believer in the platform. I picked it up in February took it home and bombed around in the snow in my back yard. All the hype about the fat tires in snow was the real deal. And fun? Forget about it.

As I continued to ride through the winter, both for fun and commuting, one thing became clear: though the platform was great for the snow, ice still held it’s own challenges and in some extreme cases of ice, even the fatter tires were no improvement over a conventional sized tire. You simply couldn’t ride in some instances without studs of some kind. I started to research a bit.

To the best of my recollection, that same year, 45NRTH were the first to come out with a production studded fat bike tire, the Dillinger. I wanted some instantly. Then I saw the price. Around $250 PER TIRE. I was floored, but I also thought that this was a new market, and over time, prices would come down. I resigned myself to wait. Winter ended, summer passed. Fall began. I started to think about the fatbike again and the struggles I’d had on ice. I decided to bite the bullet and order some Dillingers. Problem was, this was when the winter fat bike boom was really starting to take off. Couldn’t get ’em in my neck of the woods. I had an order in but the distributor had already sold out for the season and wasn’t expecting more stock. I gave up on getting any that winter early on.

Late in the winter after spending too much time in internet rabbit holes, I decided to have a go with some DIY chains. I don’t want to detail the whole process I used here – maybe that’s for another post. Suffice to say, they only worked so-so, I had some problems with frame rub/contact, and one eventually broke mid-ride so I said screw it and took ’em off.

For quite awhile, 45NRTH were the only ones out there making a studded fat bike tire so they had the market cornered. The last year or so has seen a ridiculous boom in fat bike popularity, last year pretty much every major manufacturer added at least one model to the product line up. Major players Trek/Bontrager jumped into the game with both feet – adding not only bikes, but several fat bike tires to the catalog including the studded Gnarwhal. My LBS where I work part time is a Trek dealer, so I was hoping this would make it easier for me to get a set, and it did.
Specs

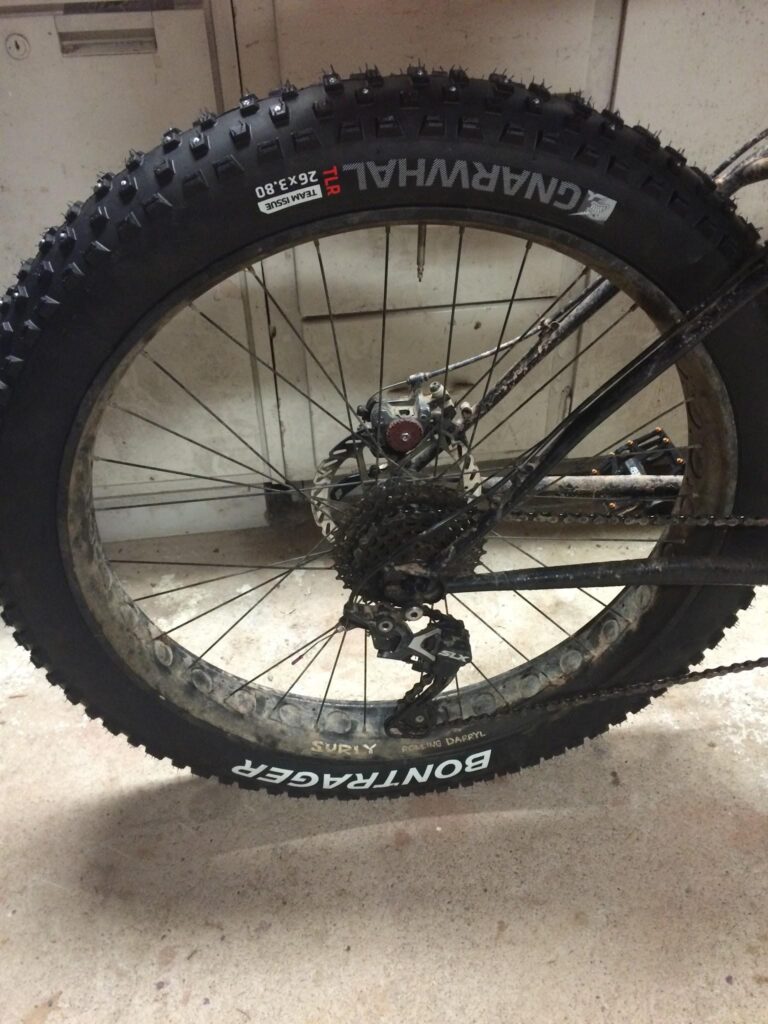
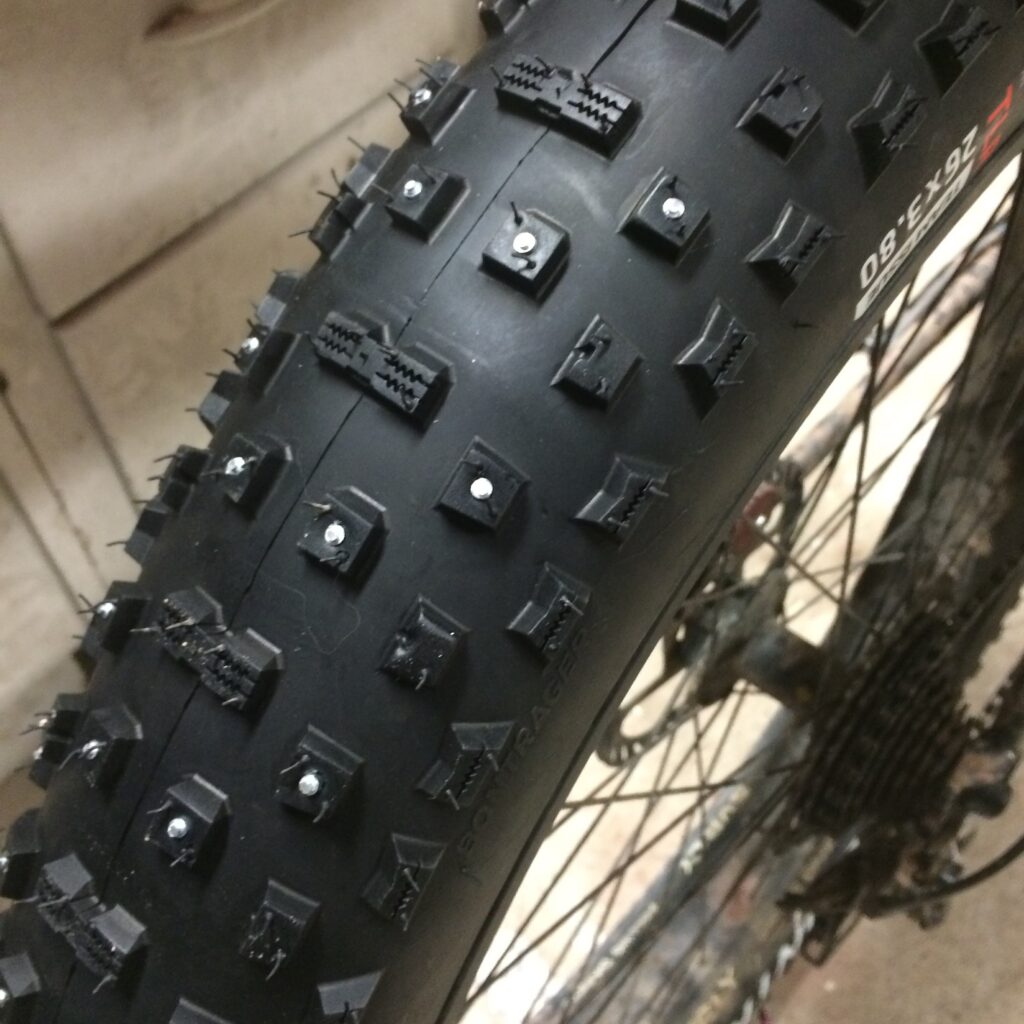
So, the lowdown. The Gnarwhal is a 26″x3.8 tire available with or without studs. The studded version includes 160 installed Tungsten carbide studs. The Gnarwhal is (TLR) tubeless-ready (I run ’em with tubes) and according to Trek’s site the “Inner Strength casing is lightweight sidewall protection that’s supple and strong.” There’s a bit of discrepancy on the web about whether these tires are 60 or 120 tpi. Apparently Trek’s dealer site says 120, while the consumer site doesn’t say anything. Some people on the web have posted photos of packaging labeled 60 tpi. I didn’t check mine before I threw it away, so I’m out of luck. I’m not really the type of rider who could tell the difference between a 60 and 120 tpi tire, so if that matters to you, you’ll have to dig around on the web some more or check directly with Trek.

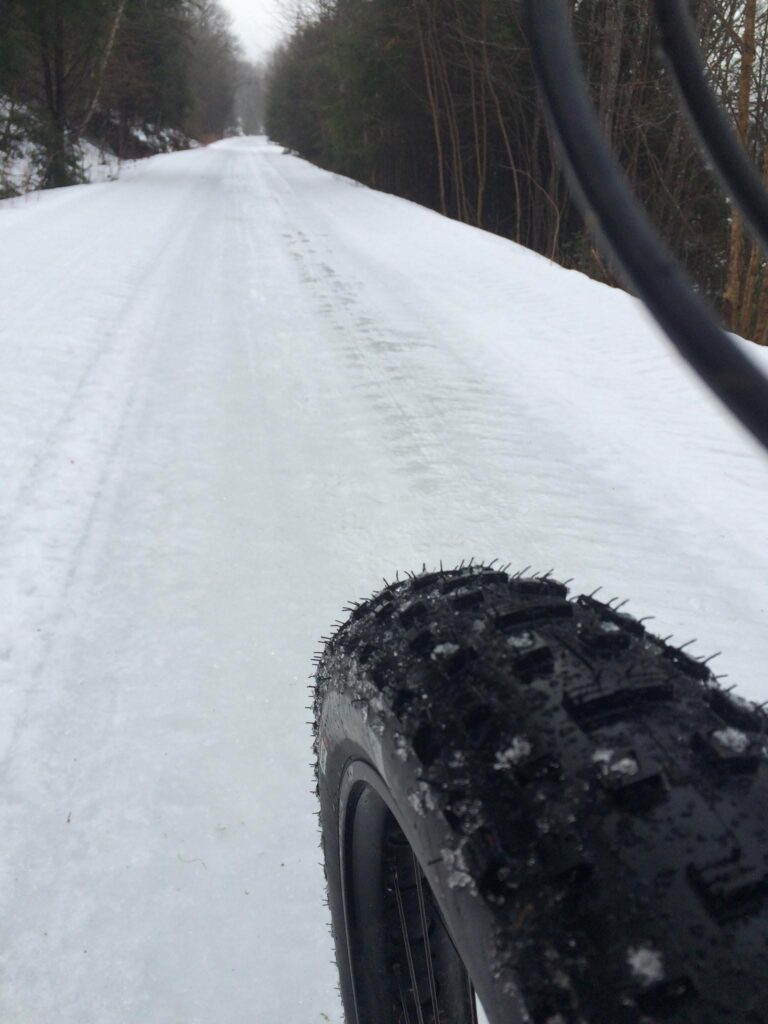
I mounted these up on my 82mm Rolling Darryl rims and though I didn’t measure them, they look to be a solid 3.8″ – in line with my Nates. In fact they look a little bigger, but it could just be the tread/knob pattern and/or my Nates are pretty worn. The knobs are uniformly distributed and though the tires are directional, they are not front/rear specific. I’ve never been one to care much about bike/component weights – at least not on a steel fat bike – but if you must know the Gnarwhals tip the scales at 1360grams.

The Ride

Ok, so after getting ’em home and finding the time to mount them up – as it typically goes for me – I had zero time to actually get out and ride ’em for at least a week or two. Sigh.

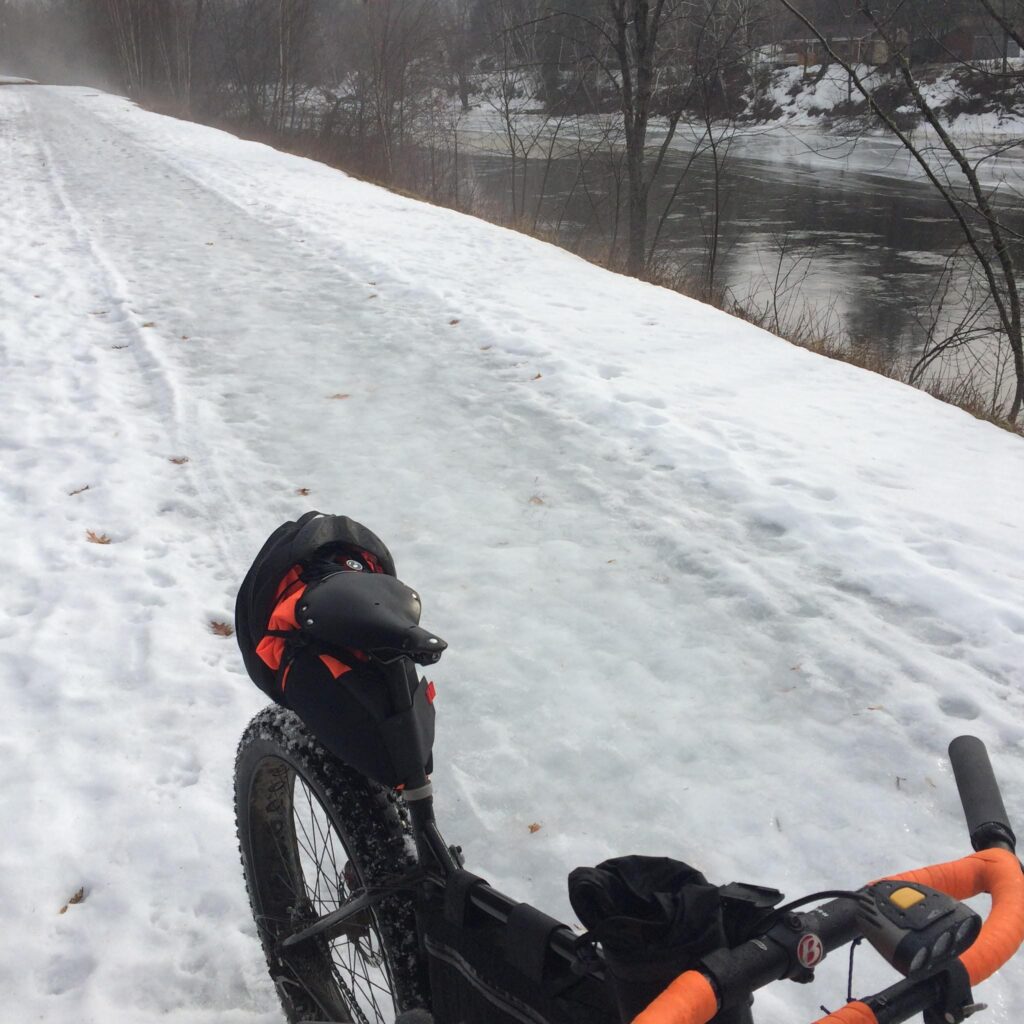
But the time finally came. The freeze/thaw cycle of a few days here set up the snowmobile trails around my area as a perfect testing ground for theses suckers. Days of thawing/melting and nights of well below freezing temps meant the trails were pretty much ready for ice skating – or studded fat bike tires.

Plowing through the packed snow on the way to the trails, the Gnarwhals performed as expected, and just as well as my Nates. No surprise there. They hooked up well in the snow and inspired confidence. Once I hit the ice, things ratcheted up a notch.

First thing you notice is the reassuring crunch of the studs on the ice. I had my tires a bit over inflated, but even still the Gnarwhals grabbed on and didn’t let go. I felt like things were a little squirrelly in some off-camber ruts. I stopped and let some air out of the tires to get some more float and increase the footprint, and hopefully increase engagement of the studs. Note: I usually go by the ‘feel’ method for inflation, but since I planned on writing this up and figured people would want to know, I checked when I got home. For the majority of the ride it would seem I was running around 5psi front/7psi rear.

On straight up ice, the tires performed fantastic. The more time I spent on them the more used to them I became. I’ve never been in a situation like those super-extreme explorer guys who’s gear means the ‘difference between life and death’ – I’ve never had to trust my life to an ice axe. However, I was placing a lot of faith in these tires, hauling along at pretty good speeds on straight ice. Taking a digger in these conditions could – at the very least – hurt real good, or worse, break something.

The Gnarwhals didn’t fail me. Only once or twice did I get a ‘whoa’ moment of slippage. Usually in instances of off-camber ice ruts/bumps or water on top of ice, and even then they caught after slipping and I corrected. It did make me wonder though, why there wasn’t more studs in the tire. As one person on the web in a review I read pointed out, “I never found myself saying, gee, I wish there wasn’t so many studs in the tire.”  I’m left to wonder why Bontrager didn’t opt to stud more of the knobs – particularly on the outside, for turning and such. I guess it’s conceivable that at some point, even with studs, if you’re that much on the outside edges of the tire, nothing is going to hold on given the forces at work. One might assume it was also a cost/weight issue, but I’d have taken more of each for this kind of tire to potentially get increased performance and security.

By point of comparison, 45NRTH’s Dillingers offer 250 and 258 studs per tire for the Dillinger 4 and 5 respectively, and at only a moderate price increase depending on where you shop.

The Down Lo

So straight up – am I happy with them? Yes. They are definitely spendy, but if you’re going to be doing this specific type of riding, I think it somewhat justifies the cost of specific equipment. The security and performance they offer is certainly worth the cost. After going without and trying the chains, I’d definitely say there’s no substitute for a proper studded tire – there’s just no comparison. By removing them each season and trying to minimize riding them on pavement, one would hope they offer good value (hold up over time/several seasons), but only time will tell.

Wet Weather Cycling Gloves

Through the years of commuting – and just riding in general, I’ve found that one simple thing can make or break a ride when it comes to comfort: my hands. Always been a weak point for me. If my hands are cold or uncomfortable, I’m miserable. As one would imagine, I’ve tried a wide array of gloves in various situations. Though I’m no +Ben Folsom – I rarely carry more than one pair with me, I have stockpiled quite a selection for various conditions to choose from. Though I really prefer to wear no gloves at all, the time comes when the elements necessitate you wear something.

Today it was raining buckets when I left the house. It wasn’t cold (around 14ºC) but the rain was just pounding on the roof of the house and I knew it was just going to be one of those days when, regardless of what kit you put on, you’re gonna get wet. Too warm for winter waterproof gloves and just cool enough that going bare-handed would mean some possible cold on the hands once you get moving in the wind.

I’ve tried the following with various levels of success, but all fell short on days like today for one reason or another:

  • Full MTB gloves – designed to ‘vent’ therefore – cool/cold, also usually some type of material(s) that absorb/held water making them uncomfortable and/or slippery, especially when padded.
  • Winter Gloves – Waterproof, but too hot – hence sweaty – and unnecessarily bulky on the bars/controls unless totally needed – i.e. winter time.
  • Fingerless road gloves – cold, sometimes slippery, some absorb water

Finally, some years back after posting up for recommendations, an old buddy, +Ricky deLeyos suggested paddling (kayaking) gloves had worked great for him.

I went to my local outdoor shop (which also happens to be my LBS) and checked them out. They’re basically neoprene wetsuit gloves. My particular shop had two models, the basic difference being one was a thicker/heavier neoprene than the other for more warmth. Both were under $30. I went with the thinner ones as they felt less bulky and seemed like they’d feel better on the bars/controls.

Since then (some years ago) they’ve been my go-to gloves for super wet, yet relatively cool/mild conditions. The skin tight nature of the fit allows for great feel on the grips/bars and the controls. My particular models have super tacky palms/fingers with a pattern so grippy that it can actually snag fabric a bit, but that translates to great grip on slippery bar tape or grips.

Let’s be clear, these gloves aren’t going to keep your hands dry, in fact, the point of them is to let your hands get wet. However, they work on the same principle as wetsuits in that they let the water in, hold it close to your skin and then your body heat can keep the water a bit warmer than what’s outside, and hence, keep your hands warmer than if they were wet and exposed to the wind/outside air. I’ve used them down to a few degrees above freezing with relative comfort and used them during humid summer rains as well to add better grip as well.

Since I’ve picked these up, I’ve noticed that some bike companies are actually marketing gloves now that are closer to what these actually are, maybe they’re picking up on the need for a glove of this type. I haven’t had a chance to test/use any of them. Often times ‘bike specific’ unfortunately translates to $$$. The gloves I have seem to be some sort of generic/house brand, indeed they don’t even have any tags/identifying graphics. For the $24 they cost me, they’ve been one of the best purchases value-for-use-wise I’ve ever made with regards to bike kit.

Cooking with the MSR Dragonfly

So we did a FamJam car-camping trip this weekend and wanted to try out some cooking vs relying on pre-cooked stuff or buying take out.

Initially was going to use the vintage Coleman 2-burner stove gifted to me by my father-in-law, but last week at home I couldn’t get it to fire up, and ran out of time to mess with it.

I’d been into The Radical Edge checking out backpacking stoves and was thinking about buying a MSR Dragonfly to use for family car-camping trips as well as maybe bike camping trips with 3-4 of the kids and was attracted to it’s versatility – small packing size, but still big enough to cook for a larger group – and it simmers. Was hesitant to plunk down the cash on a liquid-fuel stove as I’ve never used one, and luckily enough, Brian mentioned that they rent them – why don’t I just try one out? Bing. Done.

So then I went online searching for recipes – of which there’s bazillions. After pondering the tastes and logistics of various ones, then factoring in ‘will my kids eat it’, I decided to actually just use a recipe that we make often at home on our gas kitchen stove. As we’d be car camping with a cooler for a short period of time, having to cart fresh ingredients and keep them cool wasn’t an issue like it might be on a longer, more minimalistic trip. Sausage and pepper pasta wins the day.

Brian had sent me off with a quick primer on stove use and about 3/4 a container of liquid fuel and assured me that would be plenty. On Friday afternoon before leaving the house I fired up the stove real quick just to make sure I understood it’s operation and called him with a few questions, then packed it up to head out.

Saturday evening was the target cooking evening, which worked out well since there was an open-fire ban on due to weather conditions, so we wouldn’t have been able to cook in the fire pit.

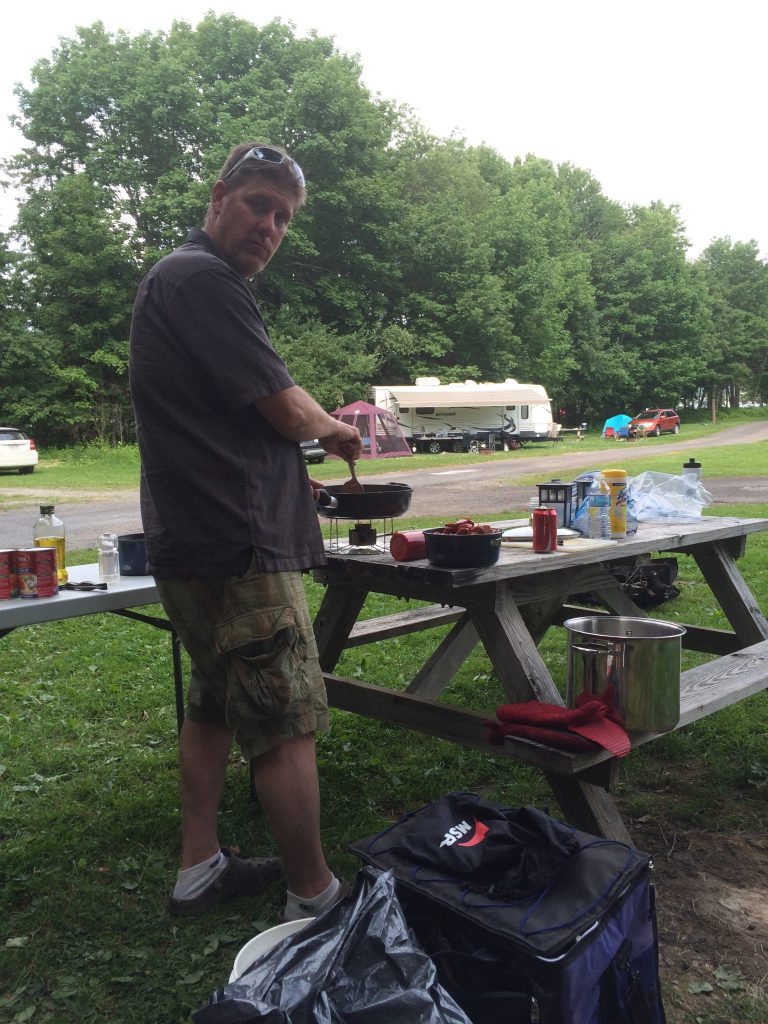
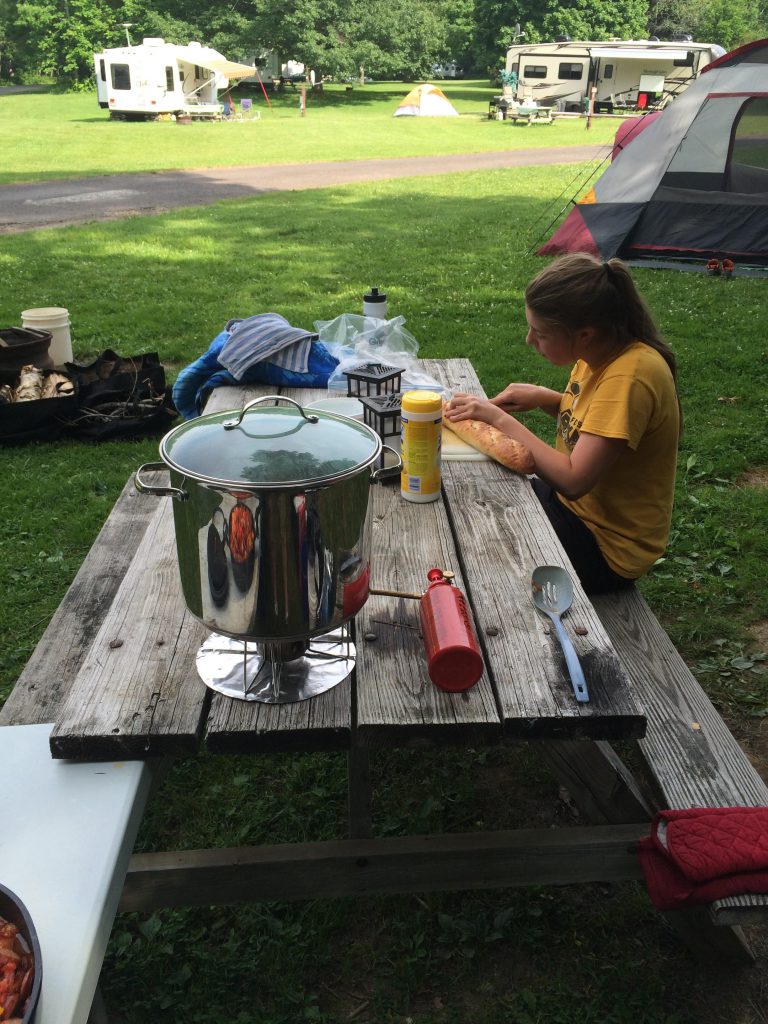
I prepped all my ingredients and fired up the stove. I had a little bit of trouble lighting it at first, I think due to the fact that I hadn’t primed it enough, but eventually got it going. One thing about the stove that set me off at first (and that I actually called about from home) was how loud it is. I was a little bit used to this from using my MSR Micro Rocket stove, but this one is actually considerably louder than that. Once I was assured that, yes, it’s ok if it sounds like jet engine, that’s normal, I got used to it and was actually sure that, no, it’s not going to blow up.

After starting up and getting over the jet engine noise, one thing Lyn commented on was how close the fuel bottle was to the burner. It seemed unnerving that it should be that close to the heat source. I pointed out that the fuel hose was that long so it must be ok, but it did make me wonder though. I would check the side of the bottle with my hand periodically and it wasn’t getting that hot, so I surmised that it must be ok, because it seemed that the majority of the heat from the flame was focused upward, not outward and if the canister needed to be further away, they would have made the fuel line longer. It also occurred to me that in the future I might use the windscreen provided with the stove to keep heat from the canister as well – it wasn’t windy at all that day so I hadn’t thought to use it.

Then I got cooking.

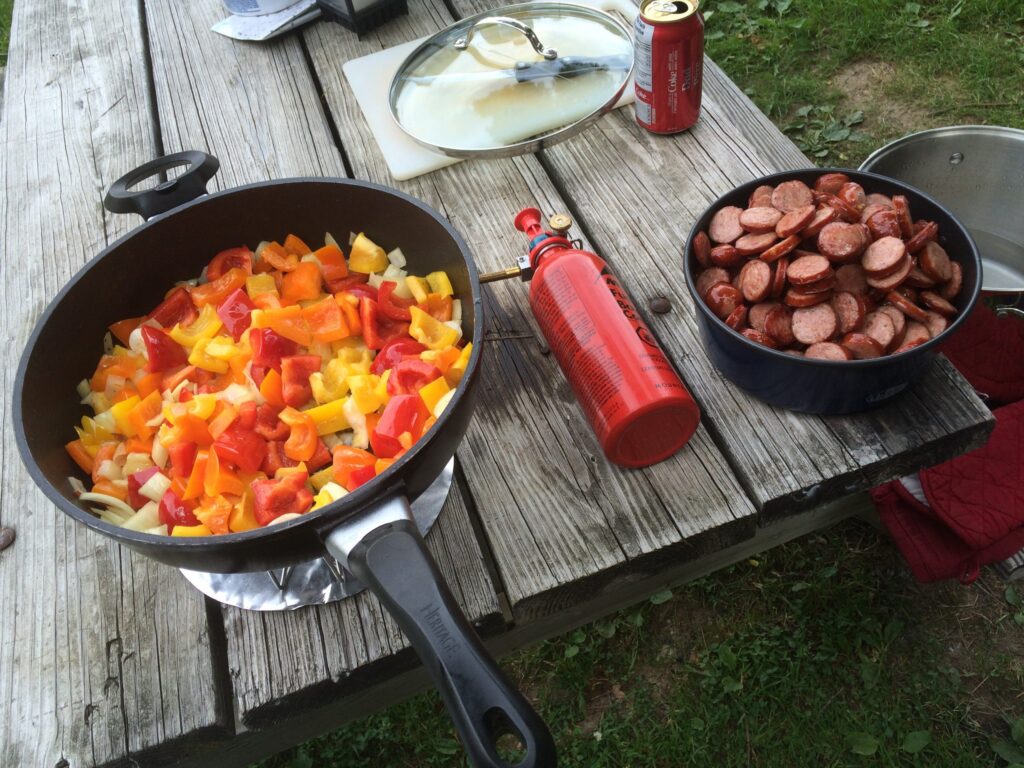
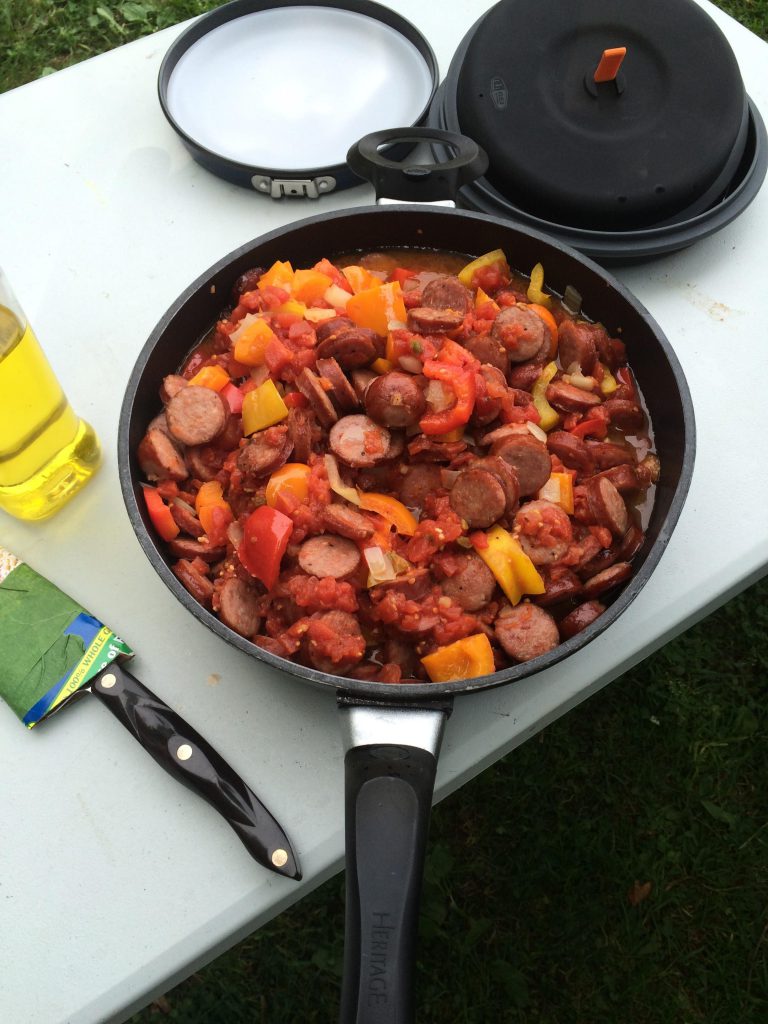
Since I was cooking for 6, I brought pots/pans from home as nothing ‘backpacky’ would hold that much. First up I cooked up my sliced sausage. I found the volume/simmer control on the burner worked really well, allowing me to control the temperature quite precisely. Once my sausage was done, I removed from the pan into another pot, left the burner running, and then dumped my onions and peppers and sautéed those a bit in the same pan. Once they were good to go, I set the whole pan aside and threw on a pot of water.

We were using a big pot from home and making two packages of pasta, so it was a considerable amount of water I needed to get to a boil. The stove took longer than I thought it would to get the water to a boil, and it never got really rolling but it got there. This could have been due to 2 things:

First, I was kinda hesitant to open up the stove full blast, as I wasn’t sure if it should run that long at full tilt or whether that would cause problems.* At this point I’d been running the thing almost half an hour straight. I didn’t know if the burner would take it or not. Also, I was a little leery of how much fuel I was using/if I would run out, but I didn’t really think it was a good idea to pick up the bottle and check it with the stove running, so left it alone, and ran just a little below full blast, thinking it might conserve fuel. (Note, in the end, I probably ran the stove for a little over an hour straight and I think I used about 1/3 of the fuel I had in the bottle.)

Second, if I’d used the windscreen mentioned earlier, even though there was no wind, it probably would have minimized some heat loss and been more efficient at focusing the heat on the pot.

Eventually though, I got my water boiling, dumped in and cooked my pasta. Drained that, dumped in some olive oil, the sausage, peppers, onions and 2 cans of diced tomatoes and then simmered/mixed it all again for a few minutes to make sure it was all hot to serve.

Dumped into some ‘bowls’, topped with parmesan and was good to go. Everyone said it was as good as home. Even if they hadn’t, 2-3 servings each said so anyway. We had brought some bread that we were gonna do up with garlic and cheese to make garlic bread in a foil packet on the fire pit while we cooked, but due to the fire ban, we just ate the bread with butter instead.

Overall, I was really happy with the stove and will probably pick one up at some point in the future. Though the drawback compared to something like the Coleman is that you only have one burner to cook with, there’s really no comparison, since they’re two different kinds of stoves. The Dragonfly is way more packable, yet still delivers a huge punch and excellent heat control and could easily be supplemented with either another Dragonfly, another burner stove, or the Coleman itself. As far as what I’m looking for, it would be a great addition to our family gear as something that could be used in tandem with the Coleman or as a stand-alone stove for more minimal outings.

*When returning the stove, my buddy at the shop confirmed that the Dragonfly is an 'expedition level' stove commonly used at places like basecamps and such, often for extended periods to boil copious amounts of water for camp. He said running it full bore, even through a whole canister of fuel shouldn't be an issue.