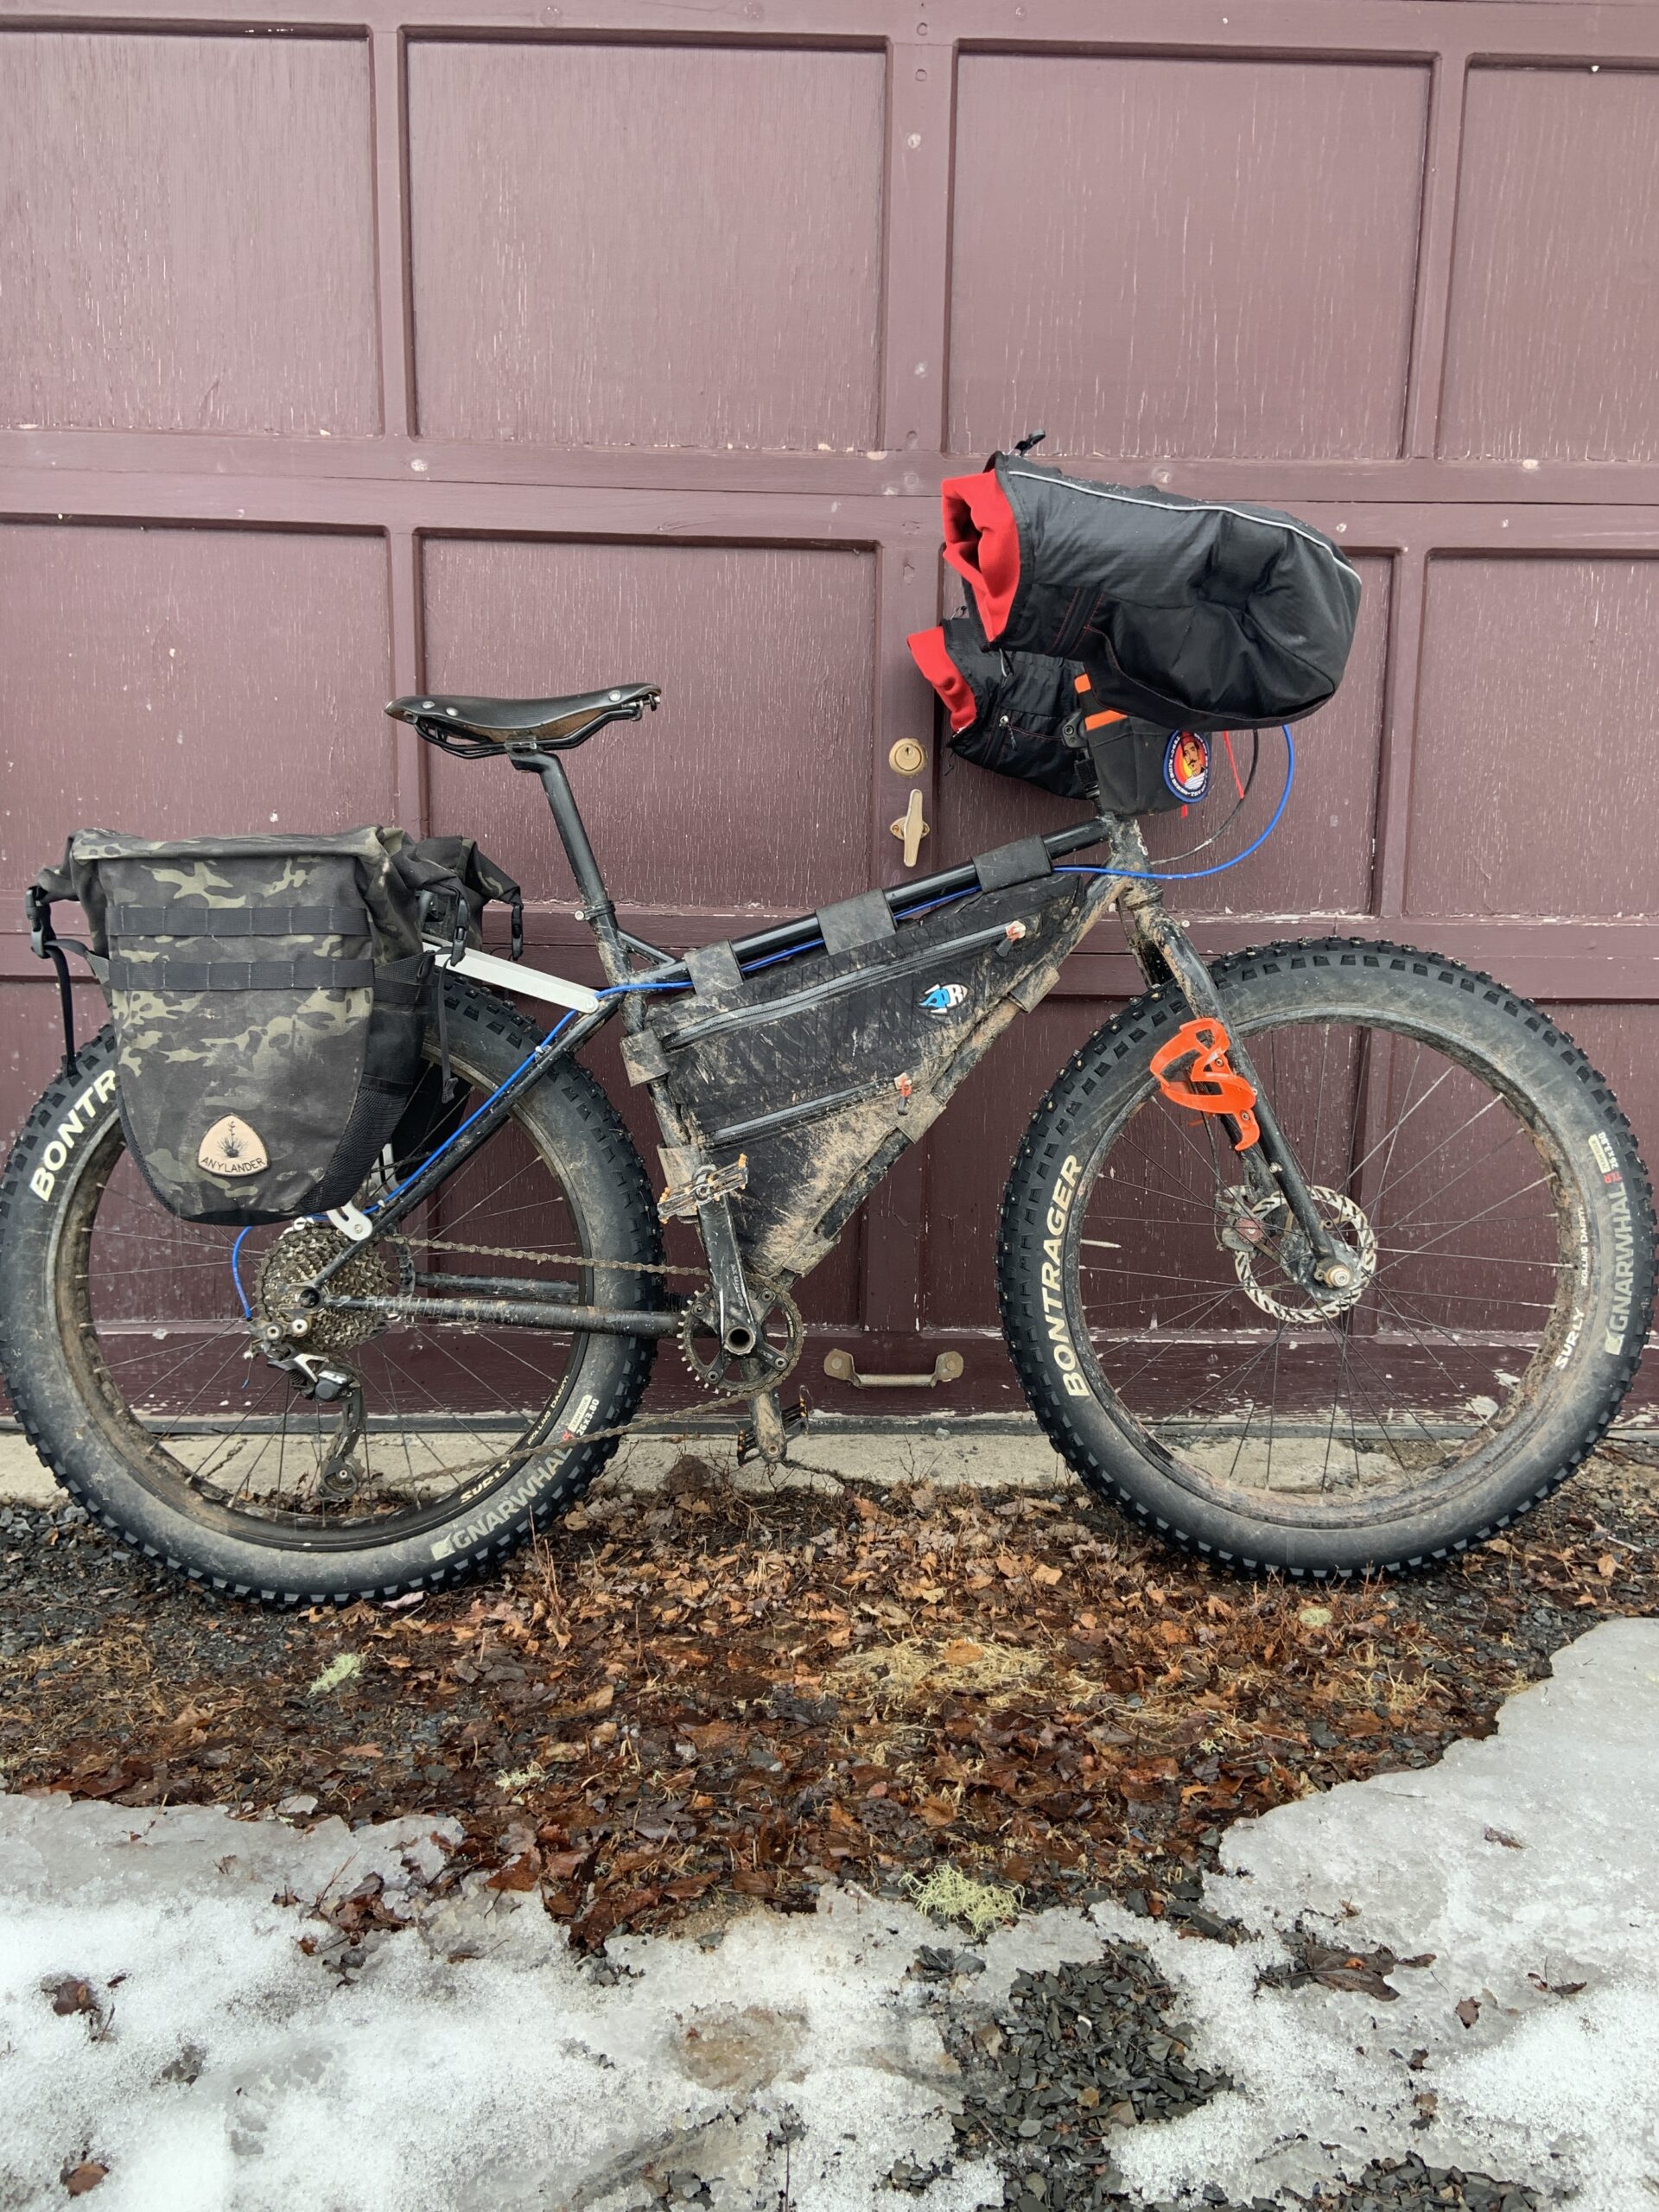
A Series Until It isn’t: The 2013 @surlybikes Pugsley Neck Romancer – in one version of ‘winter mode’.
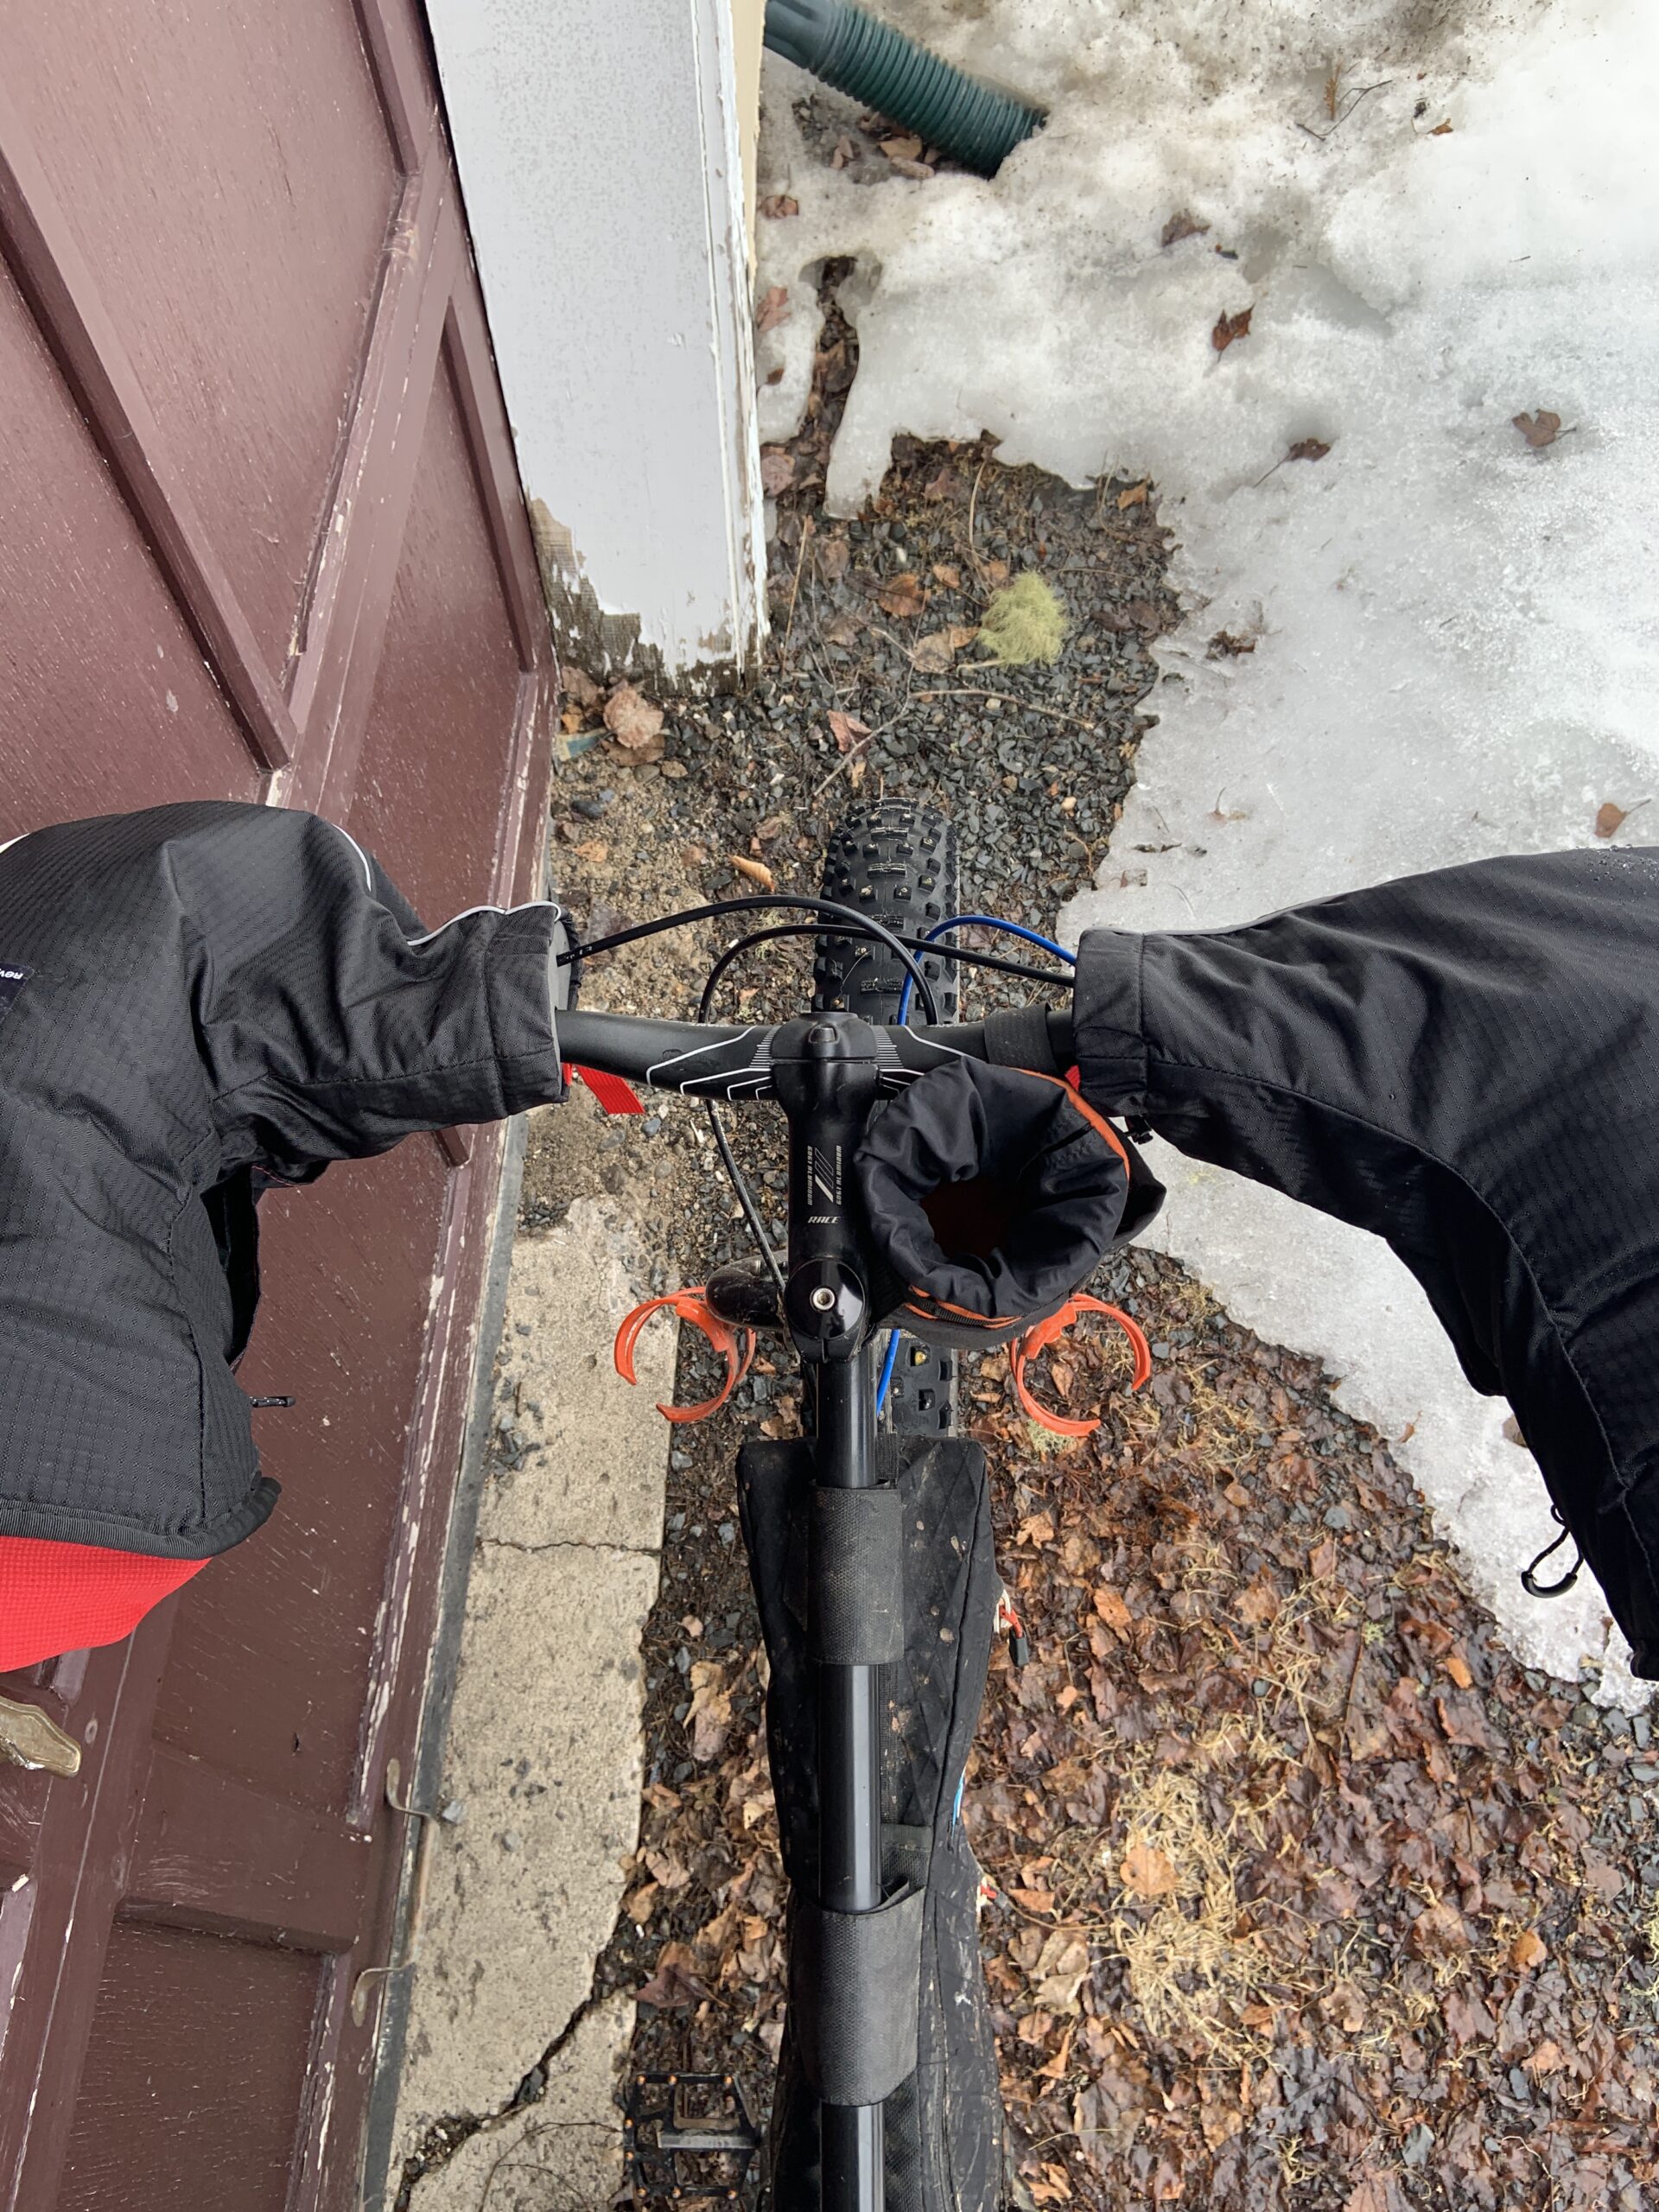
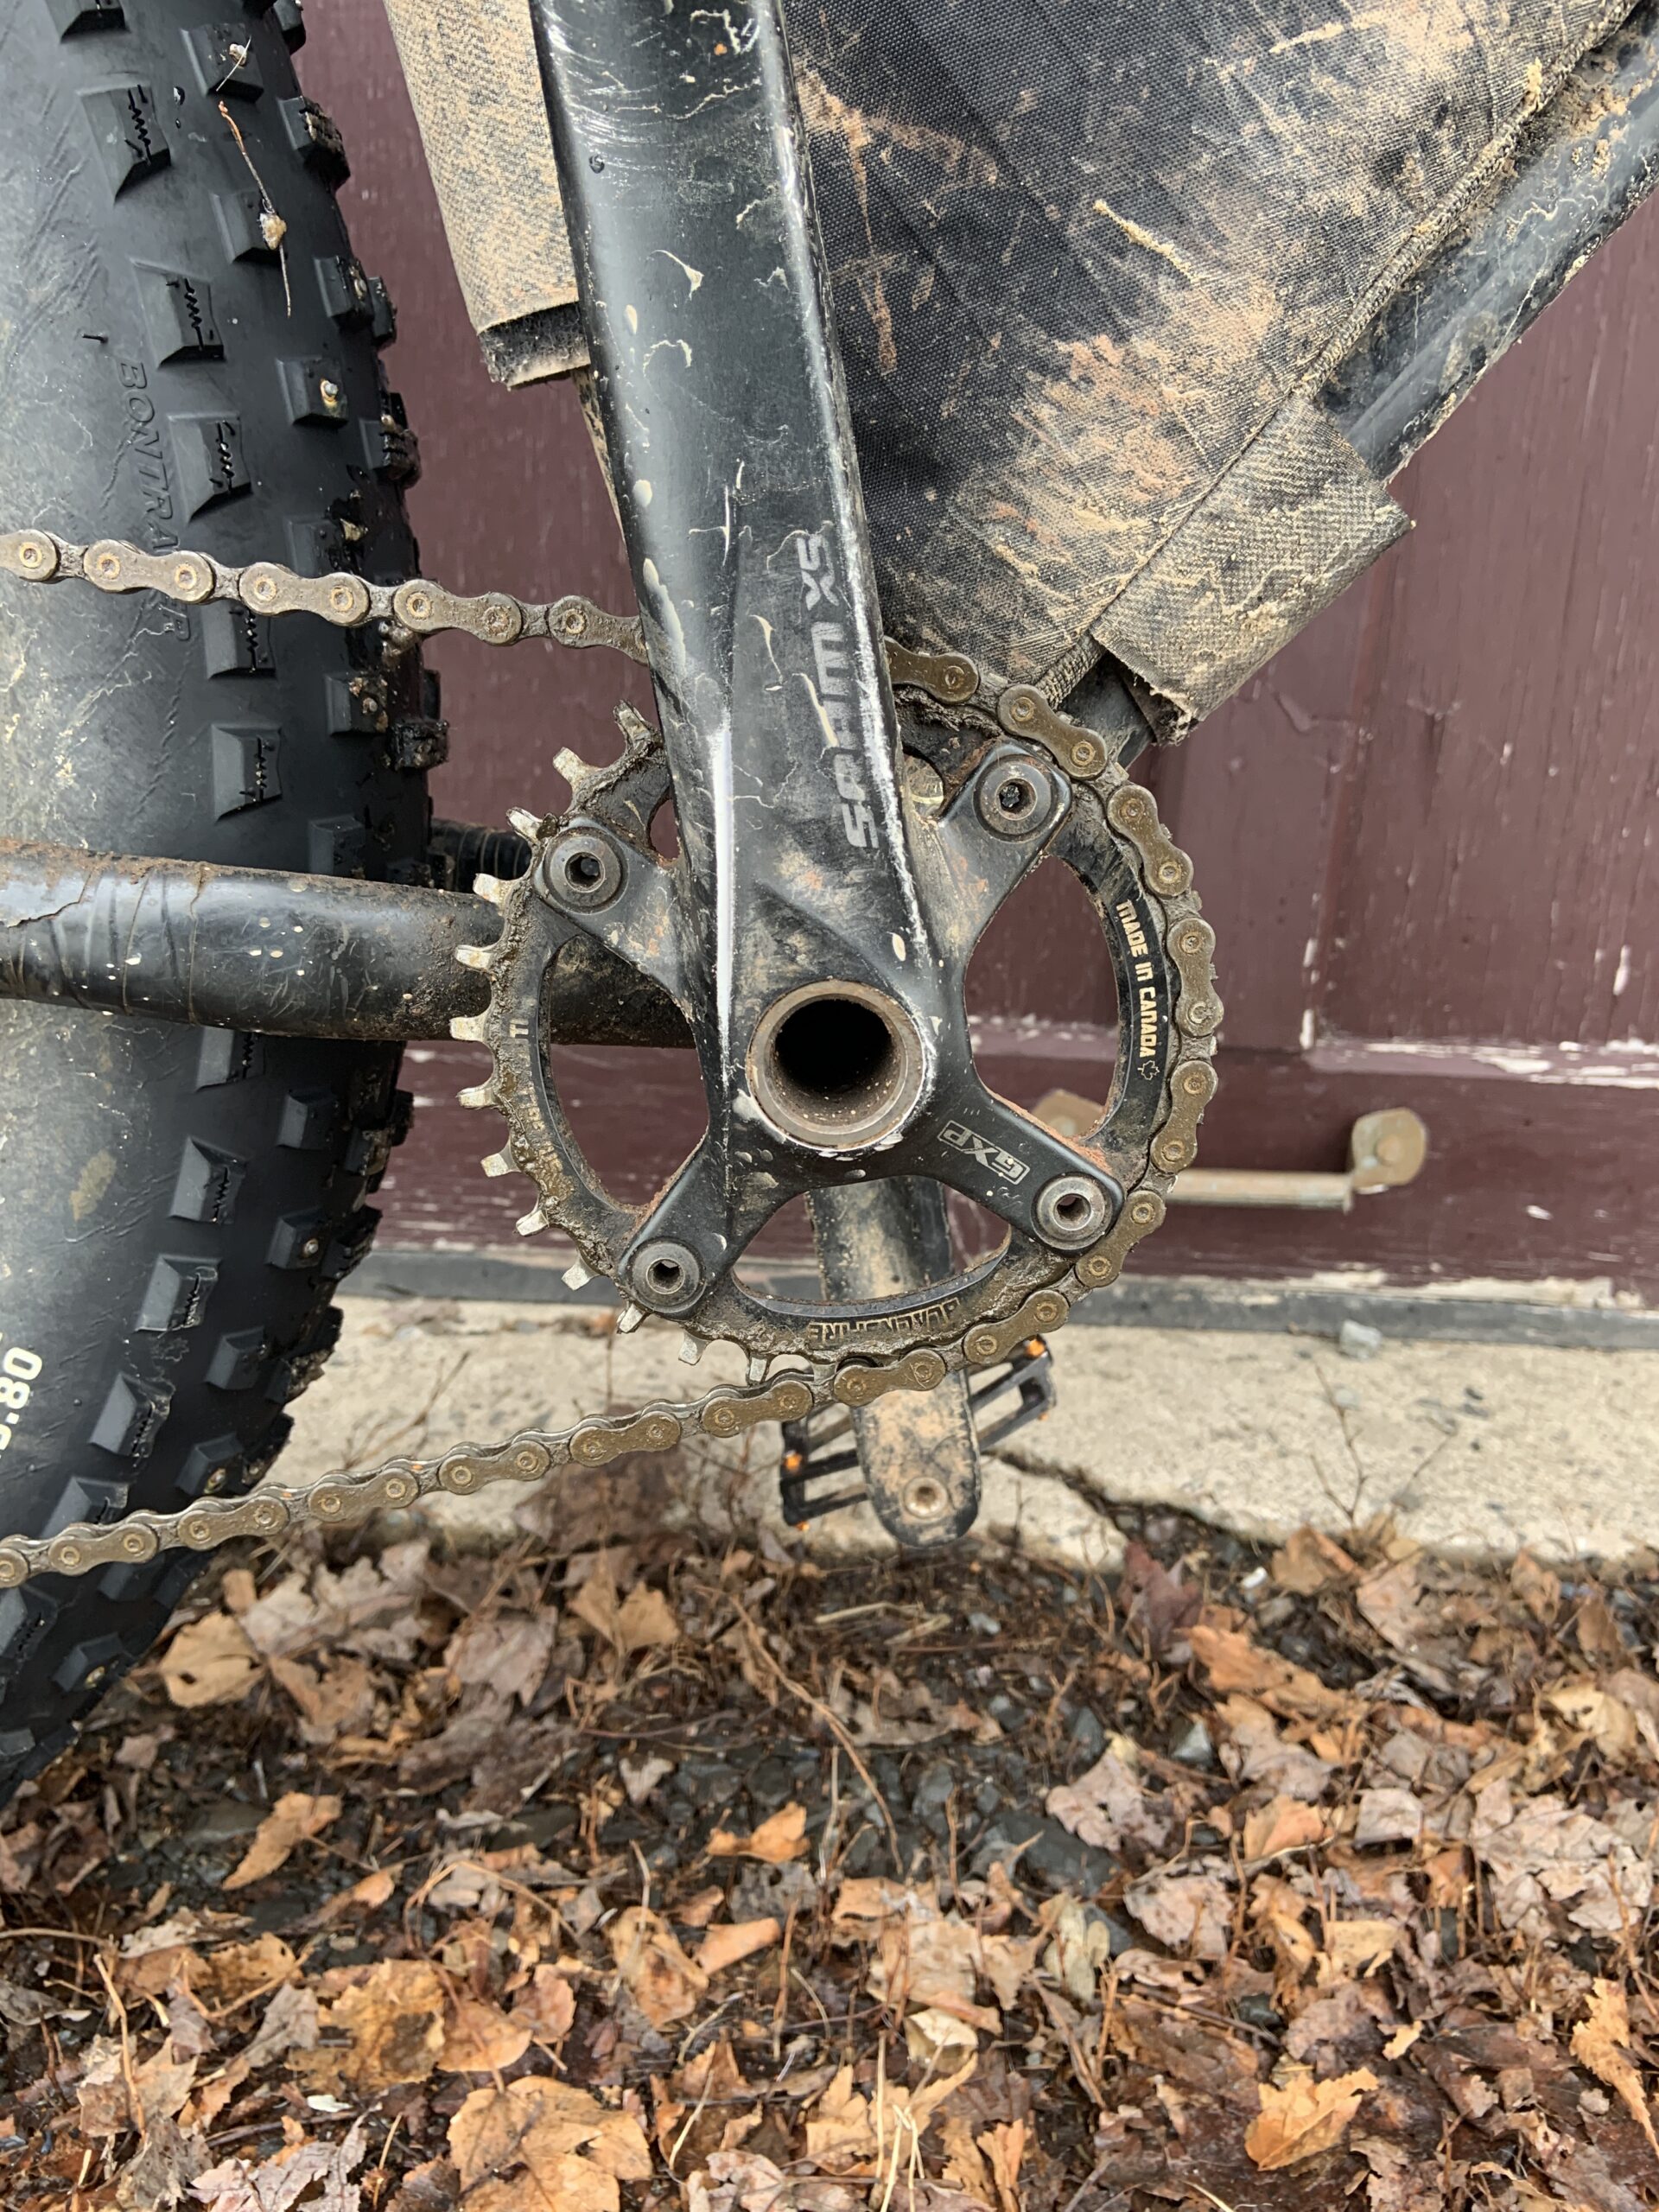
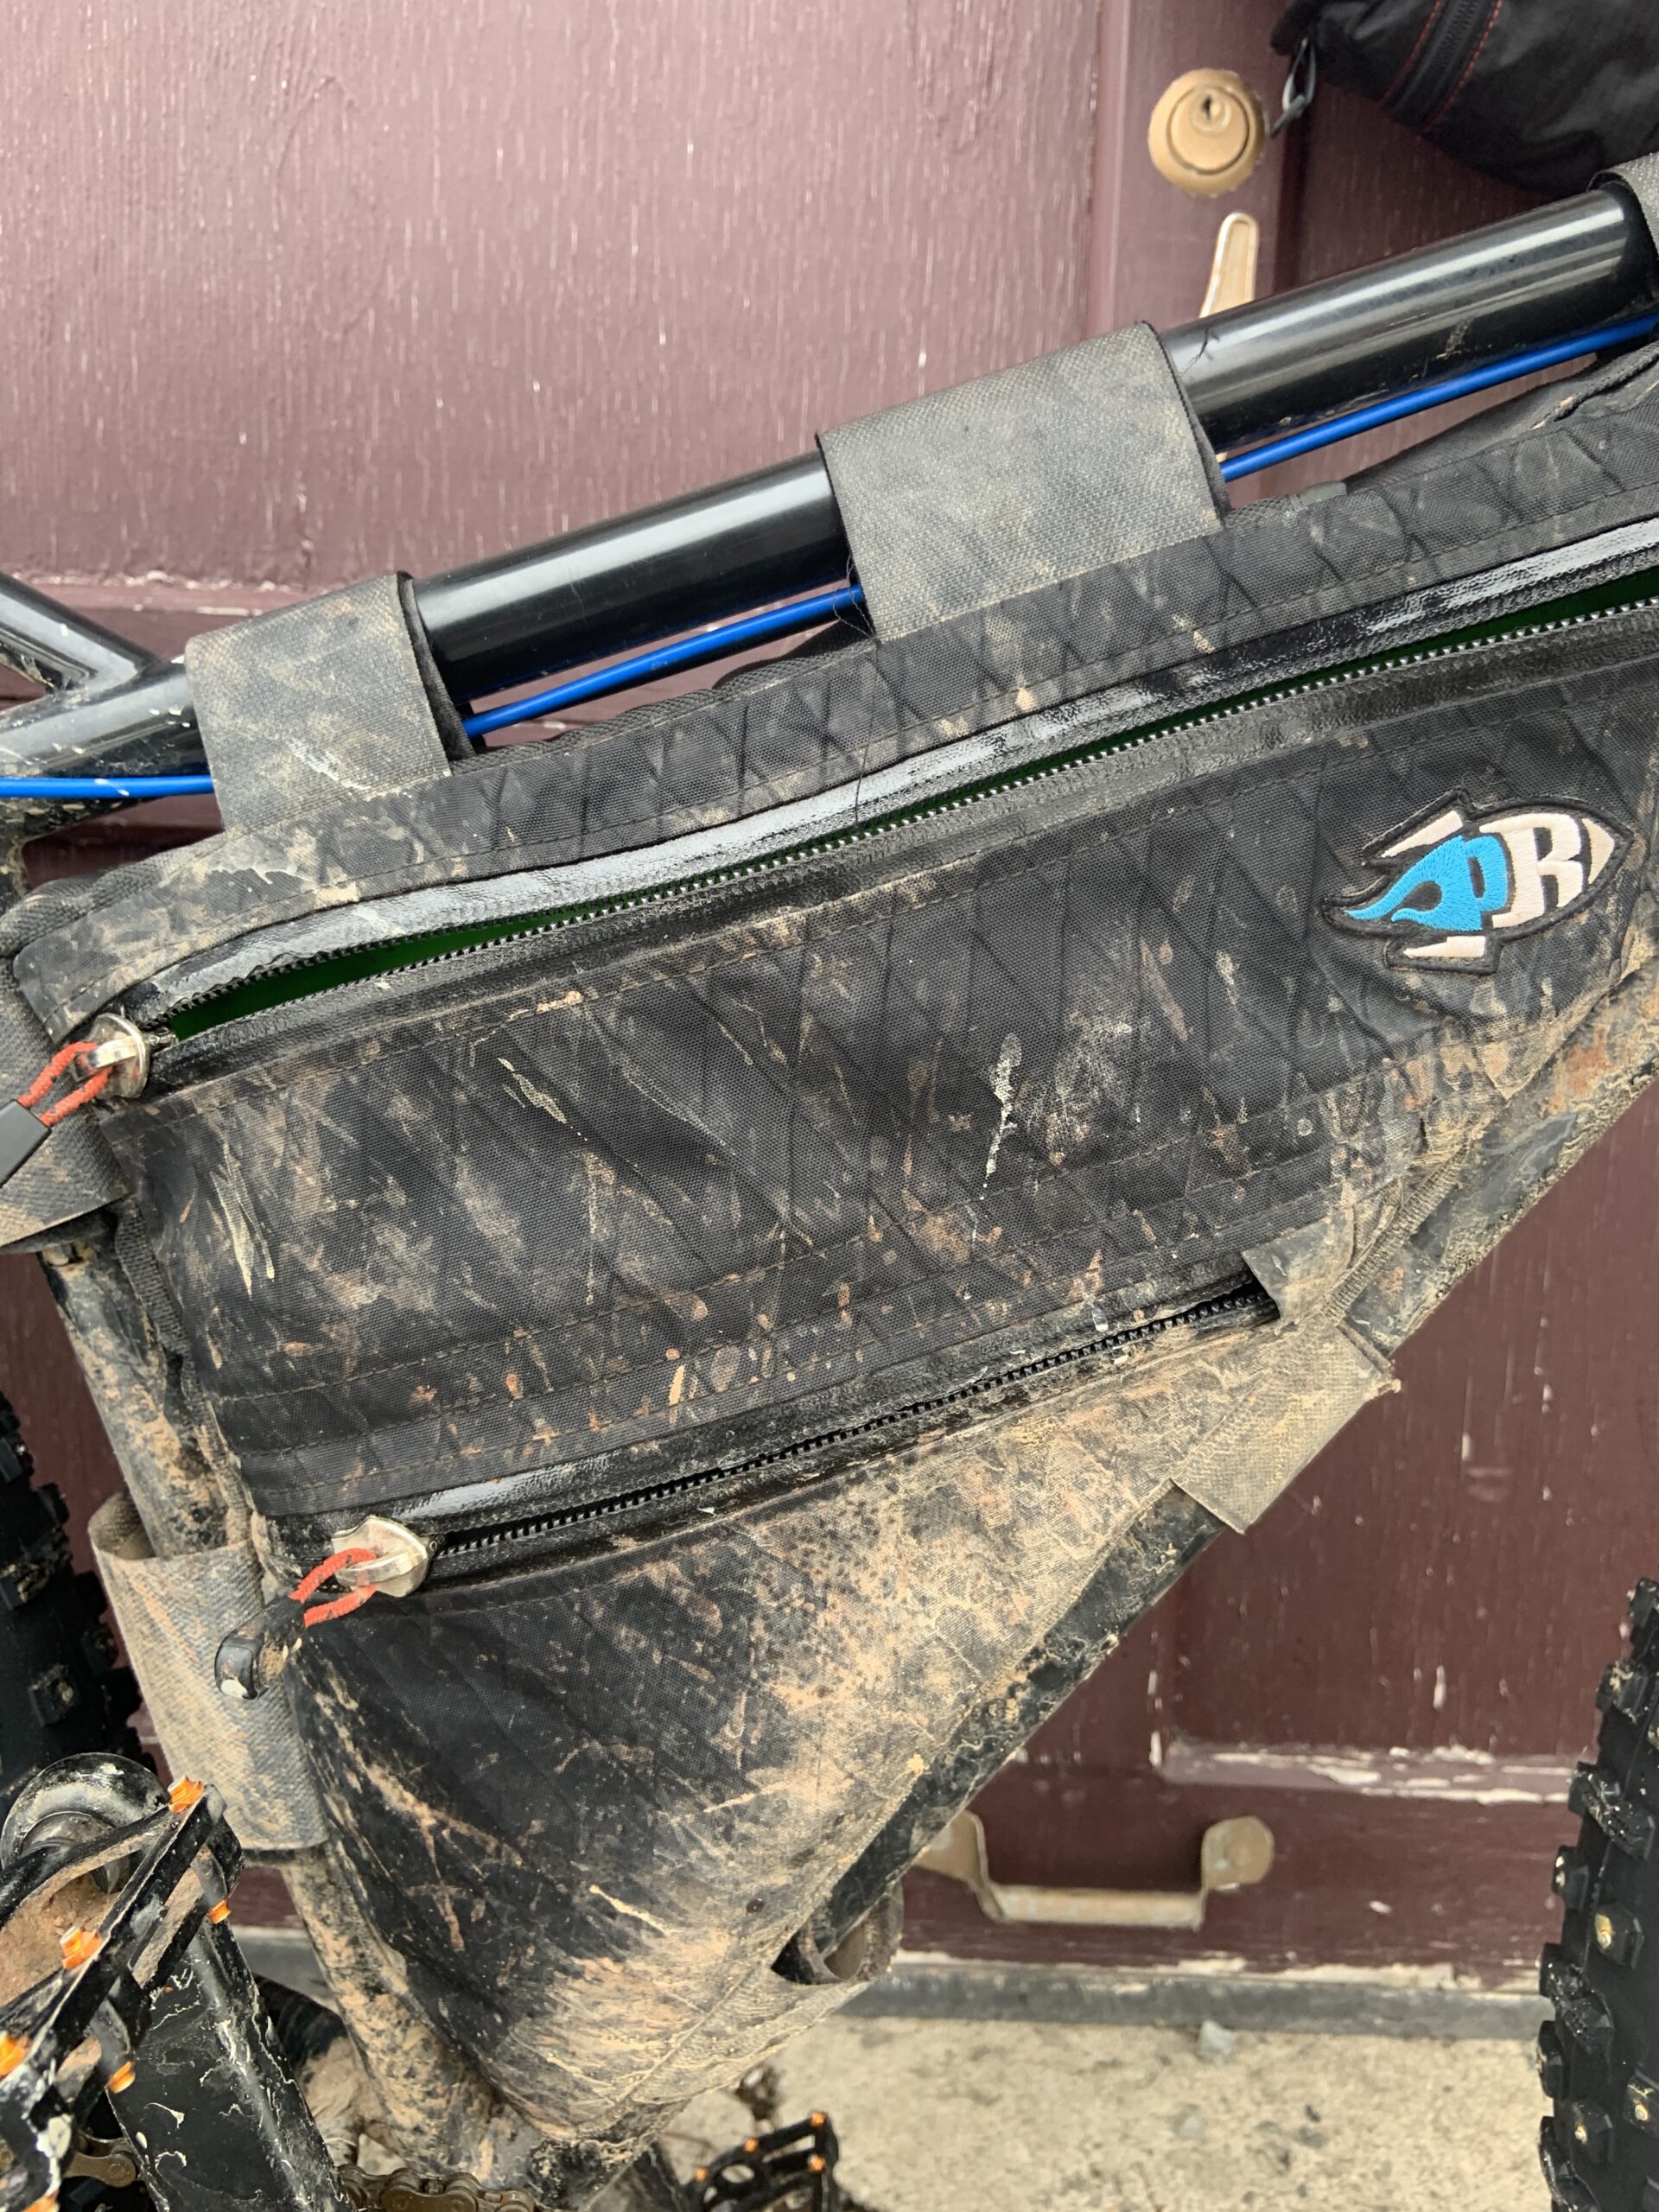
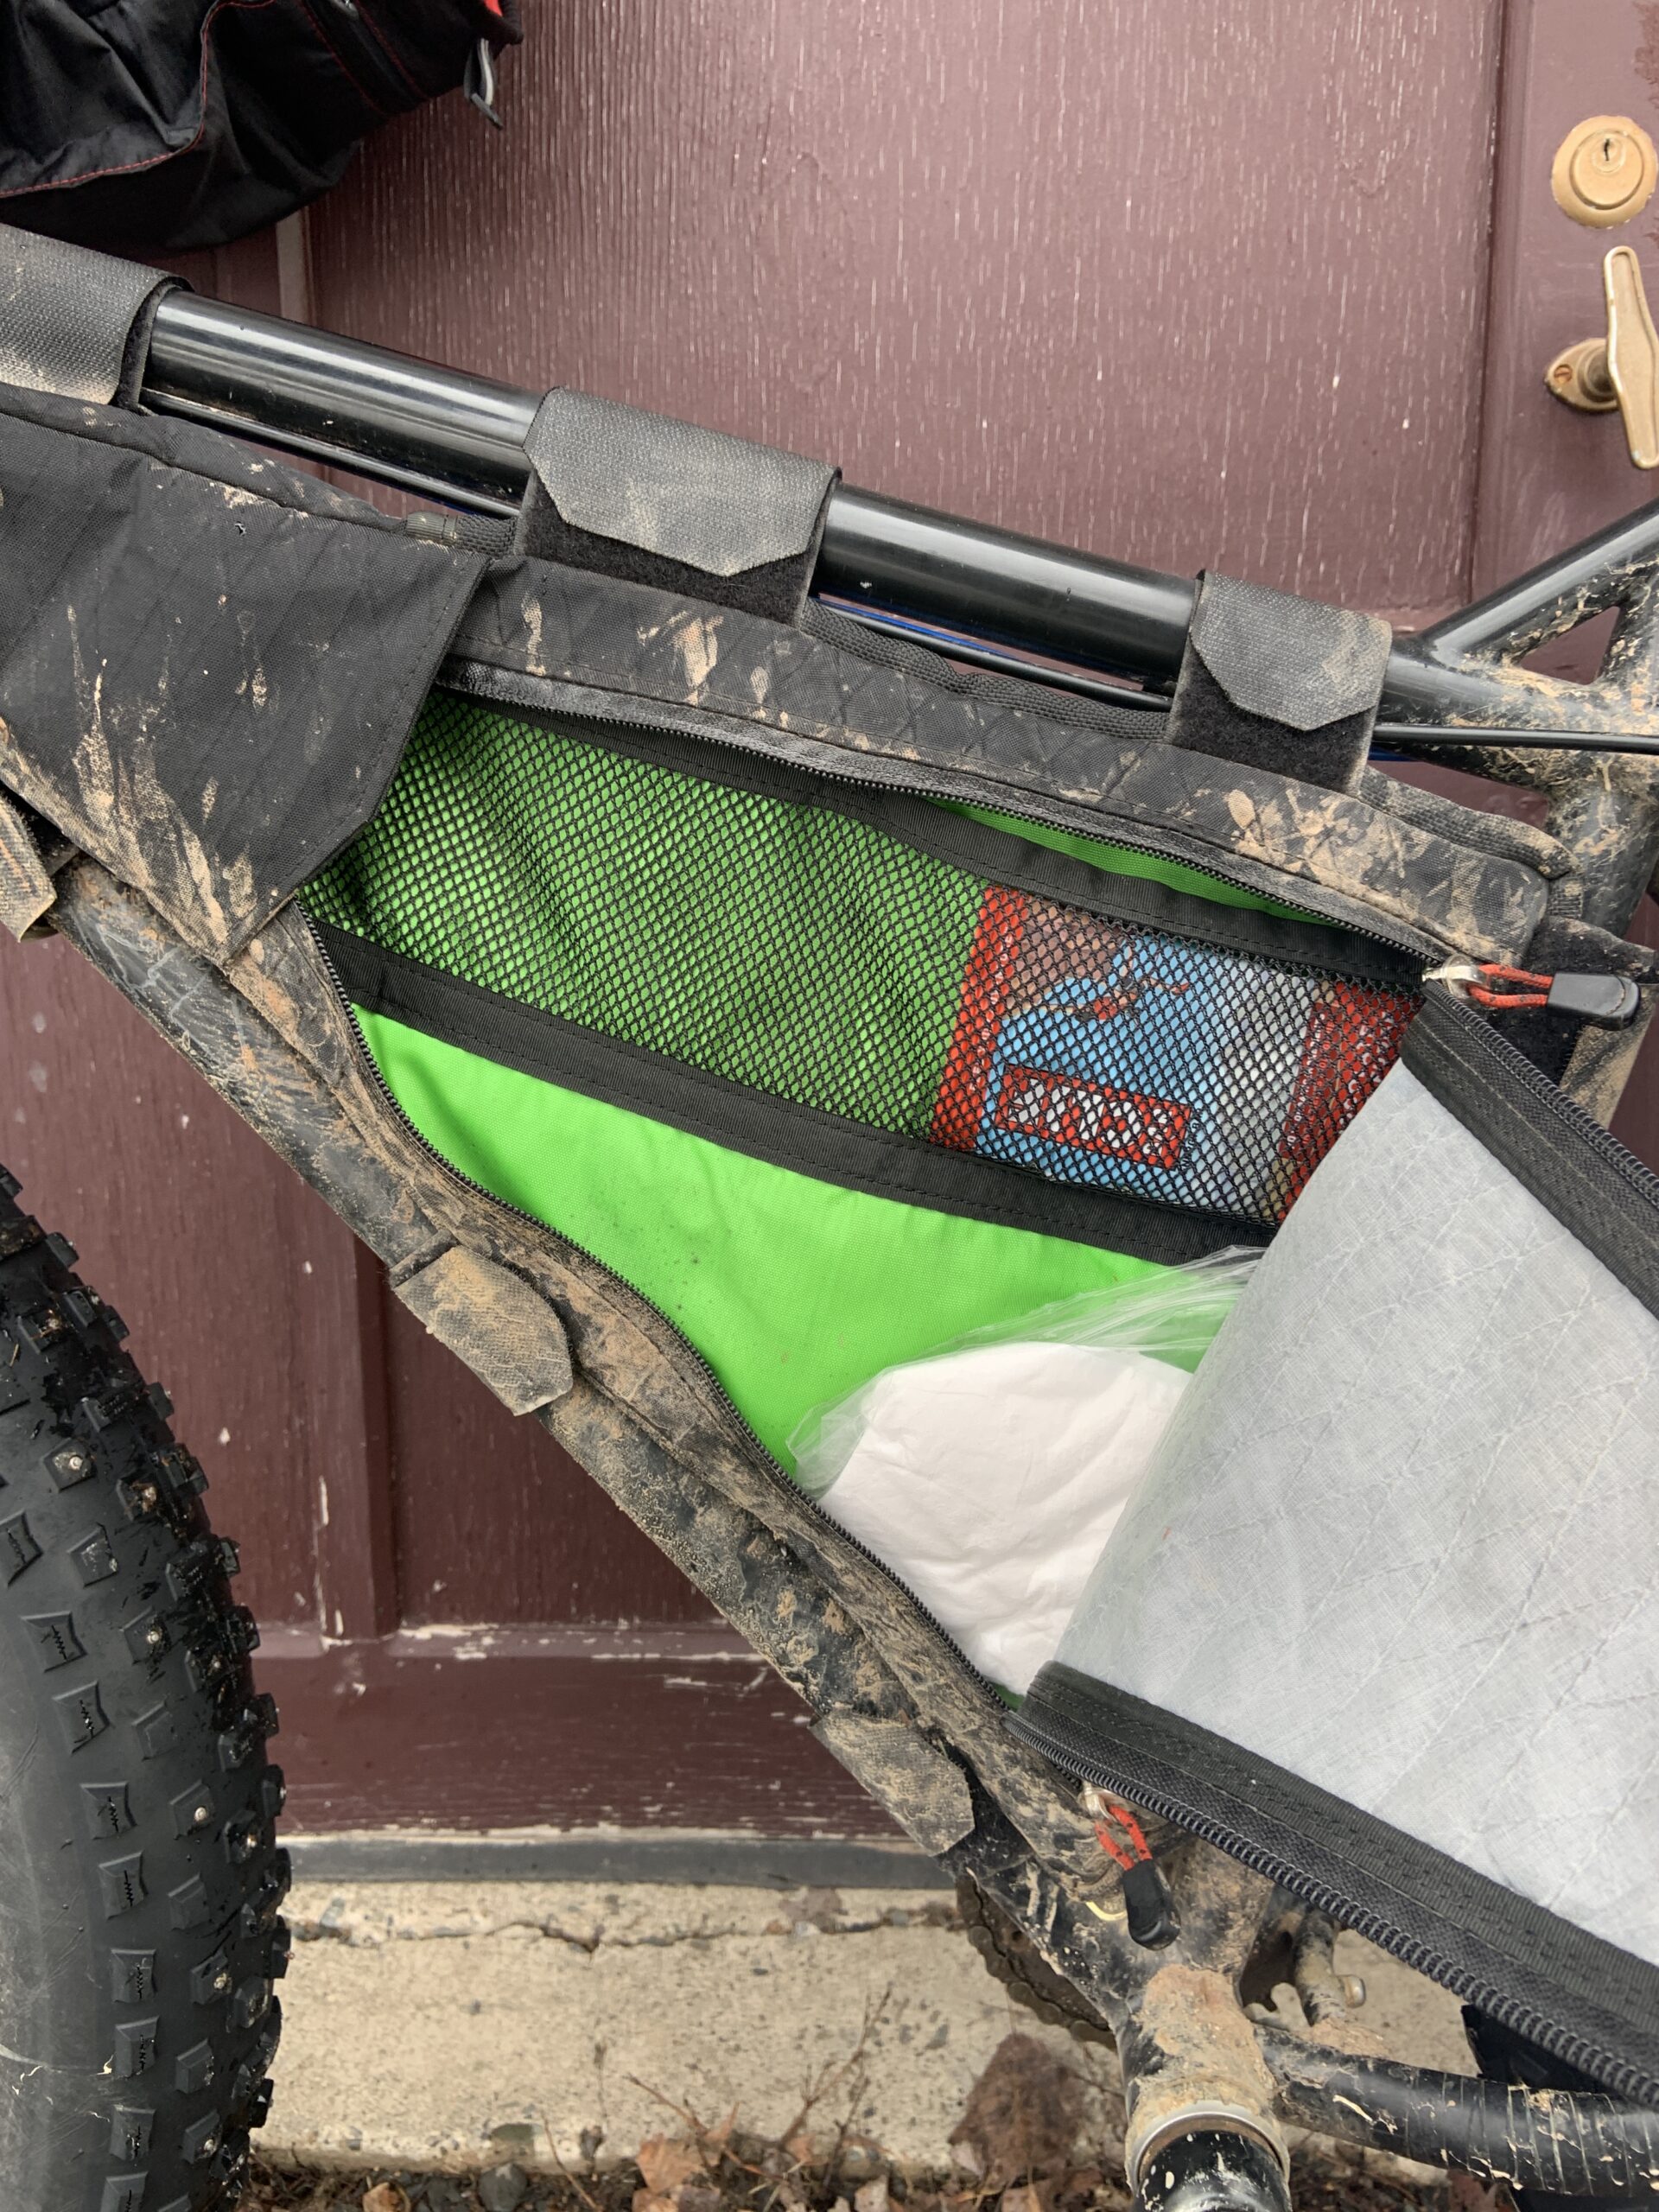
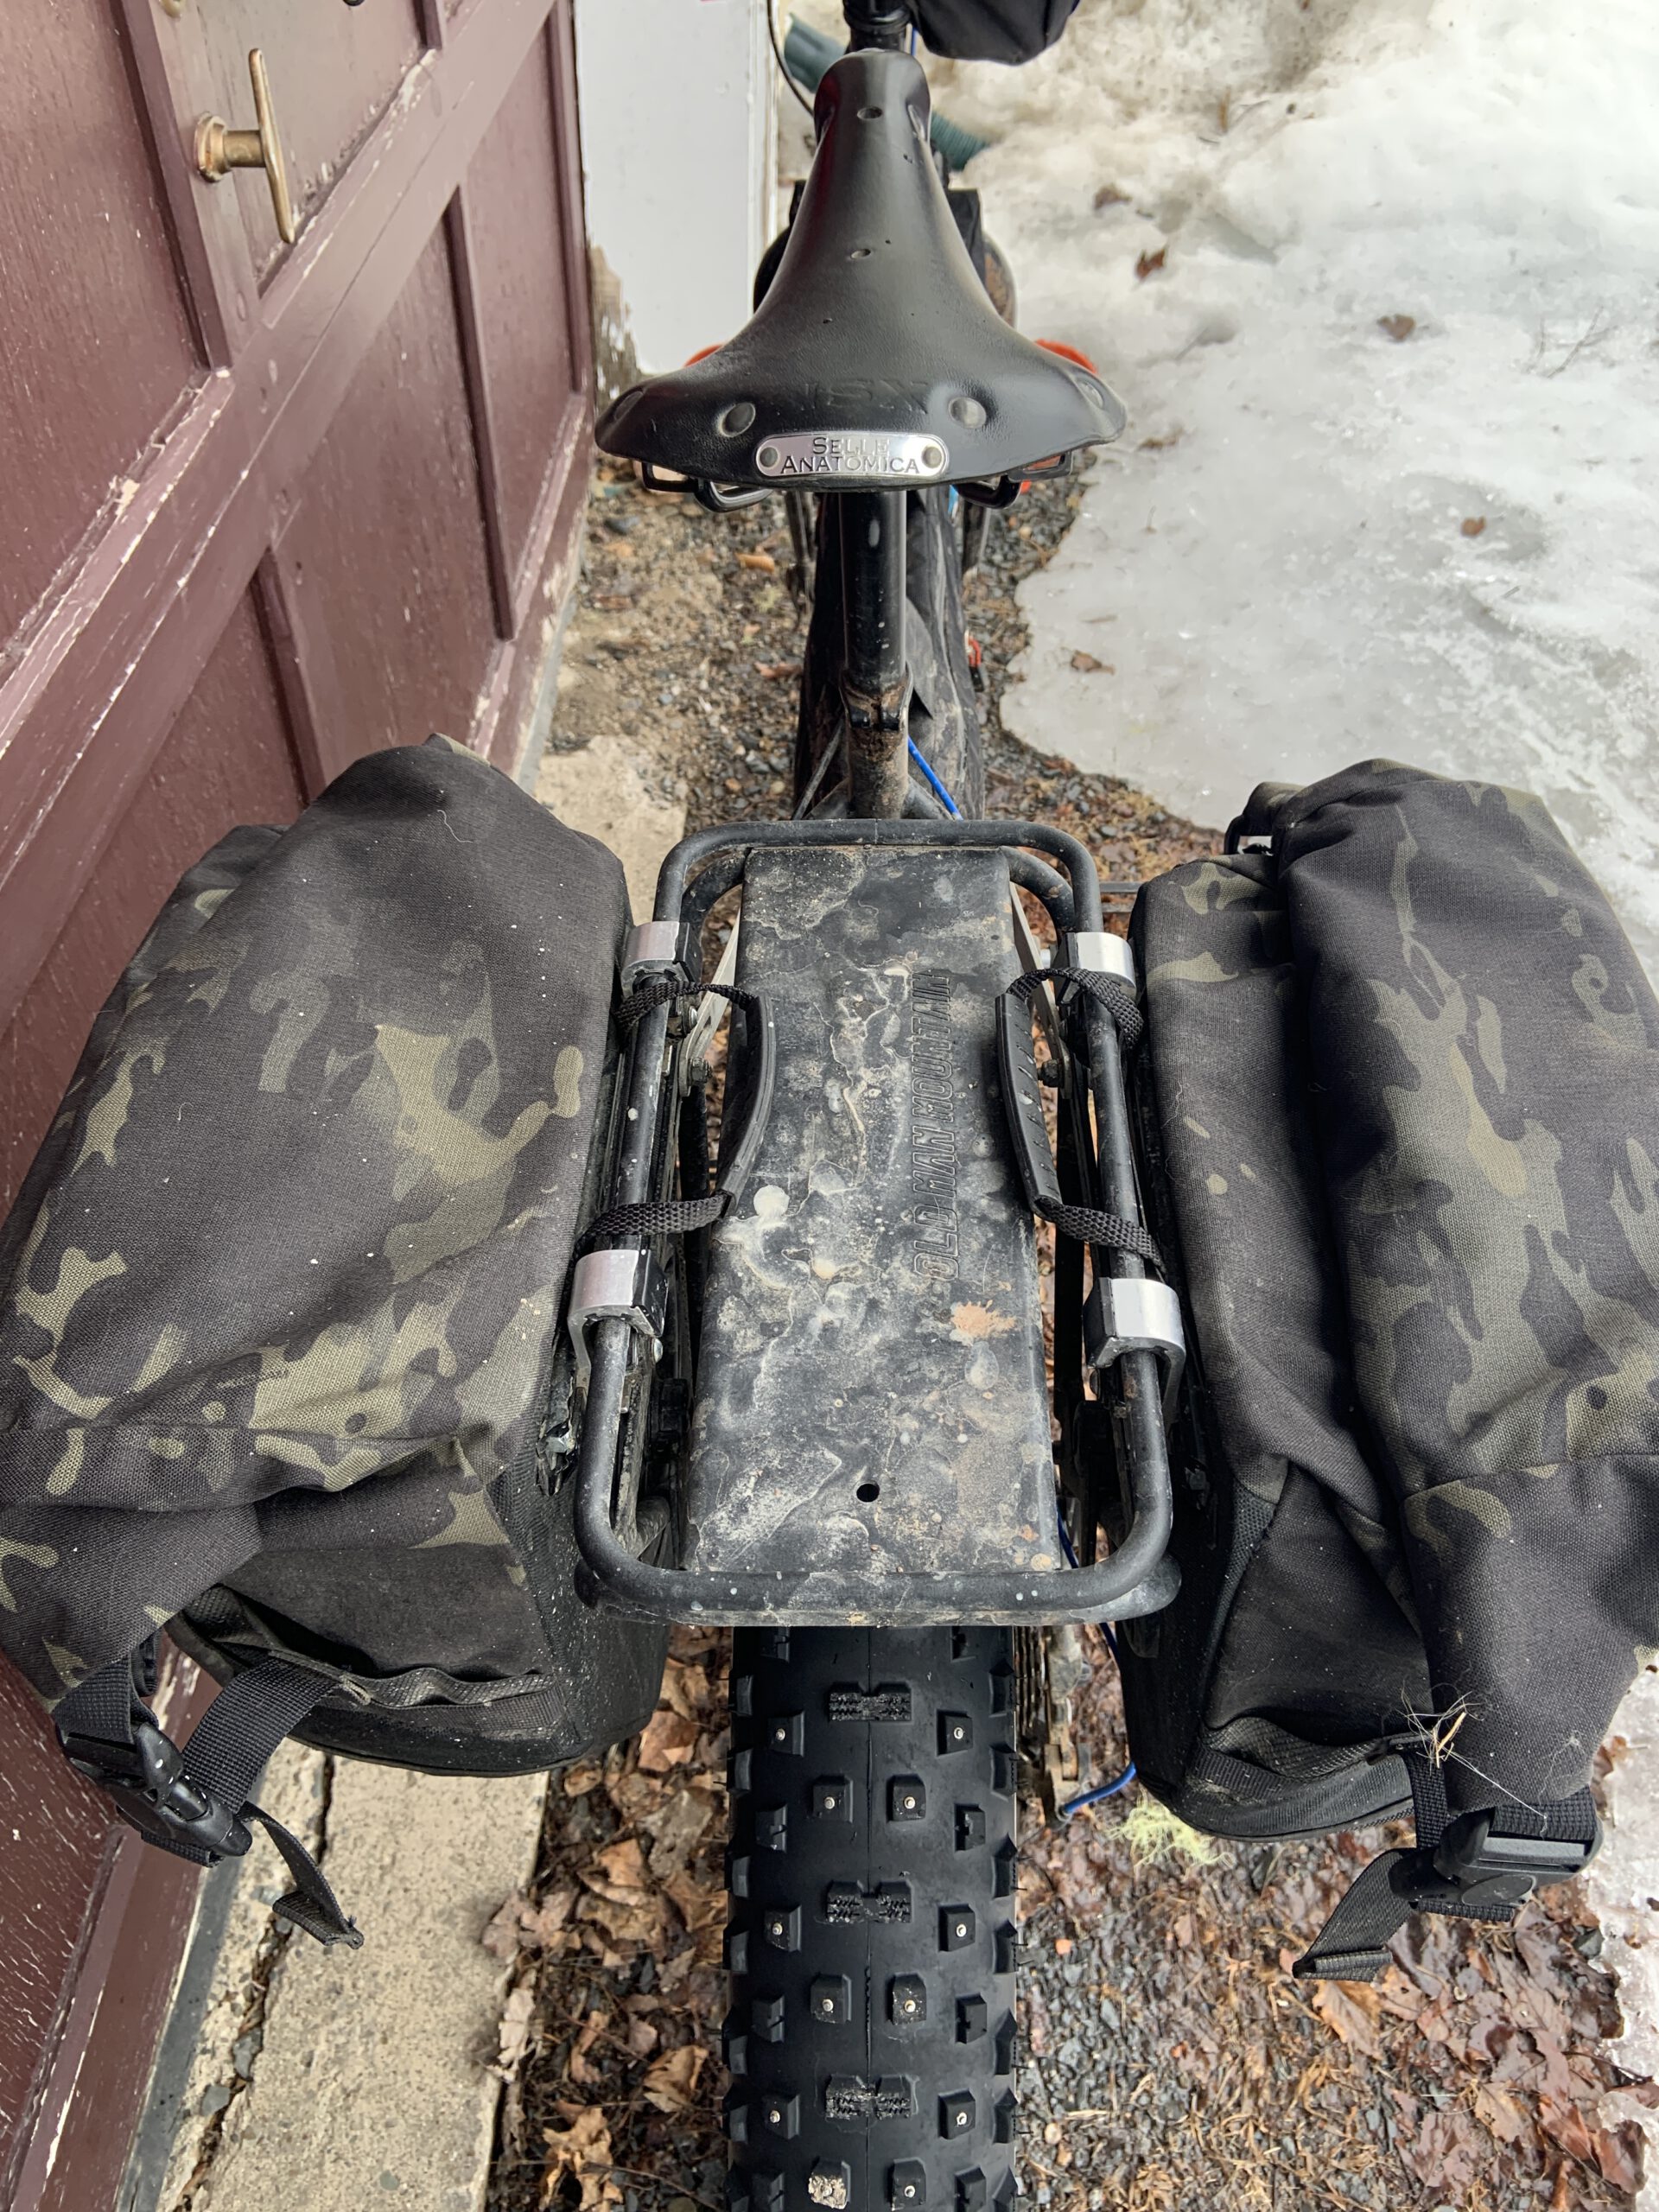
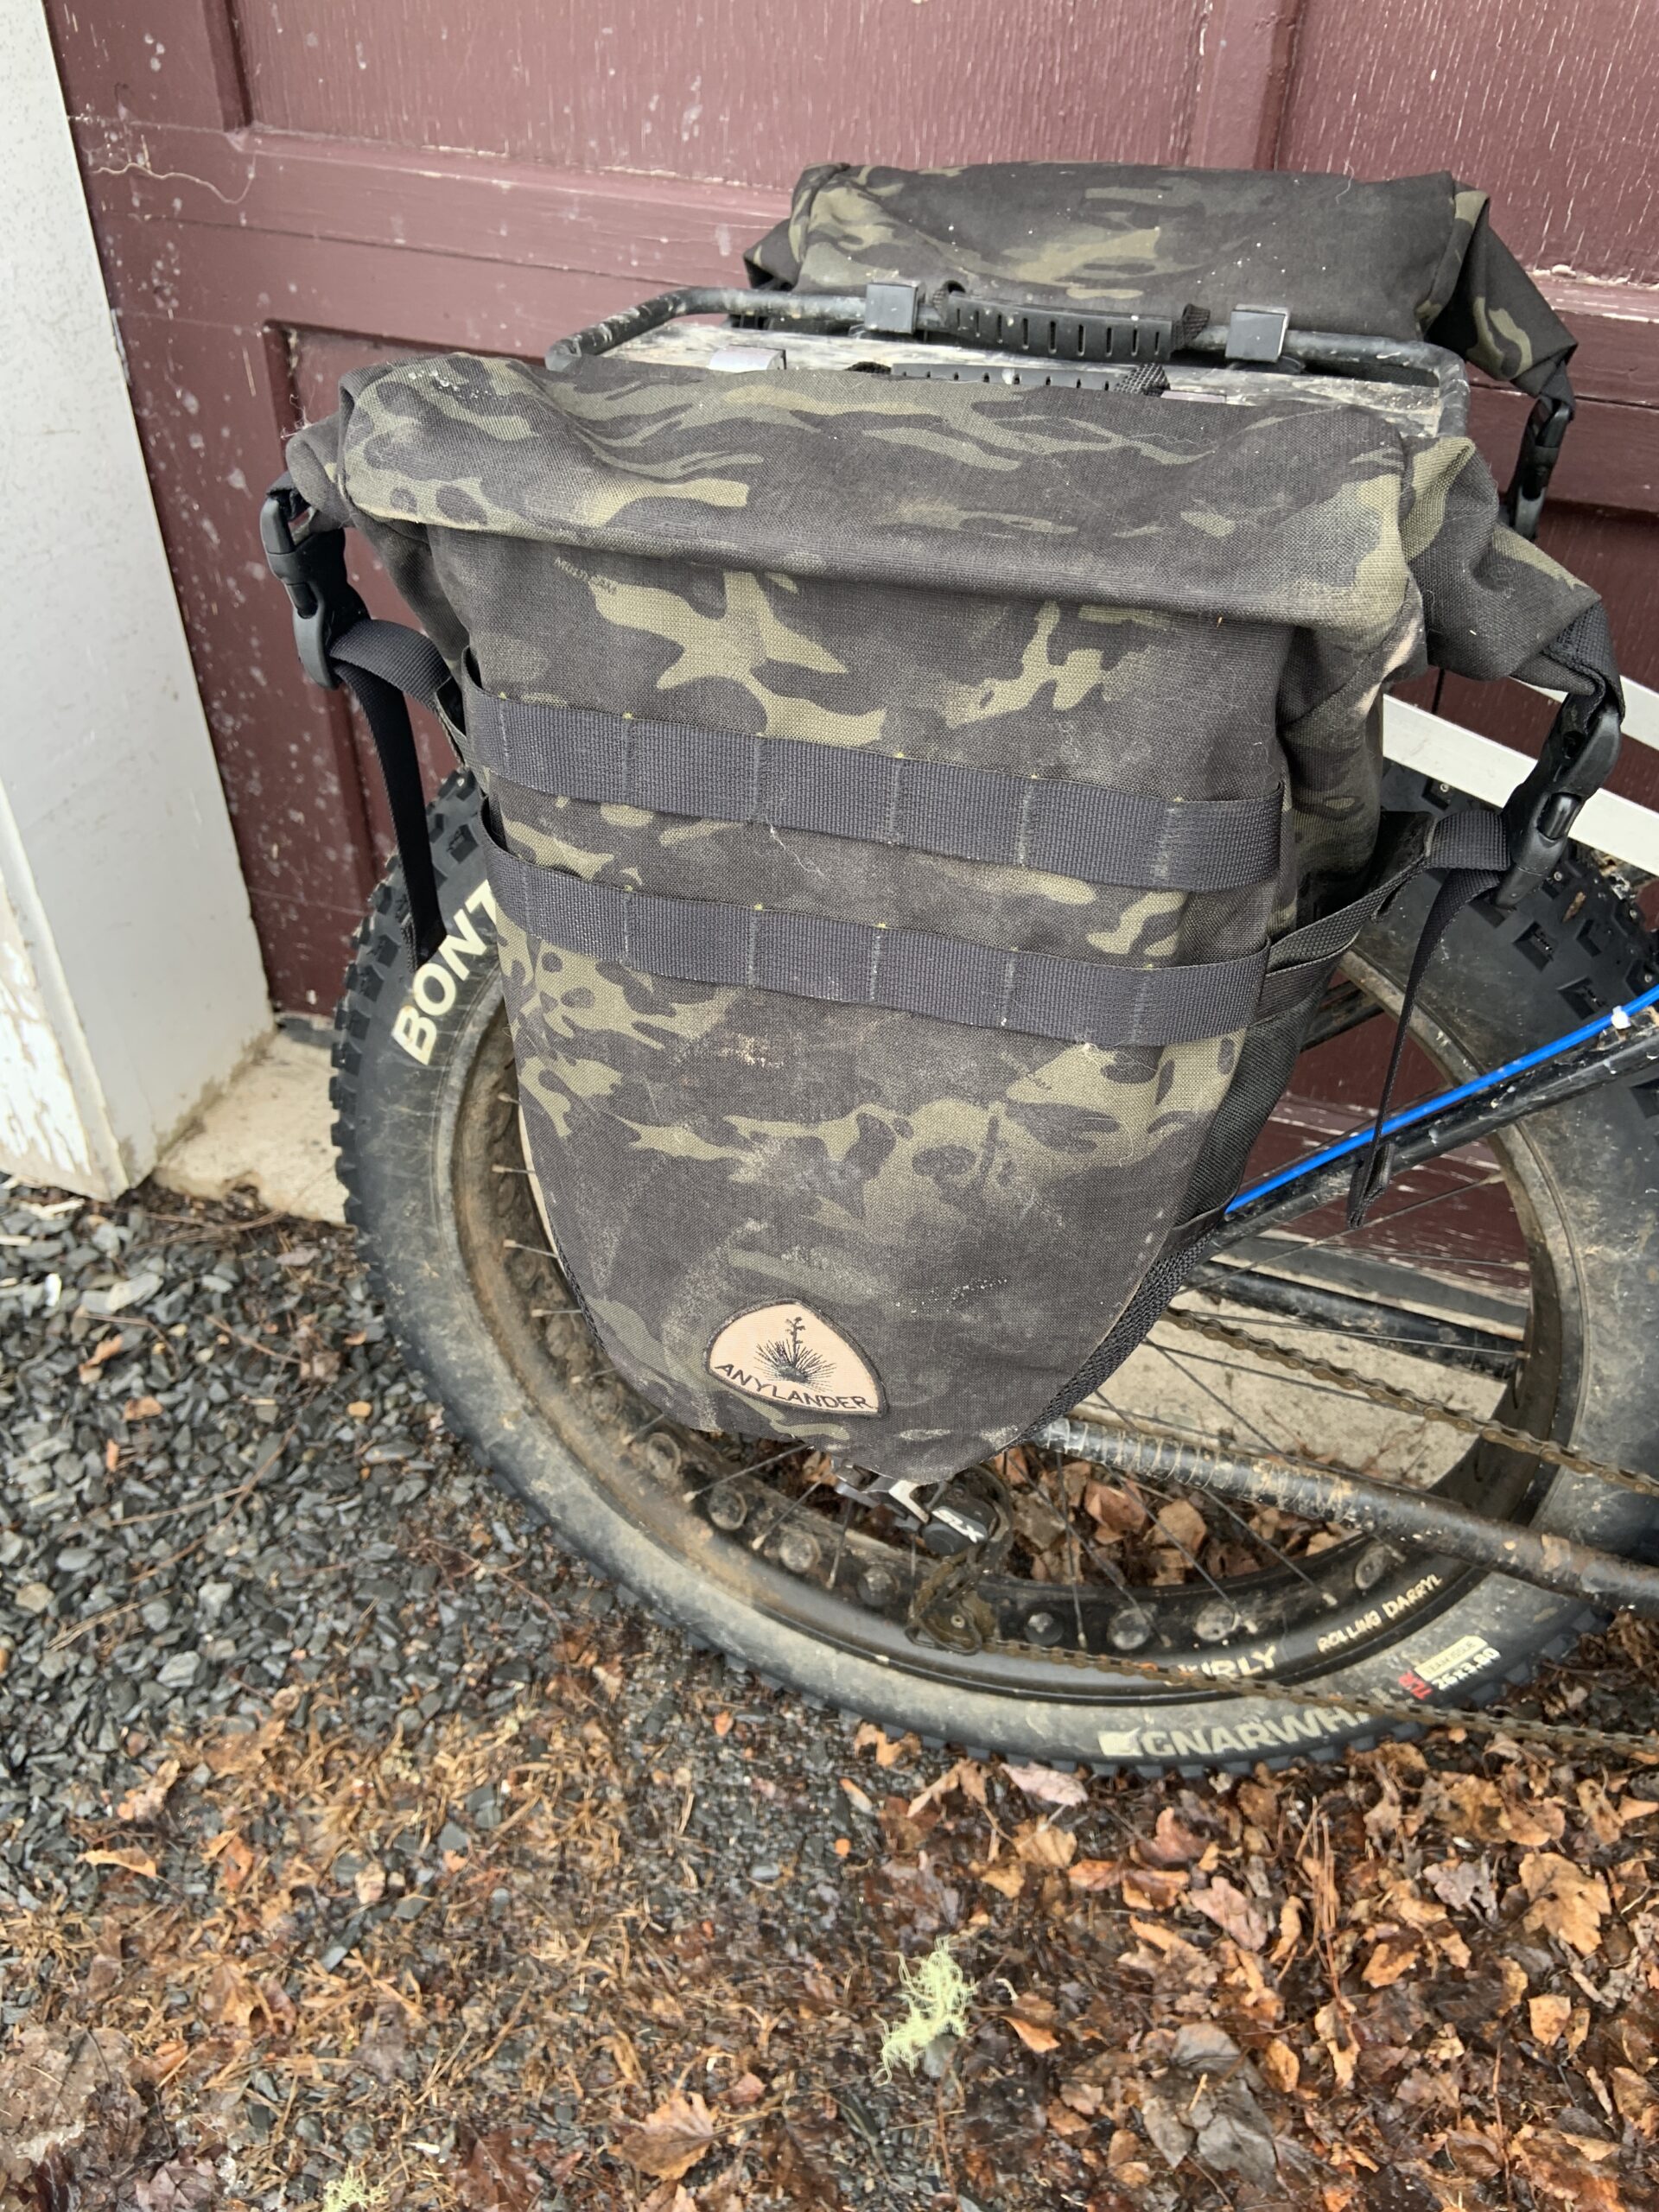
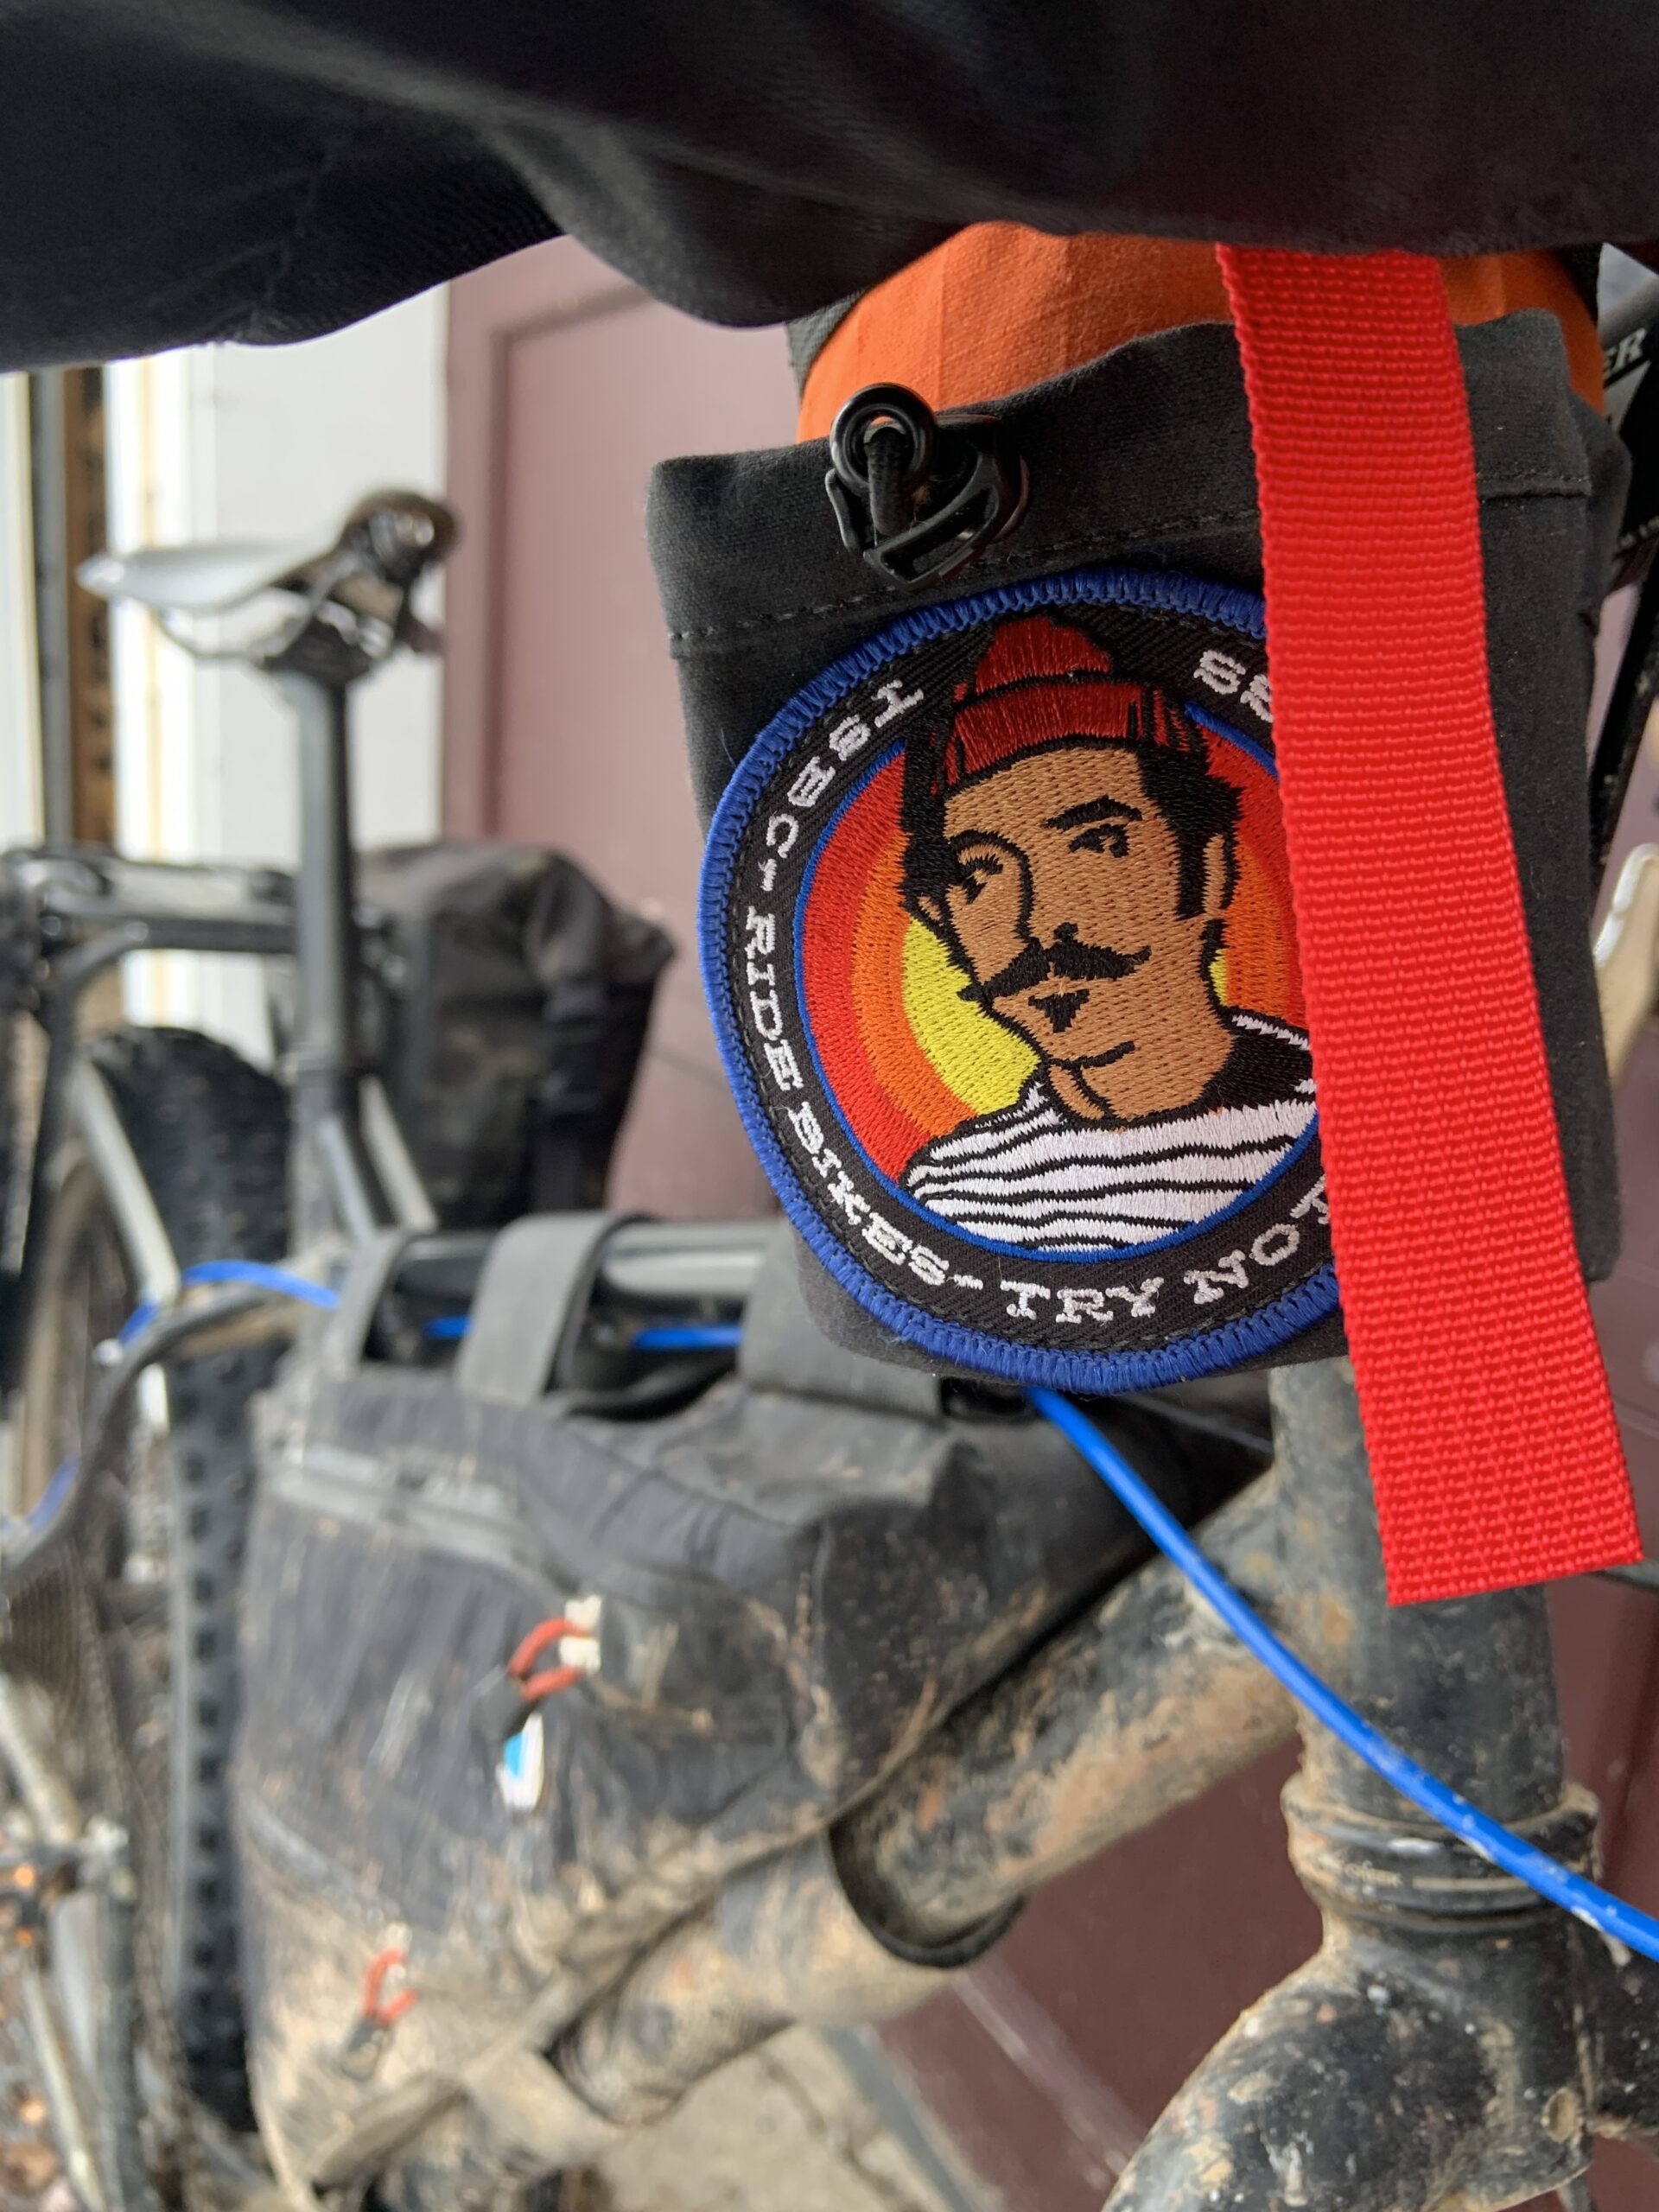
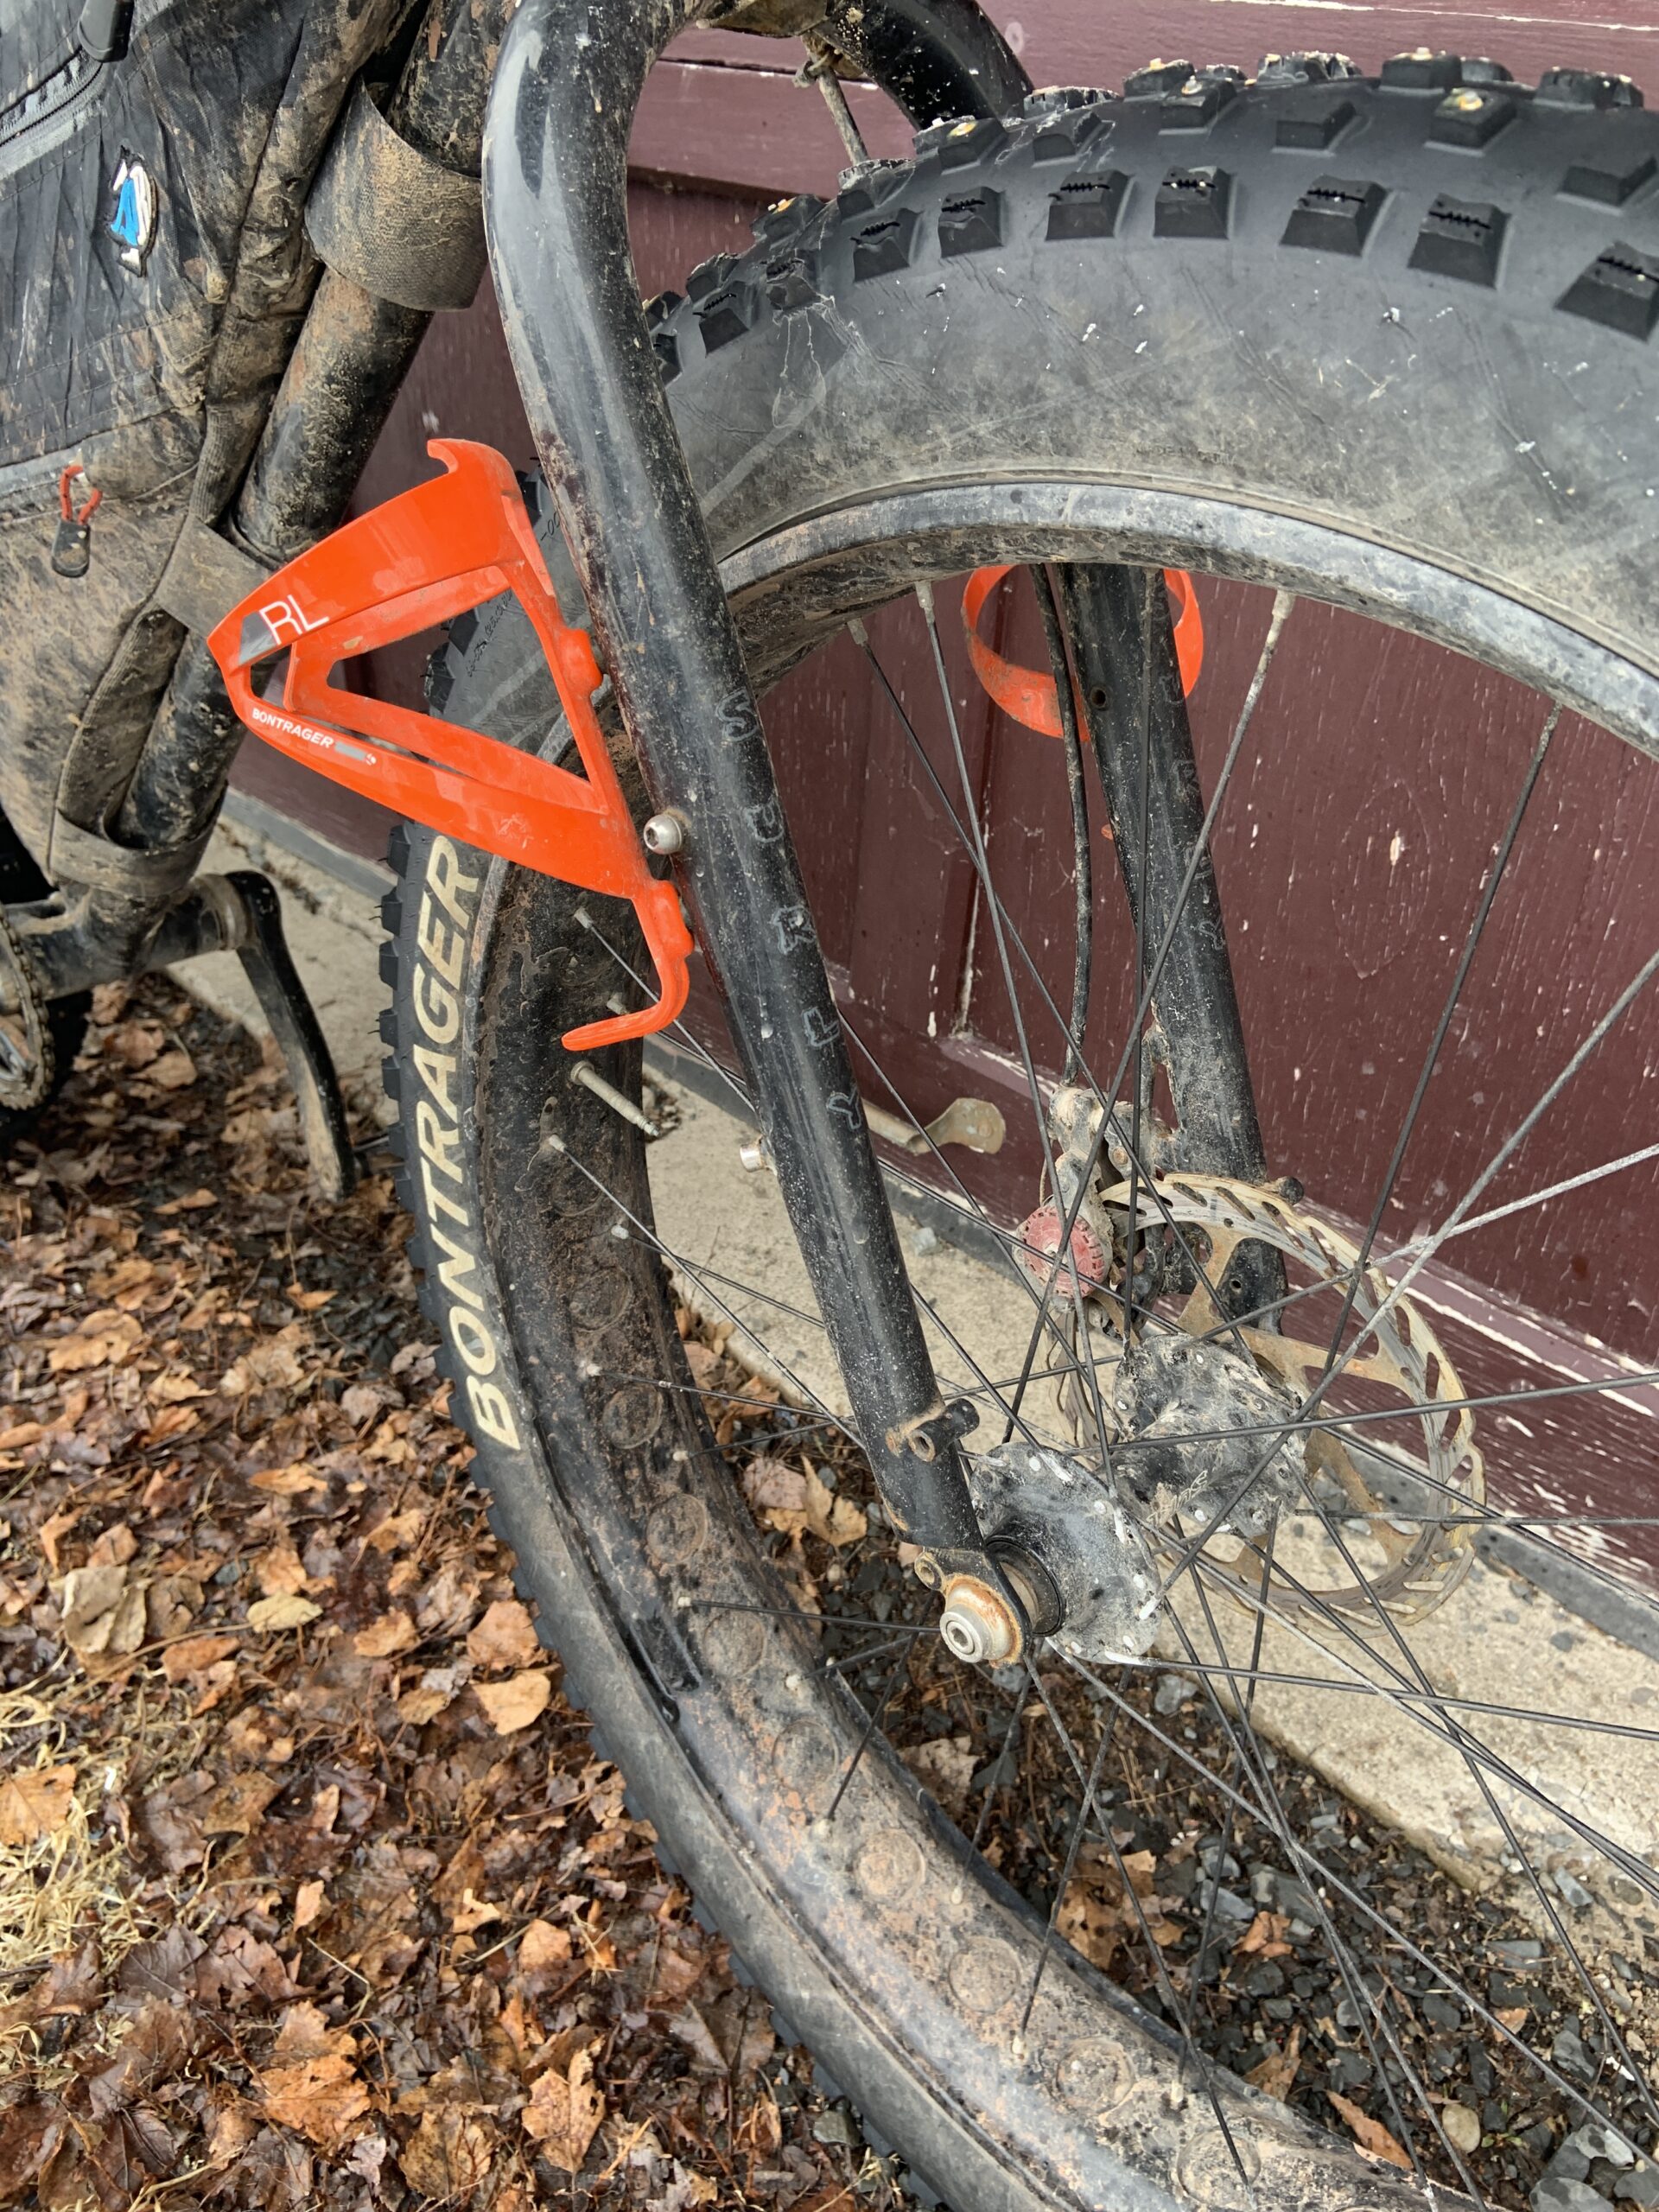
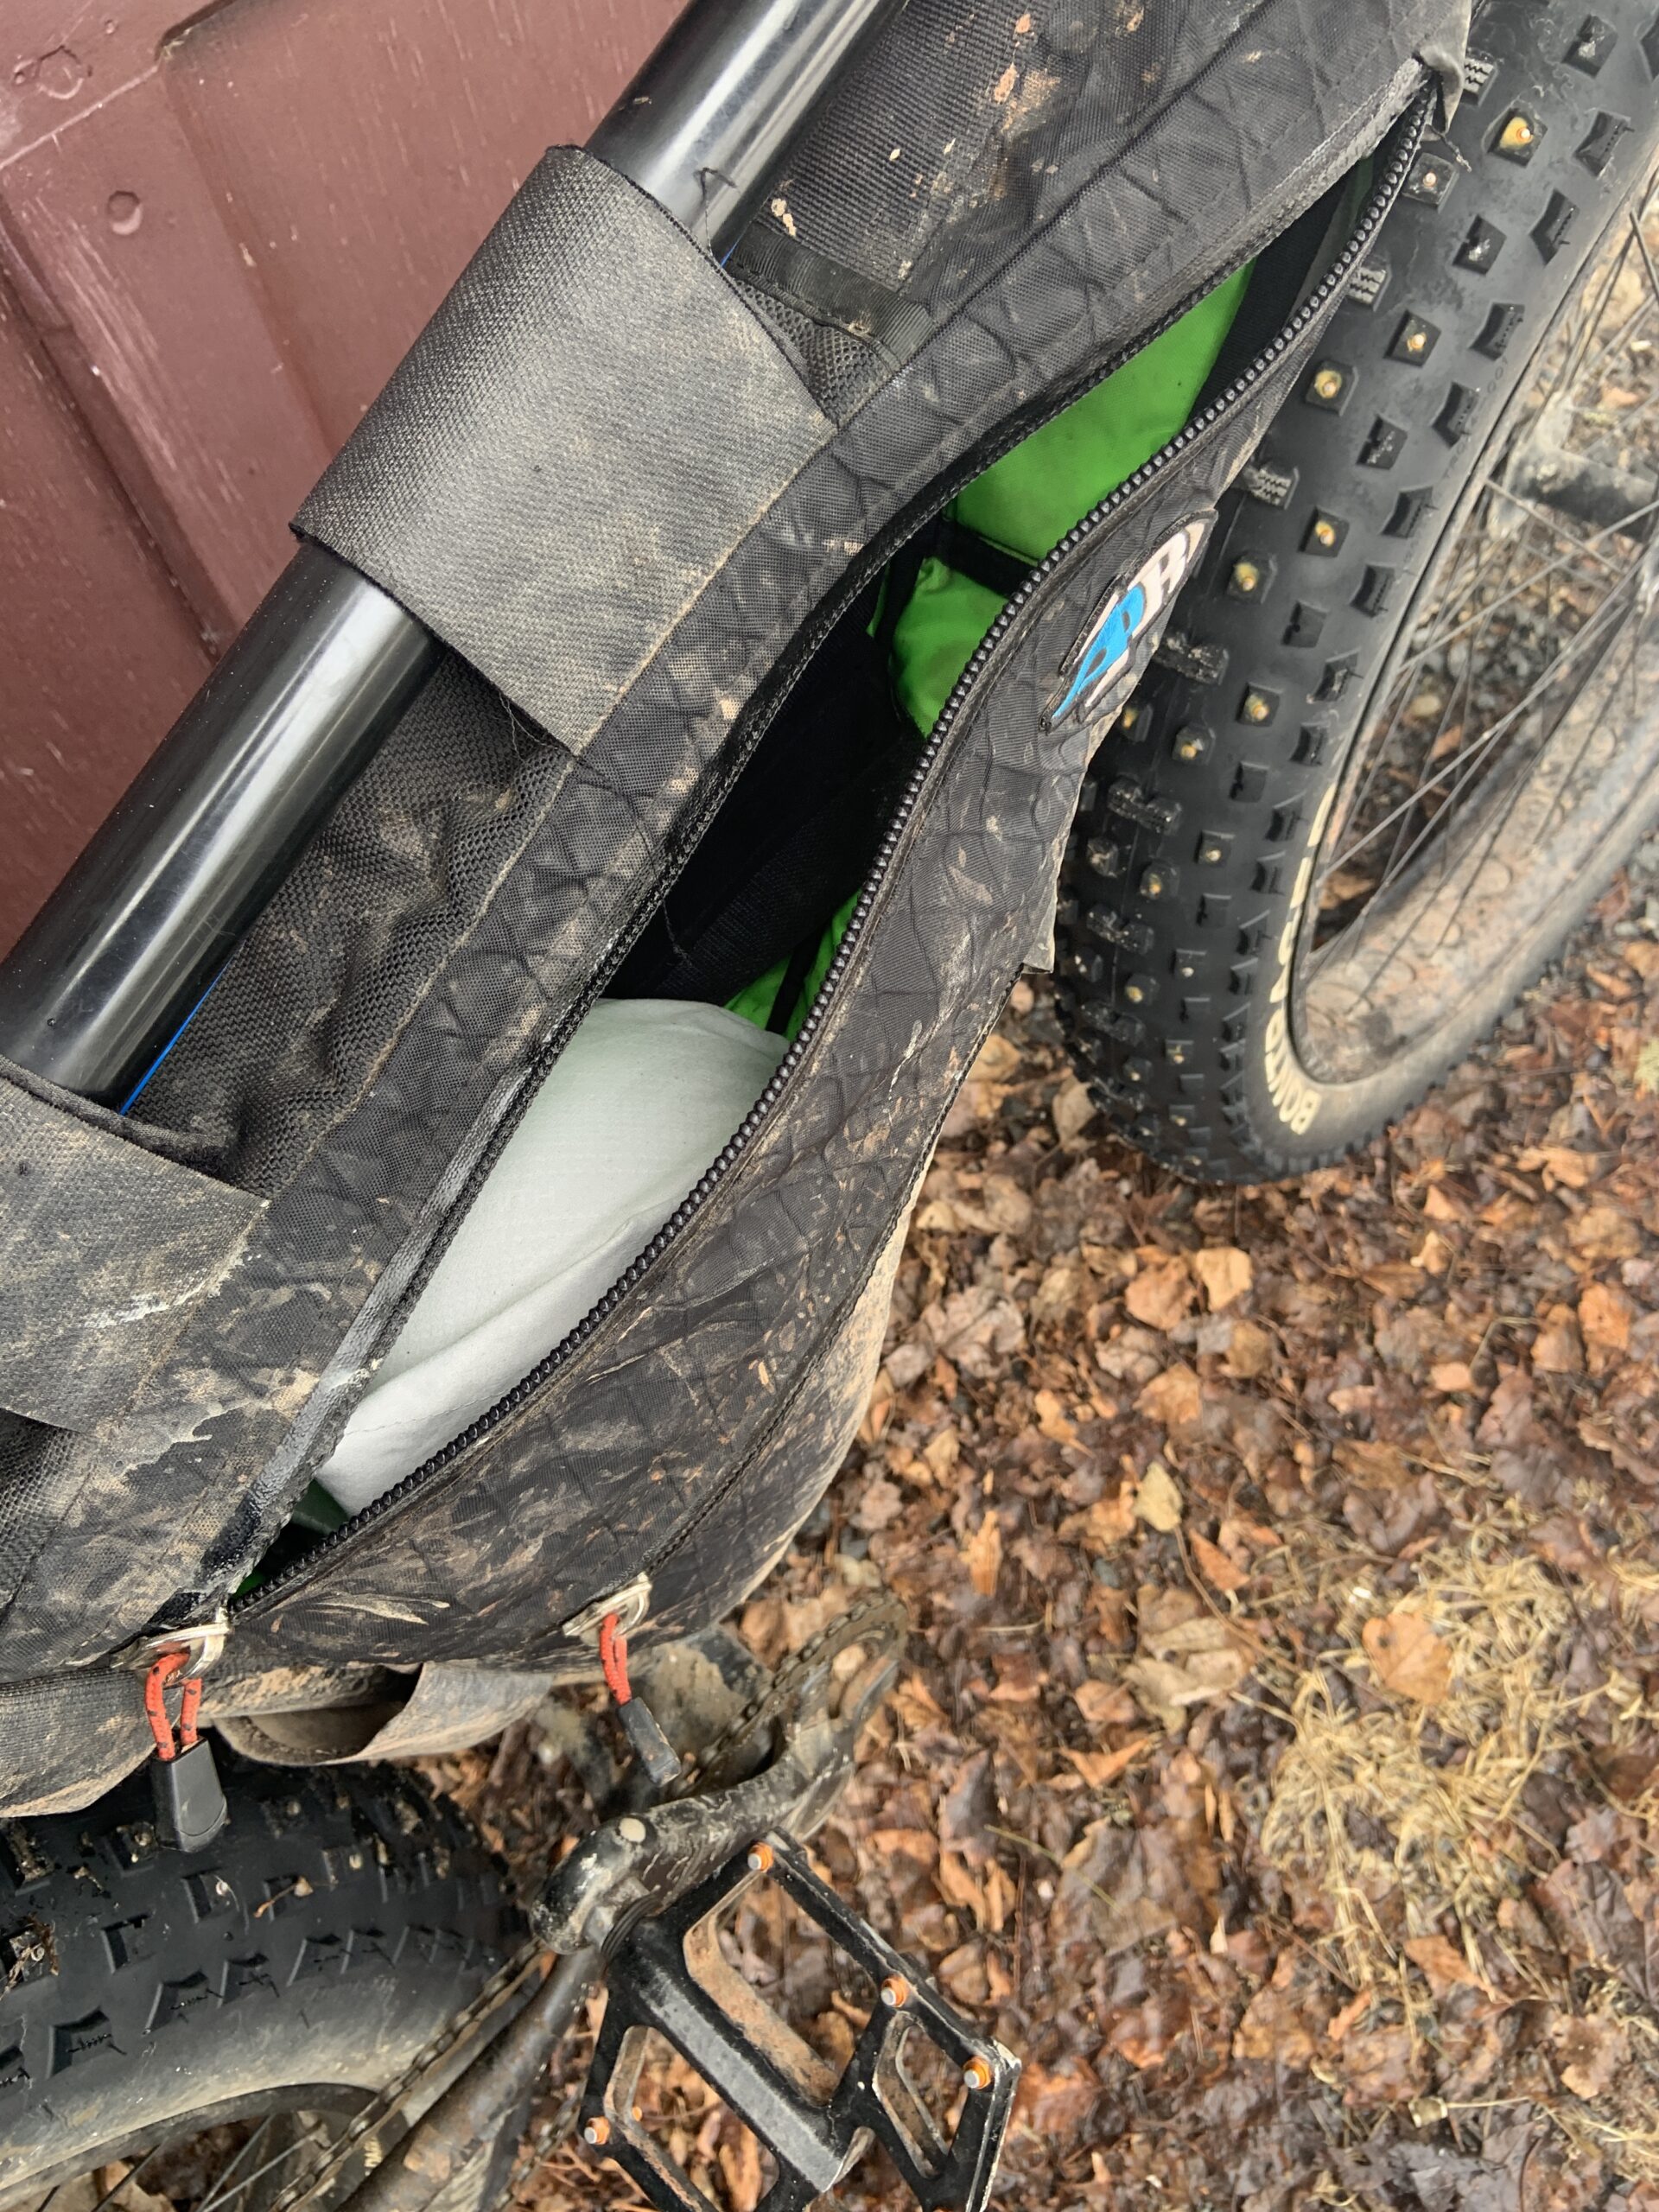
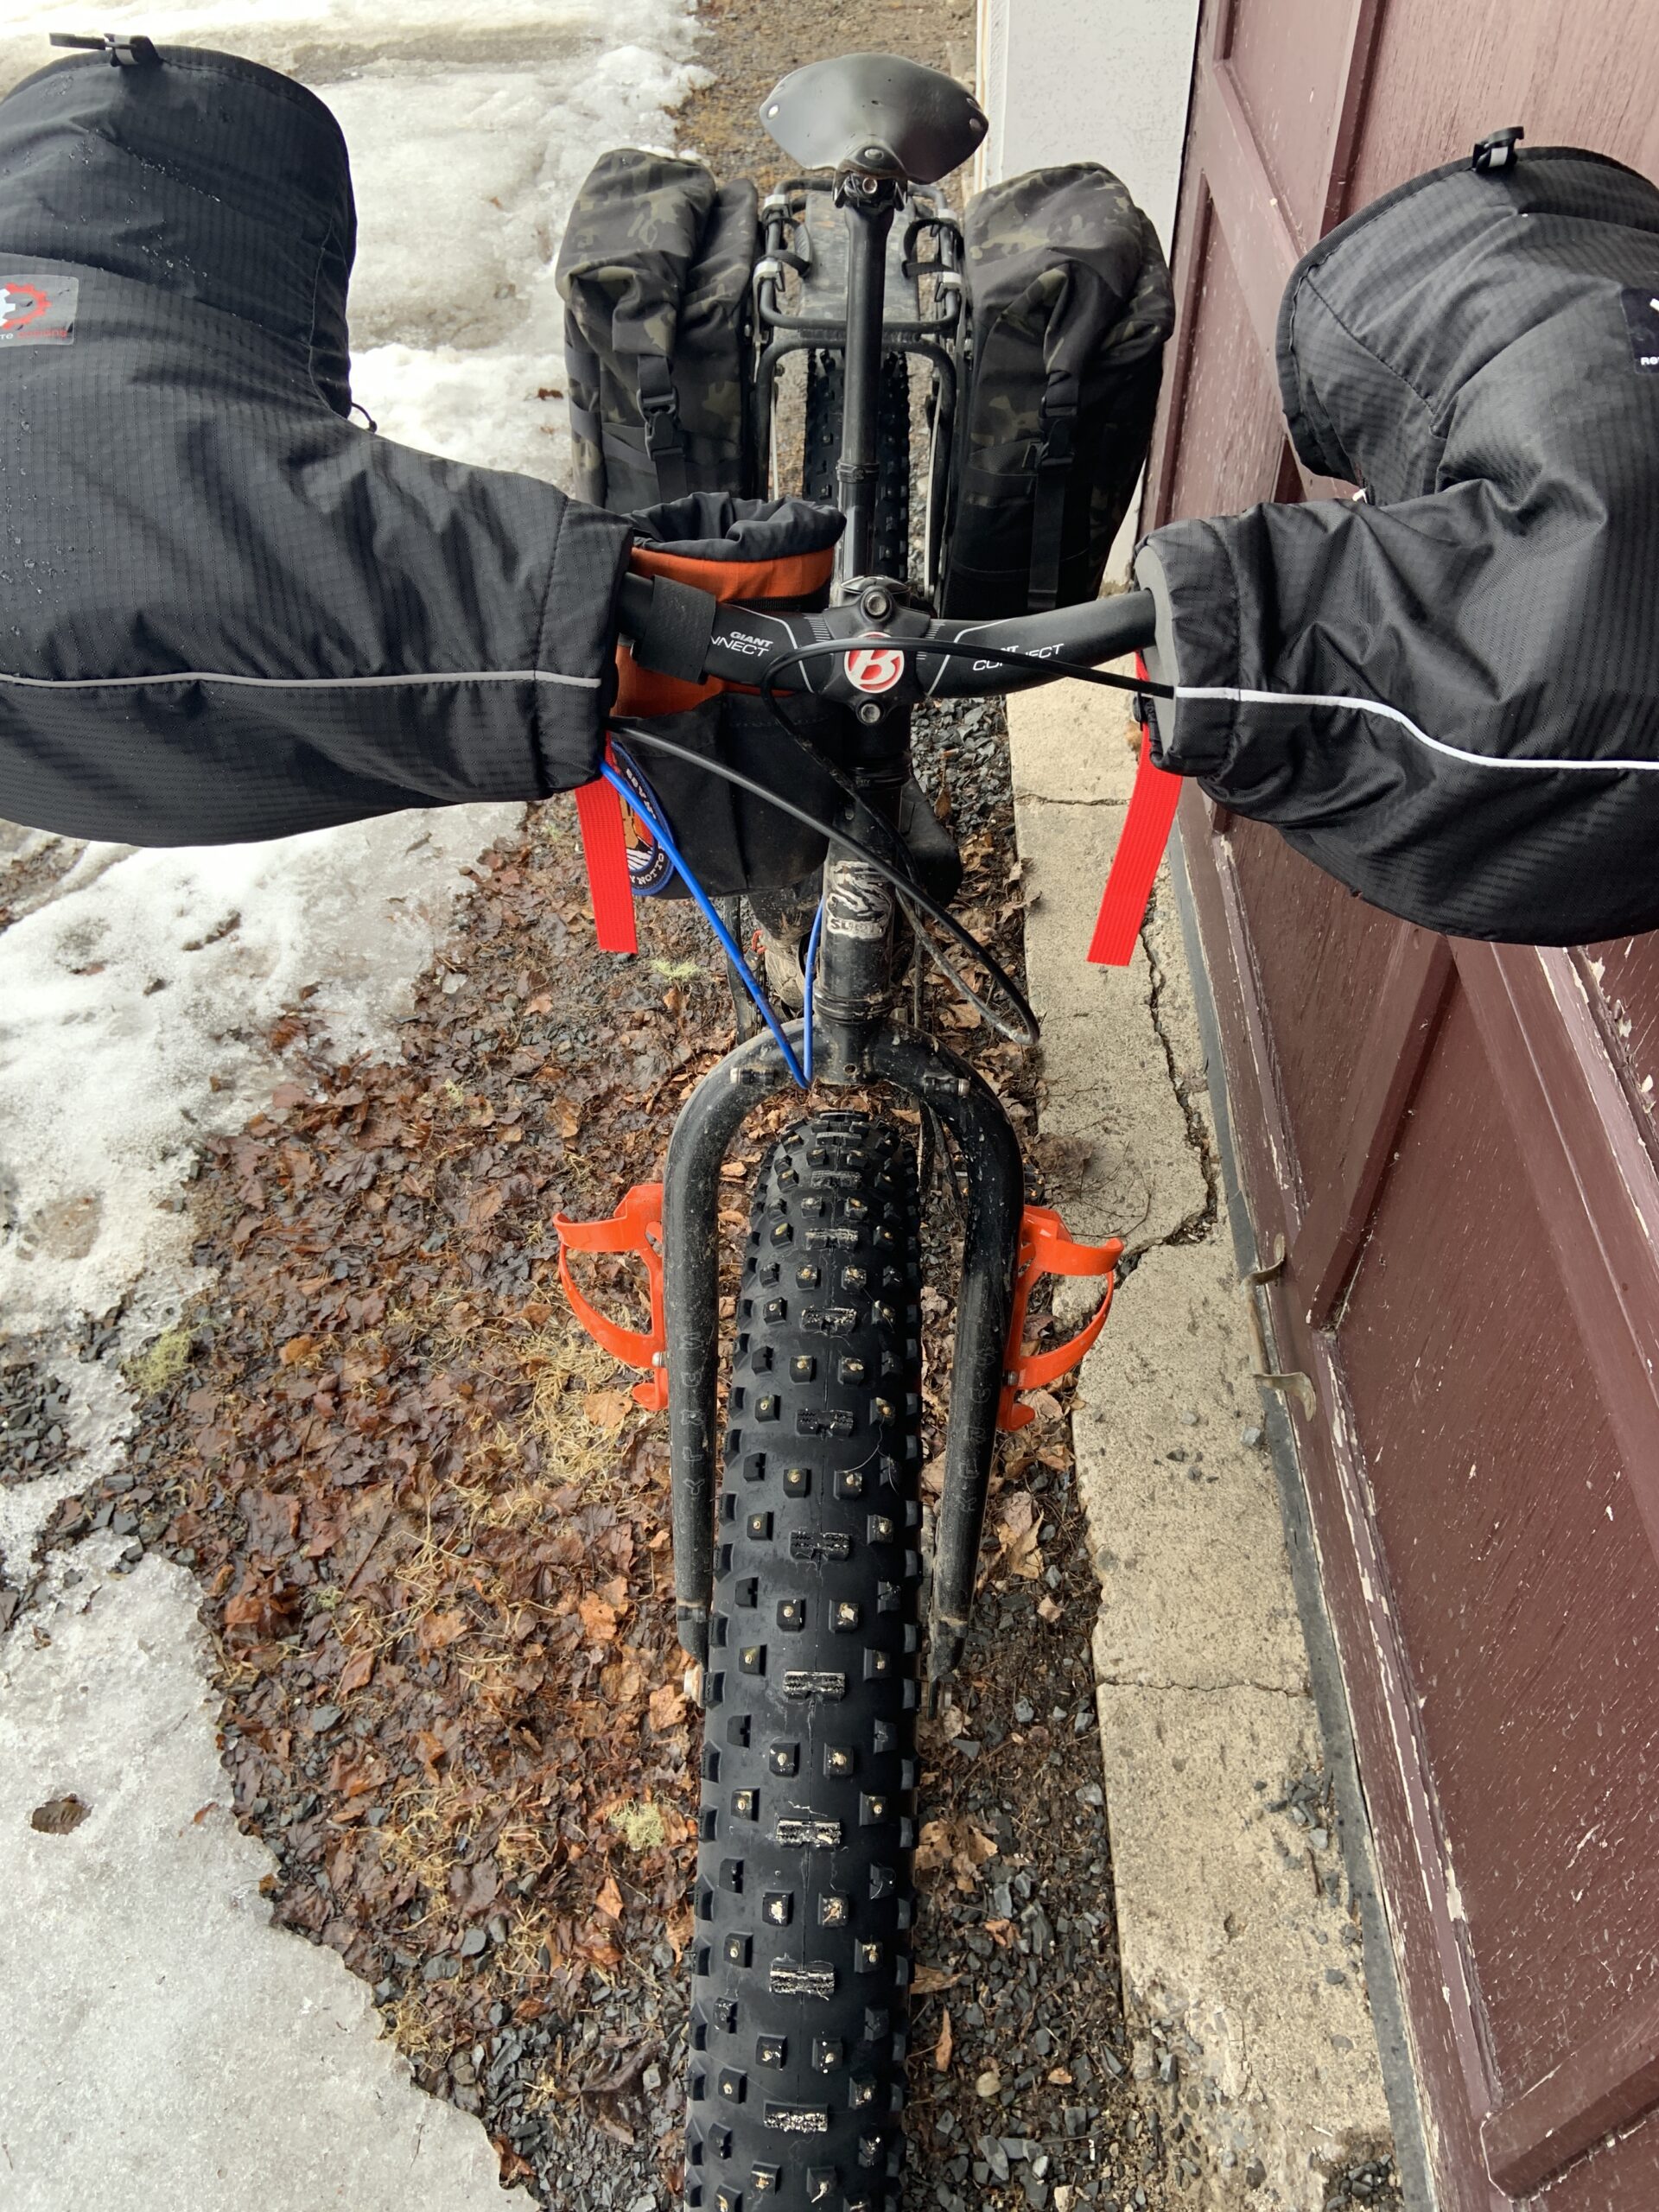
Acquired brand spankin new from @radicaledgebikeski – The Rundown: 2013 Pugsley Neck Romancer Frame and Fork in Burned Nougat. @canecreekusa 40 headset. Bontrager parts bin stem clamping @giantbicycles Connect riser bars with @esigrips Chunky grips to block the cold. @rideshimano 9spd LX shifter clicking an SLX rear deraileur around an 11/34 cassette, spinning a @srammtb chain around a set of X5 GXP cranks that were a take-off of another bike and donated to this project by @shawnthamilton. They’re currently wobbly in the frame, I can’t get them to tighten and they’re probably doing bad things to my BB, but I’ll get to it when I can. @blackspire_components Snaggletooth 32T ring because Canada. I stomp the whole business through jerky squares via @45nrth Heiruspecs pedals. Avid FR5 levers pull BB7 brakes on the original rotors. The stock Kalloy seat post clamped by a Surly clamp capped by a @selleanatomica (NSX?) Saddle. Stock Surly Rolling Darryl rims mated to a Shimano Deore Rear Hub and Surly Ultra New front hub. @ridebontrager Gnarwhal studded tires. OG @porcelainrocket ‘2 section’ frame bag from back when Scott would actually take your frame measurements to make ‘em. I even had him add in some mesh pockets on the non-drive side of mine because #deepcustom . An @oldmanmountainracks Fat Sherpa rear rack holds my Anylander Panniers (also made by Porcelain Rocket) and @parts.and.labor . A couple of other choice bits of this current incarnation are some @revelatedesigns Expedition Pogies – something I waited forever to get, but shouldn’t have because they are a game changer in the cold – and a Tarik Saleh Bike Club Bartender Bag by @randijofab for positive mojo and transportage of little things. Bontrager plastic bottle cages on the forks for bottles. Of course now that I finally got around to making this post – just yesterday I swapped out the wheels for the 29+ set because spring is coming. At some point. I guess I’ll do another post – whenever.
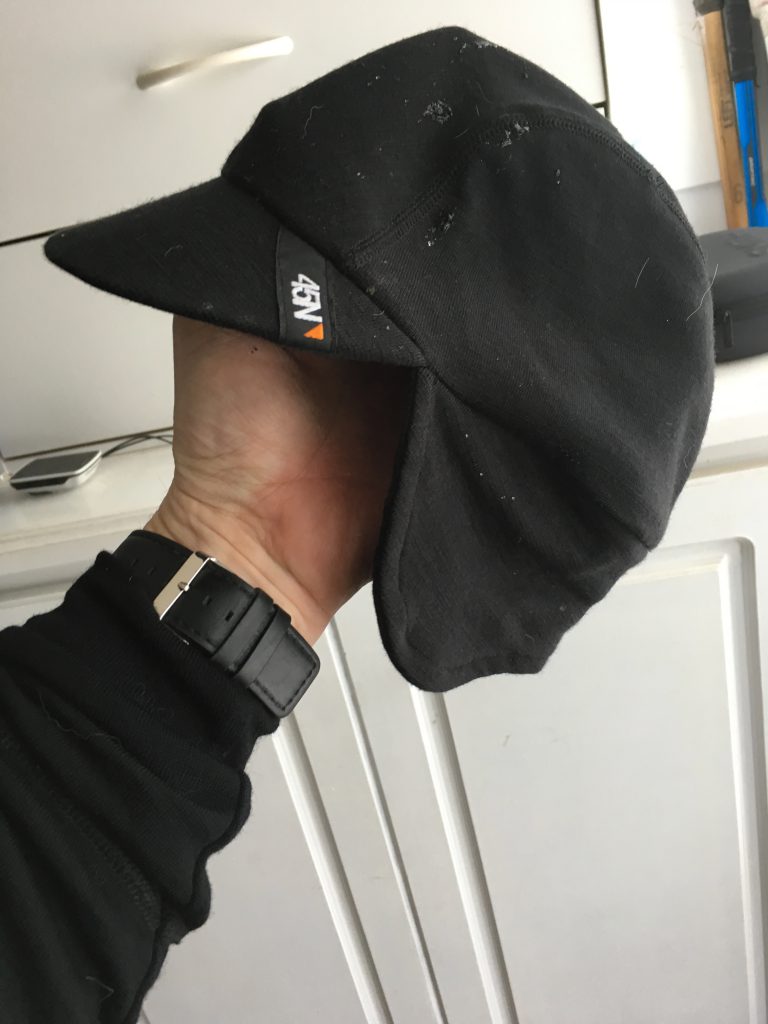
Greazy. Some years ago I stumbled into @radicaledgebikeski to find one of these @45nrth Greazy caps sitting on a rack. It being the only one, and me being, at the time, a total 45NRTH fanboy, I snatched it up, ignoring the fact that I had an overflowing drawer full of headwear at home. It came home and went in the drawer. I had another winter cap with flaps that was my go-to and I wasn’t changing things up. A couple of times I brought this one out to get ready for a ride, only to decide at the last minute that it was too warm that day and went with a regular cap. Back in the drawer. Until today. Today it got the call up. I was heading out for a nasty road ride in nasty weather and it seemed this would fit the bill. The temp was hovering around 0º C and the winds were kickin’. Wind that kind of blows right through you. I got kitted up and immediately remembered why I liked this cap the moment I picked it up. It had some WEIGHT. The merino wool had substance. That worked out well, because that weight meant that the earflaps stayed down over your ears nice and cozy no matter what. The cap fits pretty much skin tight, which is great, because it felt like it wasn’t even there under a helmet, other than the whole toasty warm bit. The brim is a good size and construction and the earflaps, in addition to staying put, worked great and didn’t cause problems with helmet straps or sunglass arms. It’s not the sexiest cap out there when you take your helmet off, so if you’re looking to score at the cafe on your ride, you might be out of luck. I have some other caps that are more stylish off the bike. However, if you’re looking for a practical, solid and well performing winter lid to keep your cranium and listening bits warm, you owe it to yourself to check one out.
After holding out on dropping the mad dollars for some studded fat bike tires for a few years, I finally caved. Here’s what I found out.
When I first got my Surly Pugsley, I was an instant believer in the platform. I picked it up in February took it home and bombed around in the snow in my back yard. All the hype about the fat tires in snow was the real deal. And fun? Forget about it.
As I continued to ride through the winter, both for fun and commuting, one thing became clear: though the platform was great for the snow, ice still held it’s own challenges and in some extreme cases of ice, even the fatter tires were no improvement over a conventional sized tire. You simply couldn’t ride in some instances without studs of some kind. I started to research a bit.
To the best of my recollection, that same year, 45NRTH were the first to come out with a production studded fat bike tire, the Dillinger. I wanted some instantly. Then I saw the price. Around $250 PER TIRE. I was floored, but I also thought that this was a new market, and over time, prices would come down. I resigned myself to wait. Winter ended, summer passed. Fall began. I started to think about the fatbike again and the struggles I’d had on ice. I decided to bite the bullet and order some Dillingers. Problem was, this was when the winter fat bike boom was really starting to take off. Couldn’t get ’em in my neck of the woods. I had an order in but the distributor had already sold out for the season and wasn’t expecting more stock. I gave up on getting any that winter early on.
Late in the winter after spending too much time in internet rabbit holes, I decided to have a go with some DIY chains. I don’t want to detail the whole process I used here – maybe that’s for another post. Suffice to say, they only worked so-so, I had some problems with frame rub/contact, and one eventually broke mid-ride so I said screw it and took ’em off.
For quite awhile, 45NRTH were the only ones out there making a studded fat bike tire so they had the market cornered. The last year or so has seen a ridiculous boom in fat bike popularity, last year pretty much every major manufacturer added at least one model to the product line up. Major players Trek/Bontrager jumped into the game with both feet – adding not only bikes, but several fat bike tires to the catalog including the studded Gnarwhal. My LBS where I work part time is a Trek dealer, so I was hoping this would make it easier for me to get a set, and it did.
Specs
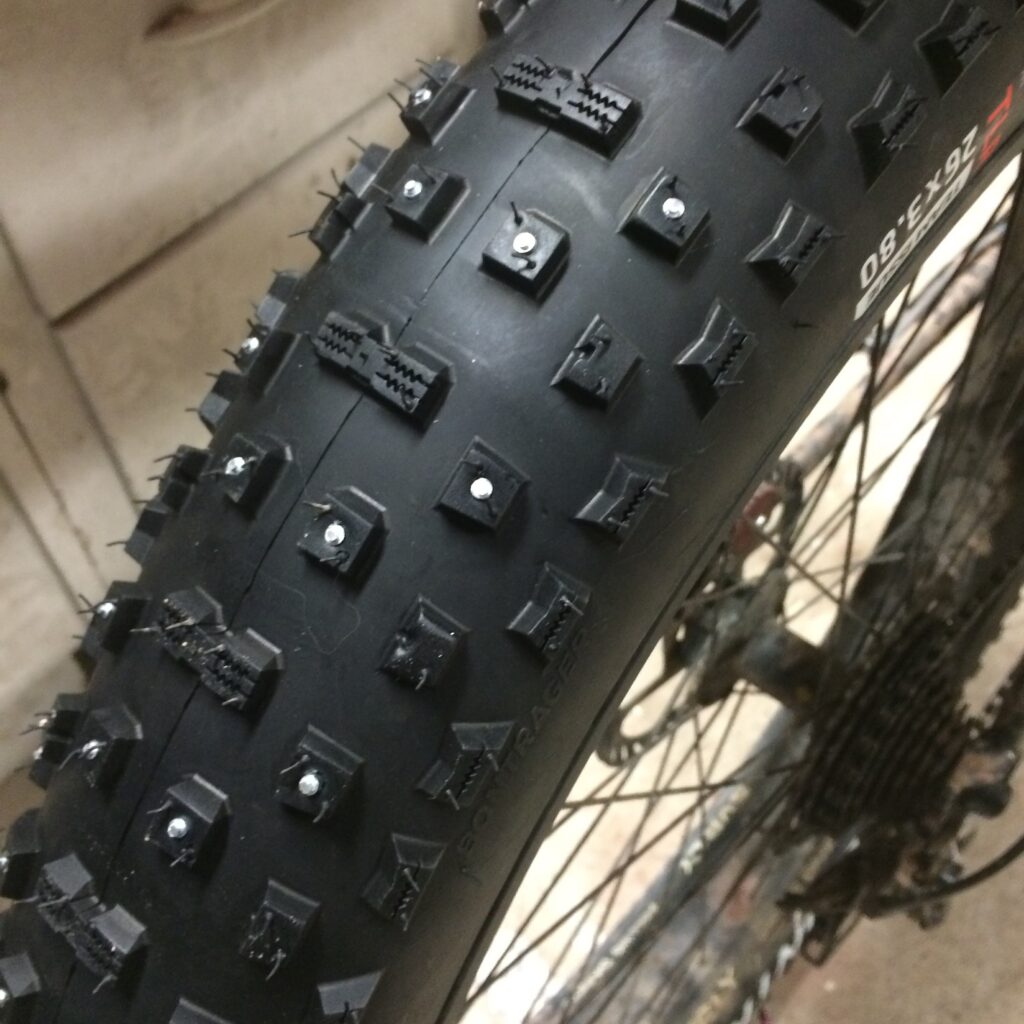
So, the lowdown. The Gnarwhal is a 26″x3.8 tire available with or without studs. The studded version includes 160 installed Tungsten carbide studs. The Gnarwhal is (TLR) tubeless-ready (I run ’em with tubes) and according to Trek’s site the “Inner Strength casing is lightweight sidewall protection that’s supple and strong.” There’s a bit of discrepancy on the web about whether these tires are 60 or 120 tpi. Apparently Trek’s dealer site says 120, while the consumer site doesn’t say anything. Some people on the web have posted photos of packaging labeled 60 tpi. I didn’t check mine before I threw it away, so I’m out of luck. I’m not really the type of rider who could tell the difference between a 60 and 120 tpi tire, so if that matters to you, you’ll have to dig around on the web some more or check directly with Trek.
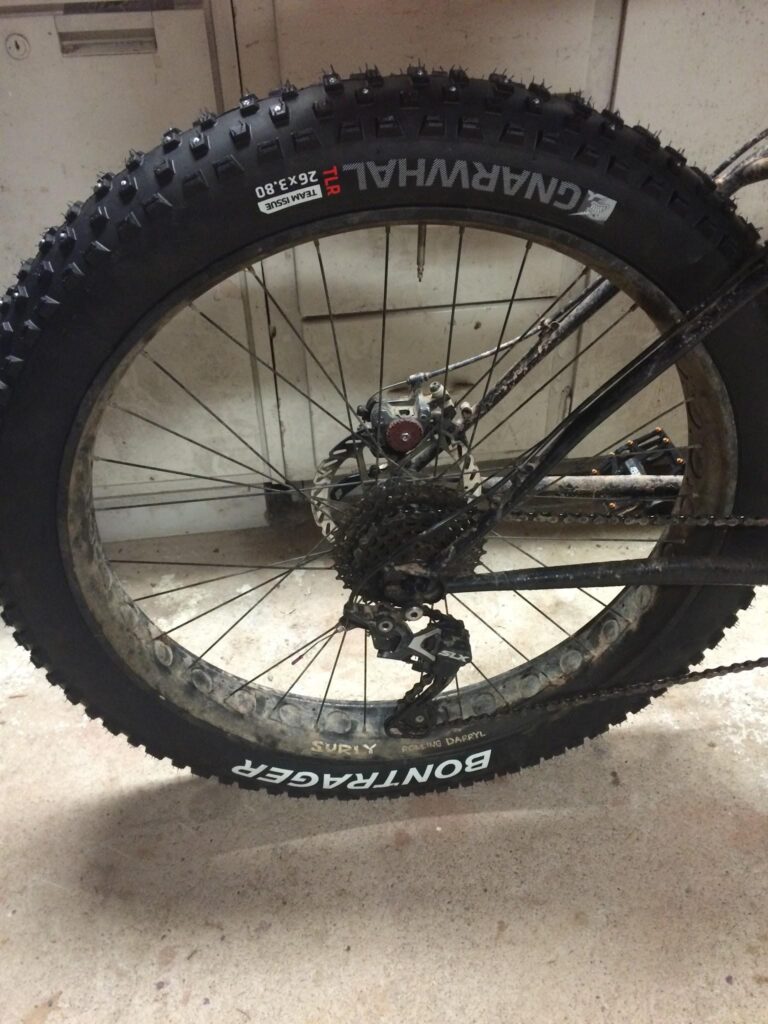
I mounted these up on my 82mm Rolling Darryl rims and though I didn’t measure them, they look to be a solid 3.8″ – in line with my Nates. In fact they look a little bigger, but it could just be the tread/knob pattern and/or my Nates are pretty worn. The knobs are uniformly distributed and though the tires are directional, they are not front/rear specific. I’ve never been one to care much about bike/component weights – at least not on a steel fat bike – but if you must know the Gnarwhals tip the scales at 1360grams.
The Ride
Ok, so after getting ’em home and finding the time to mount them up – as it typically goes for me – I had zero time to actually get out and ride ’em for at least a week or two. Sigh.
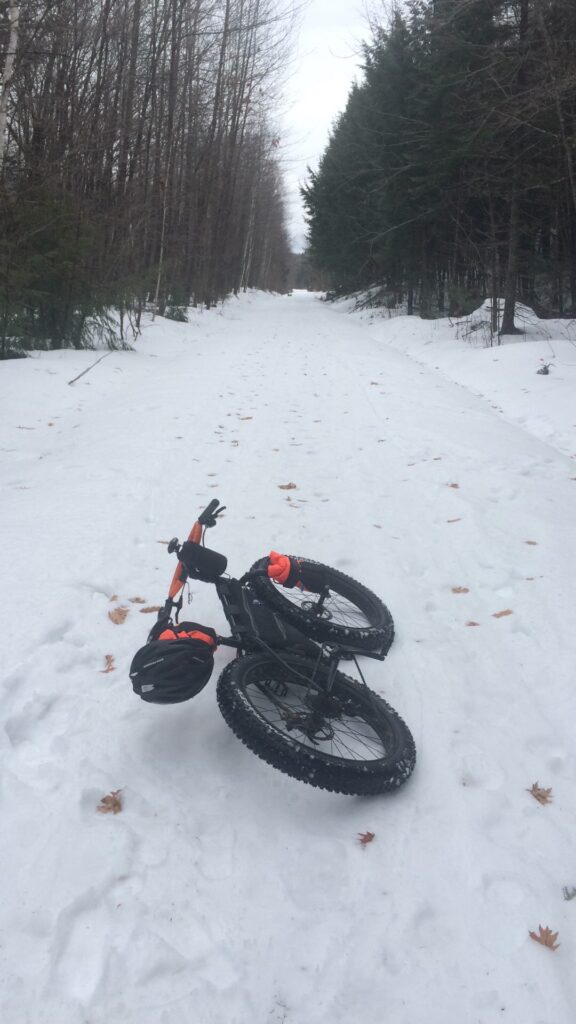
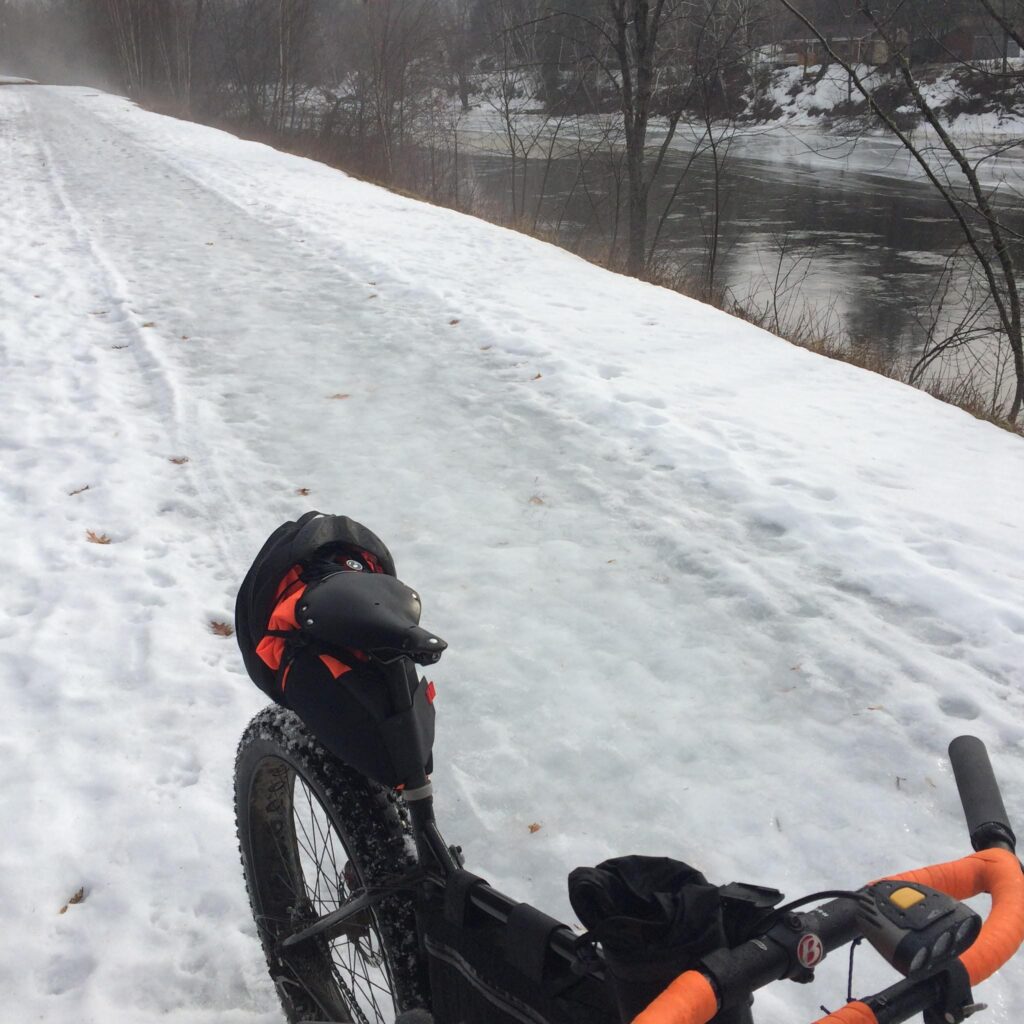
But the time finally came. The freeze/thaw cycle of a few days here set up the snowmobile trails around my area as a perfect testing ground for theses suckers. Days of thawing/melting and nights of well below freezing temps meant the trails were pretty much ready for ice skating – or studded fat bike tires.
Plowing through the packed snow on the way to the trails, the Gnarwhals performed as expected, and just as well as my Nates. No surprise there. They hooked up well in the snow and inspired confidence. Once I hit the ice, things ratcheted up a notch.
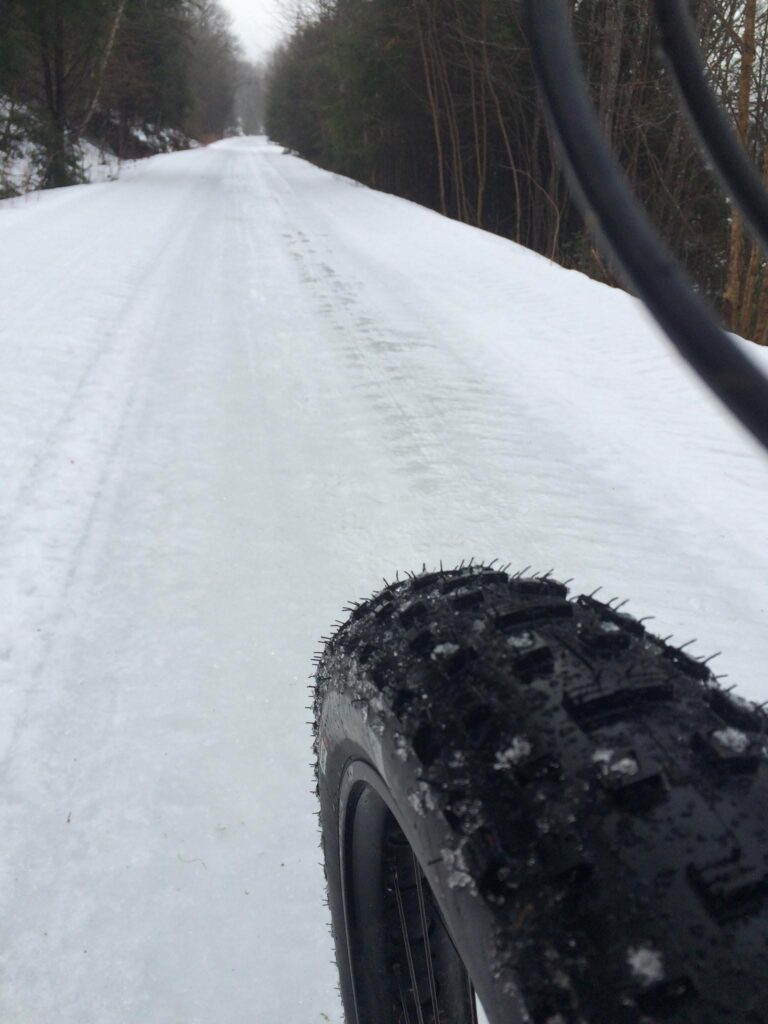
First thing you notice is the reassuring crunch of the studs on the ice. I had my tires a bit over inflated, but even still the Gnarwhals grabbed on and didn’t let go. I felt like things were a little squirrelly in some off-camber ruts. I stopped and let some air out of the tires to get some more float and increase the footprint, and hopefully increase engagement of the studs. Note: I usually go by the ‘feel’ method for inflation, but since I planned on writing this up and figured people would want to know, I checked when I got home. For the majority of the ride it would seem I was running around 5psi front/7psi rear.
On straight up ice, the tires performed fantastic. The more time I spent on them the more used to them I became. I’ve never been in a situation like those super-extreme explorer guys who’s gear means the ‘difference between life and death’ – I’ve never had to trust my life to an ice axe. However, I was placing a lot of faith in these tires, hauling along at pretty good speeds on straight ice. Taking a digger in these conditions could – at the very least – hurt real good, or worse, break something.
The Gnarwhals didn’t fail me. Only once or twice did I get a ‘whoa’ moment of slippage. Usually in instances of off-camber ice ruts/bumps or water on top of ice, and even then they caught after slipping and I corrected. It did make me wonder though, why there wasn’t more studs in the tire. As one person on the web in a review I read pointed out, “I never found myself saying, gee, I wish there wasn’t so many studs in the tire.” I’m left to wonder why Bontrager didn’t opt to stud more of the knobs – particularly on the outside, for turning and such. I guess it’s conceivable that at some point, even with studs, if you’re that much on the outside edges of the tire, nothing is going to hold on given the forces at work. One might assume it was also a cost/weight issue, but I’d have taken more of each for this kind of tire to potentially get increased performance and security.
By point of comparison, 45NRTH’s Dillingers offer 250 and 258 studs per tire for the Dillinger 4 and 5 respectively, and at only a moderate price increase depending on where you shop.
The Down Lo
So straight up – am I happy with them? Yes. They are definitely spendy, but if you’re going to be doing this specific type of riding, I think it somewhat justifies the cost of specific equipment. The security and performance they offer is certainly worth the cost. After going without and trying the chains, I’d definitely say there’s no substitute for a proper studded tire – there’s just no comparison. By removing them each season and trying to minimize riding them on pavement, one would hope they offer good value (hold up over time/several seasons), but only time will tell.