The average person will spend 90,000 hours at work in a lifetime. That’s 11,250 workdays or 43.2 years. Of your life. Working. Over a third. Of your life. Working.
At some point way back when I decided I wanted to make my work environment as welcoming and comfortable as possible if I was going to spend that much time there. Being a graphic designer, I work at a computer. At a desk. By my rough calculations that means to date I’ve spent roughly 16.3 years at a desk of some kind. 5,980 days. 47,840 hours. With conceivably a considerable amount of time still to go.
I’ve had a lot of jobs – and desks – before coming to work at Kiers, but I didn’t keep as much a track of things then. I would still try to customize and personalize my workspaces, but I don’t have any record of them. When I got to Kiers – due, probably, in no small part to the new prevalence of smartphones/cameras – I started documenting things.
2009
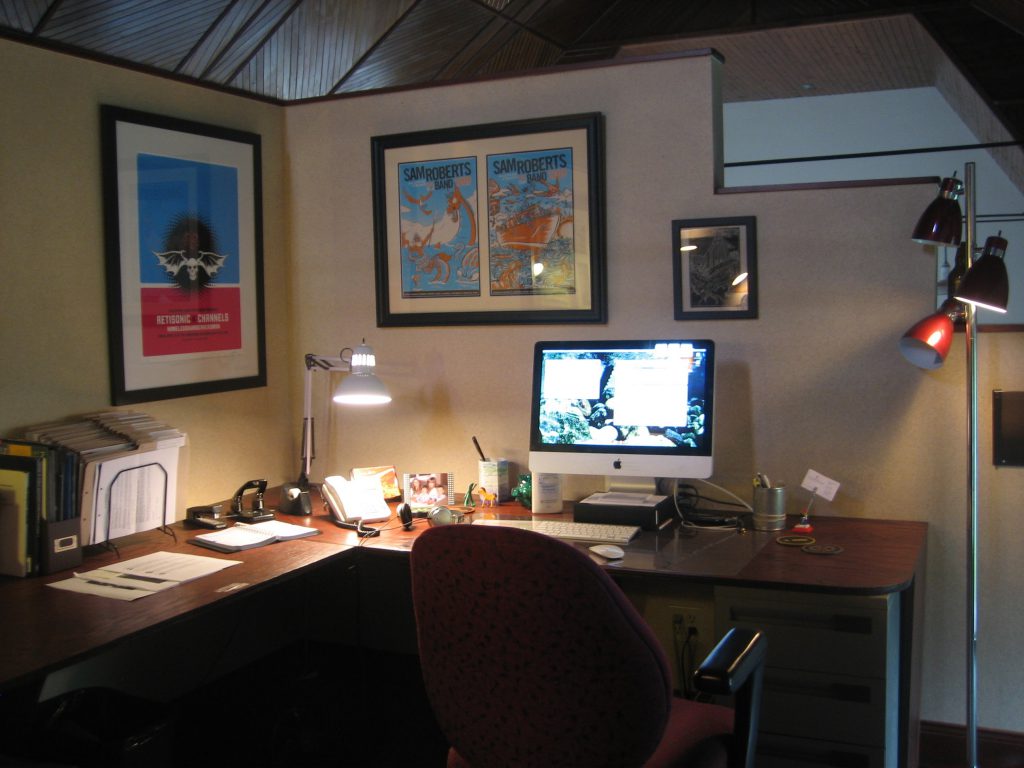
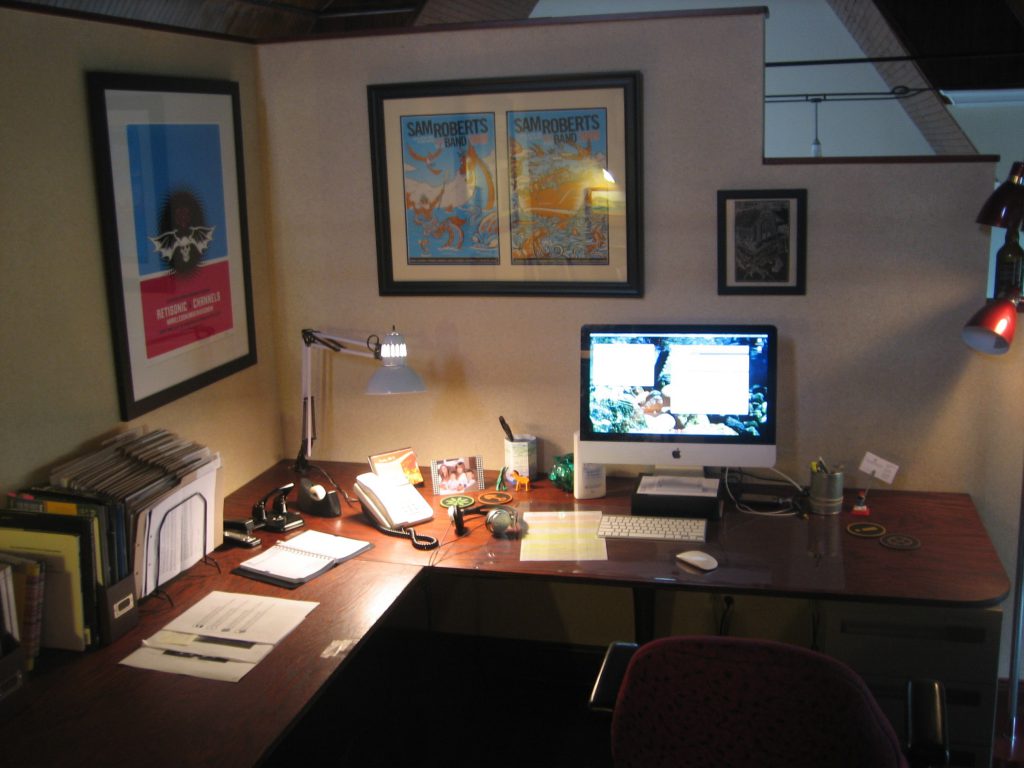
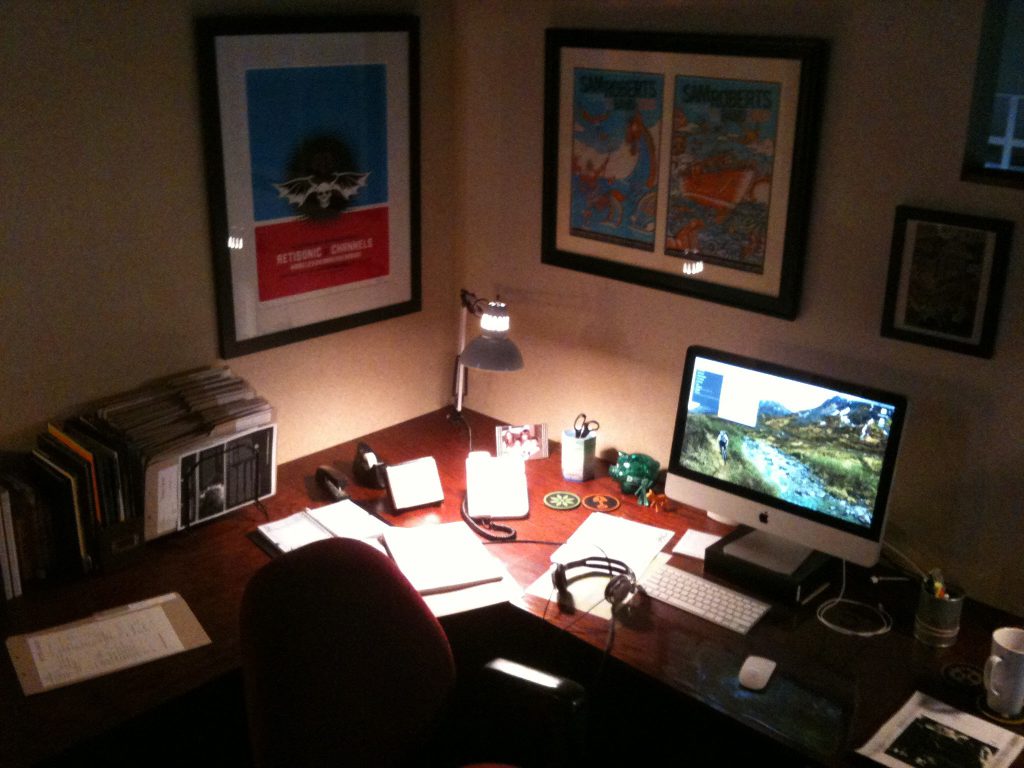
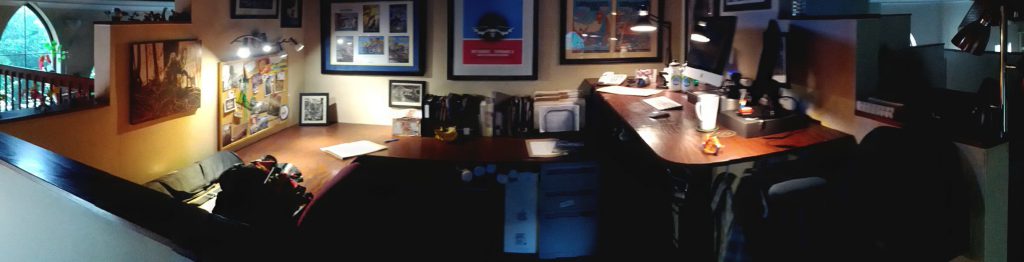
At the time, Kiers was situated in an old, converted church. The main area had been converted to a two-story ‘loft’ type setting with open offices arranged upstairs. It was unique in that it could tend to be somewhat dark upstairs which wasn’t all together bad for staring at screens all day. There were windows – due to the nature of the old church windows – they continued up from below so were at ‘ground level’ which made for interesting lighting, but at least there was some natural light coming in.
The divided offices featured built-in desks. My particular cubicle had desk on three of the four sides, allowing for copious surface area – something I readily appreciated.

2011: DIY Standing Desk v.1
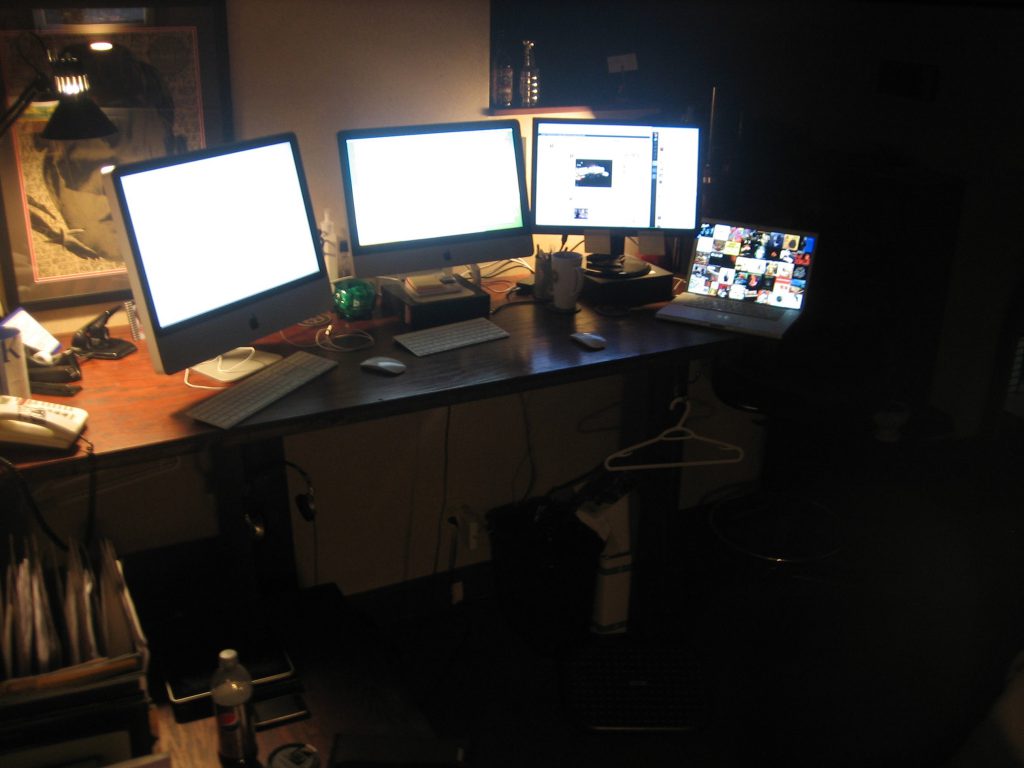
Somewhere in 2011, after hearing and reading about them for years, I decided to try and give a standing desk a go. My years of working in school at drafting and drawing tables had already given me a taste of working standing up sometimes and I’d enjoyed that. I think those big drafting tables had also engendered my appreciation of large, expansive desktops with lots of space as well.
After reading about the ergonomics, I decided to ‘build’ myself a standing desk vs. spend on a prefab one, to make sure that it was something I was going to stick with. I’d become more aware of my posture and ‘hunching’ over the years sitting at a desk. It turned out to be relatively easy, I was able to just use the existing plywood desktop and just raise it by mounting it to the wall and some legs that I’d cut and stained. It looked very integrated with the existing built-in pieces.
Over time I experimented with floor mats, and various heights by standing on different things. I found an old adjustable chair online which was great for the occasional times I wanted to sit for short periods. Overall I was really happy with the experiment, and never really considered going back to a traditional sitting desk.

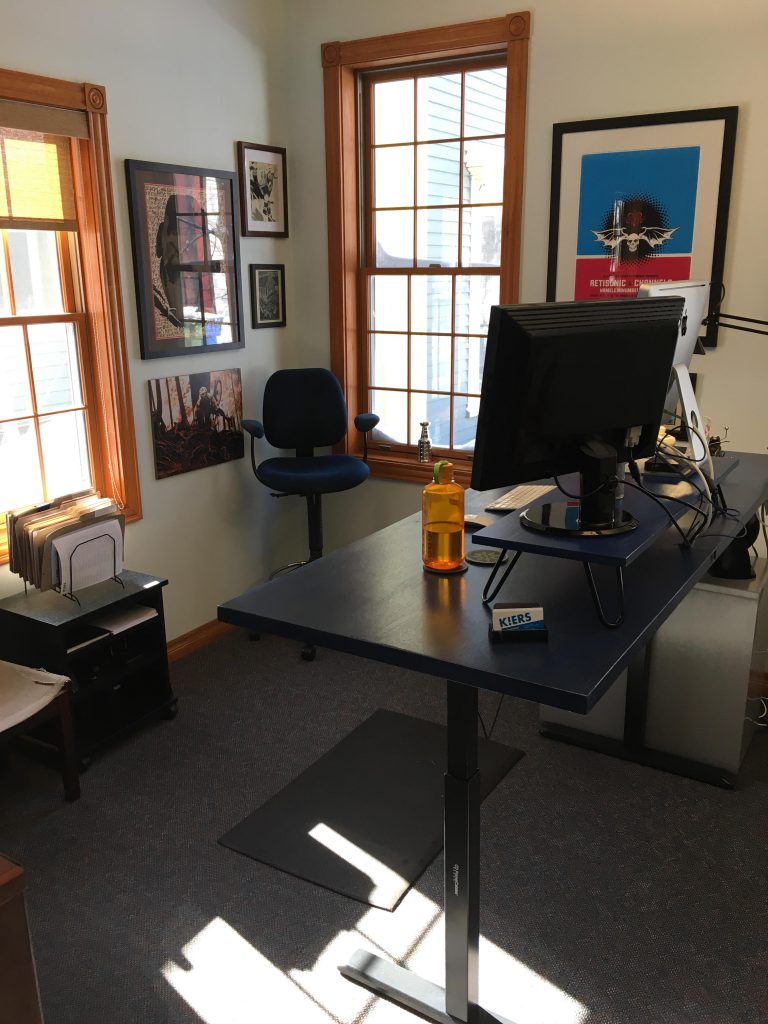
2018: Partial DIY Standing Desk v.2

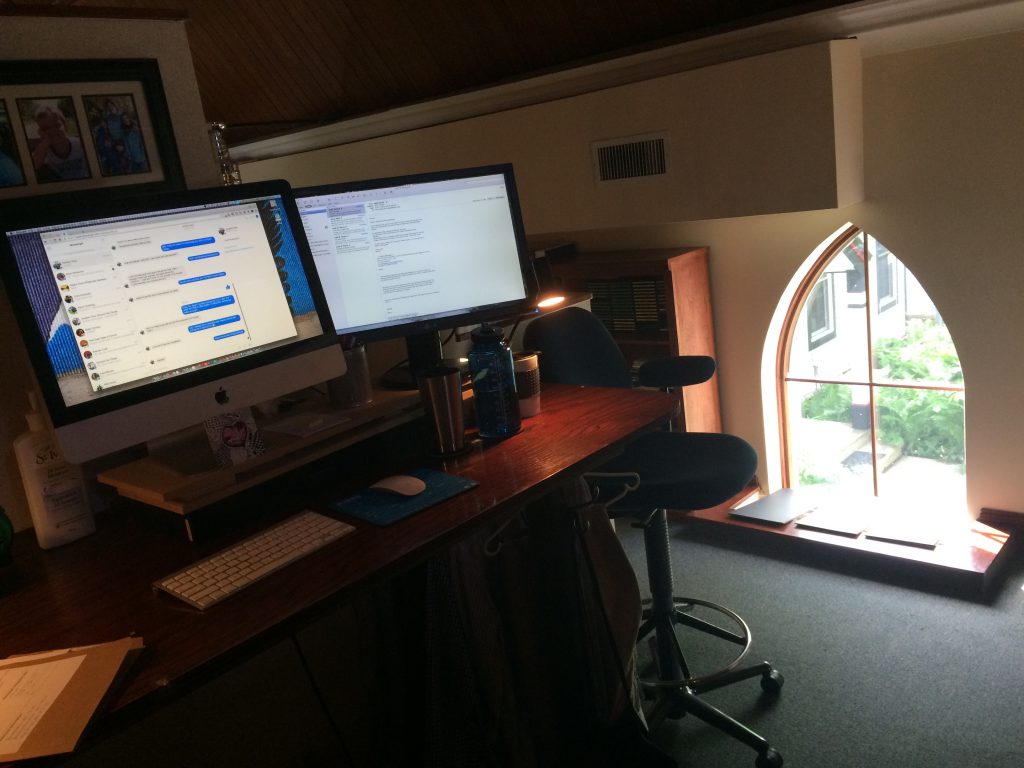
In December of 2018, Kiers moved next door, into what used to be the rectory of the old church. Having been an interior design firm for many years, it was more of a ‘traditional’ office space, but well appointed.
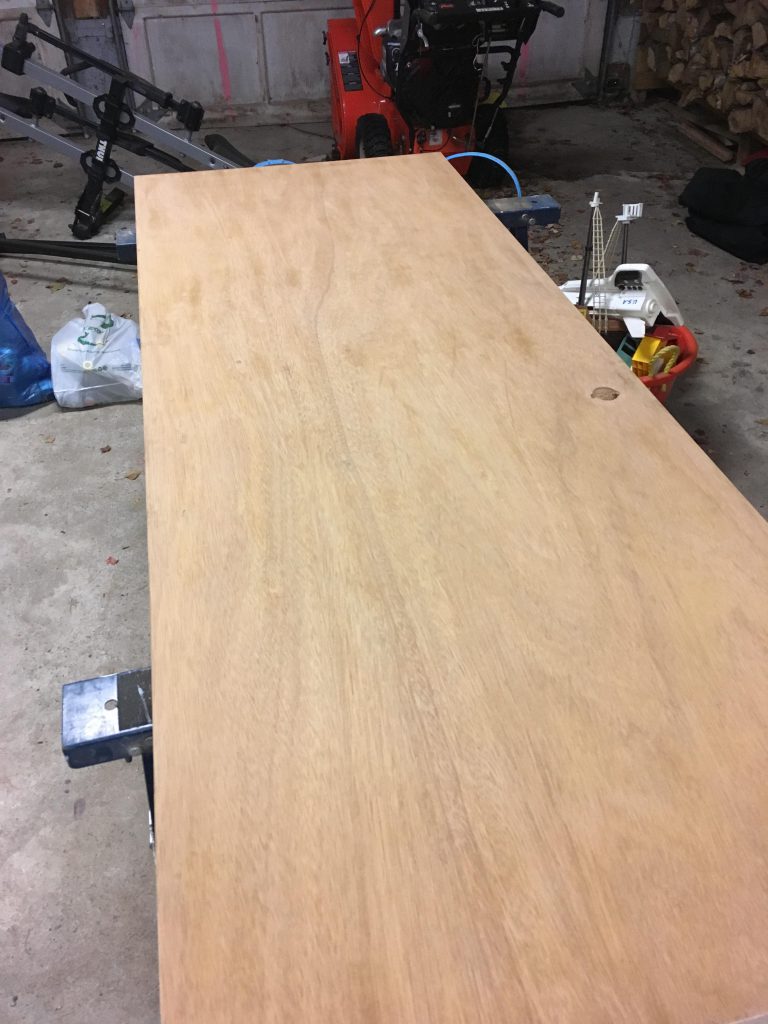
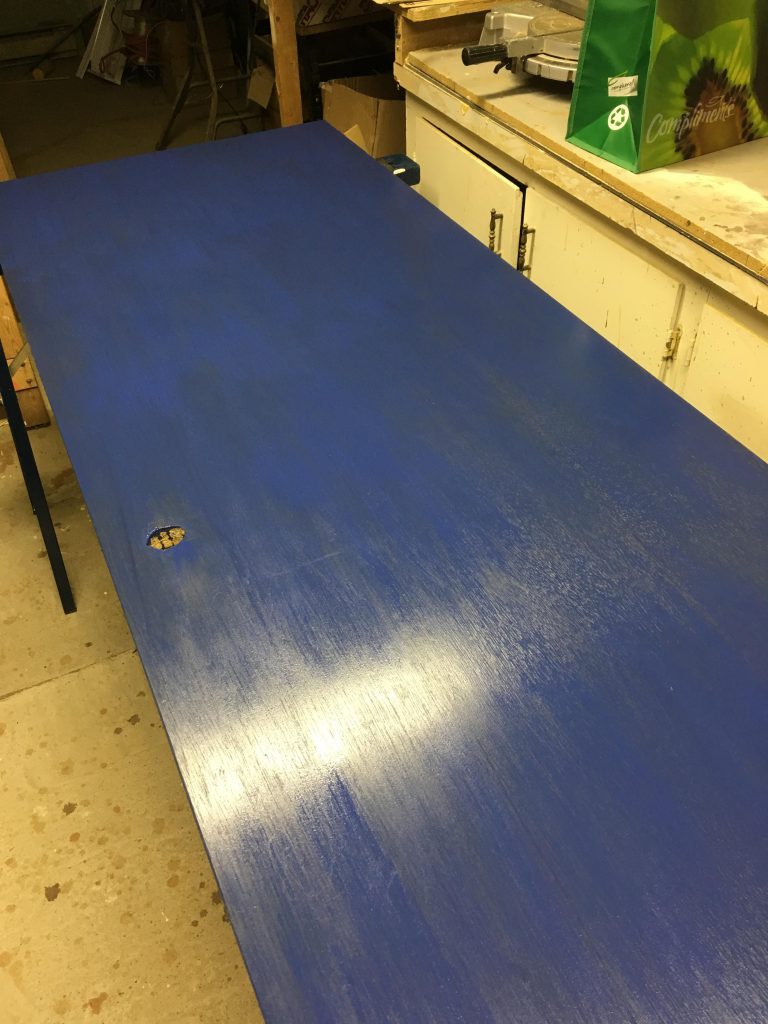
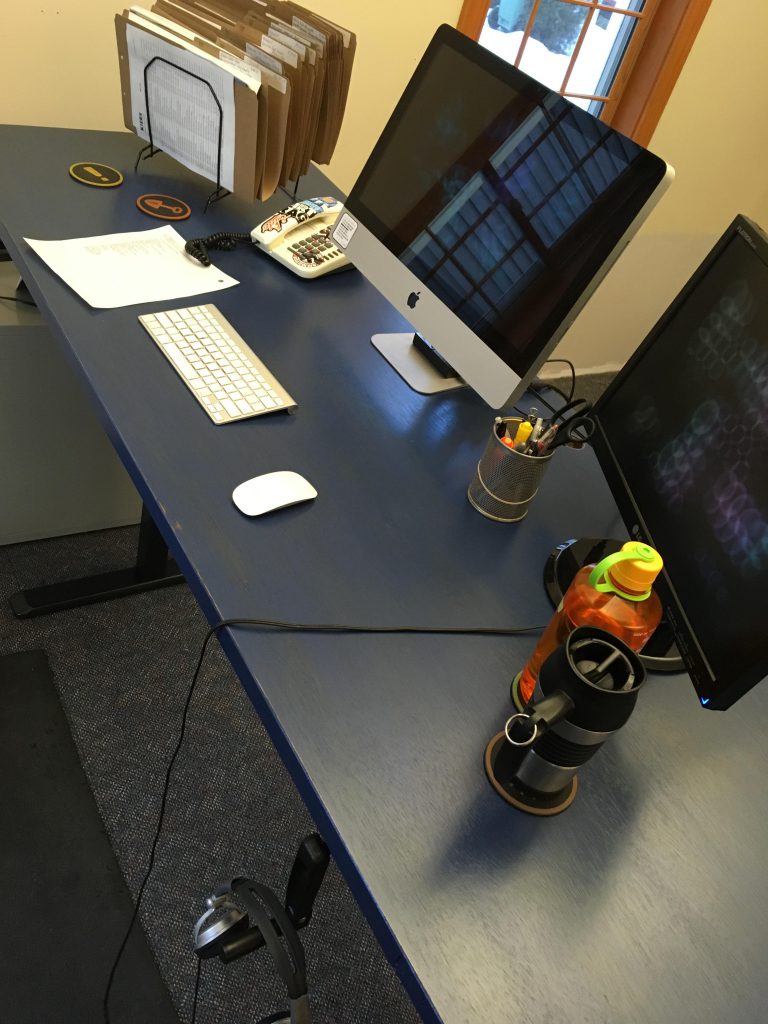
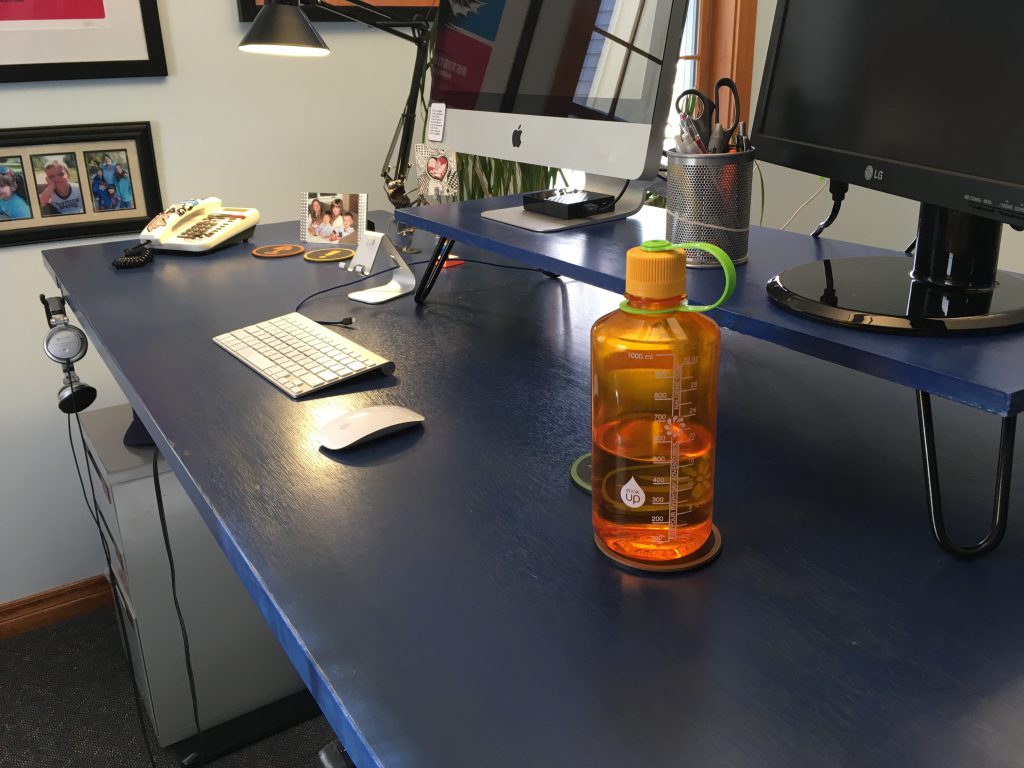
Since we were making the move, I decided to splurge and get myself a Christmas present. Checking around online, I found an adjustable standing desk base and ordered it up with the intention of finding something cool to use as the top. Poking around town I went to ReStore – a local place that accepts and resells used building materials to benefit Habitat for Humanity. I found an old hollow core door for $10. Picked up some blue wood stain elsewhere and away I went. I eventually decided I needed a monitor stand as well, so I had an old piece of pine shelving at home – stained it the same blue and got some cool hairpin legs online and that was it.
The door offers a ton of desk real estate and included a nice pre-drilled ‘cord port’ on the back side. After some sanding, staining and a few clear coats, both desk and monitor stand were ready to rock.
I am really glad that I chose to go this route and the adjustable base is something I appreciate far more than I thought I would. The ability to move things around once in awhile or adjust better for my chair when I want to sit is a feature I hadn’t thought much of when initially ordering, but am really enjoying now. I opted for the manual height adjustment model, mostly to save a few bucks, but I can see now how the electric versions would be nice as well, especially as some of them offer preset heights you can store and access quickly with a single click.
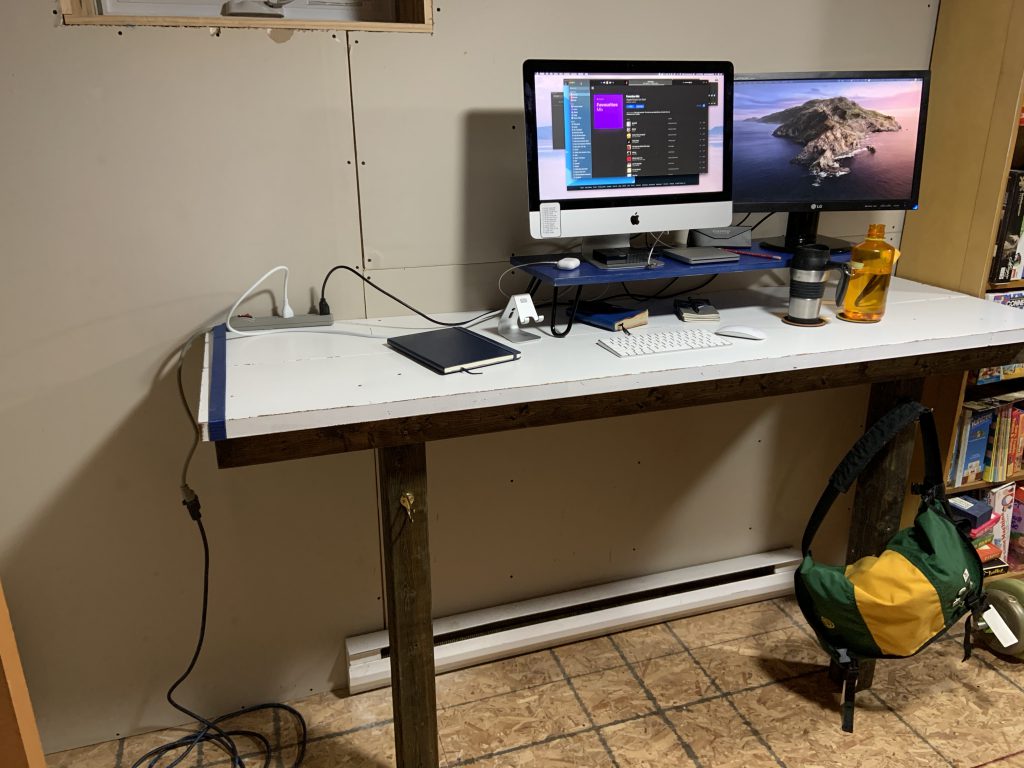
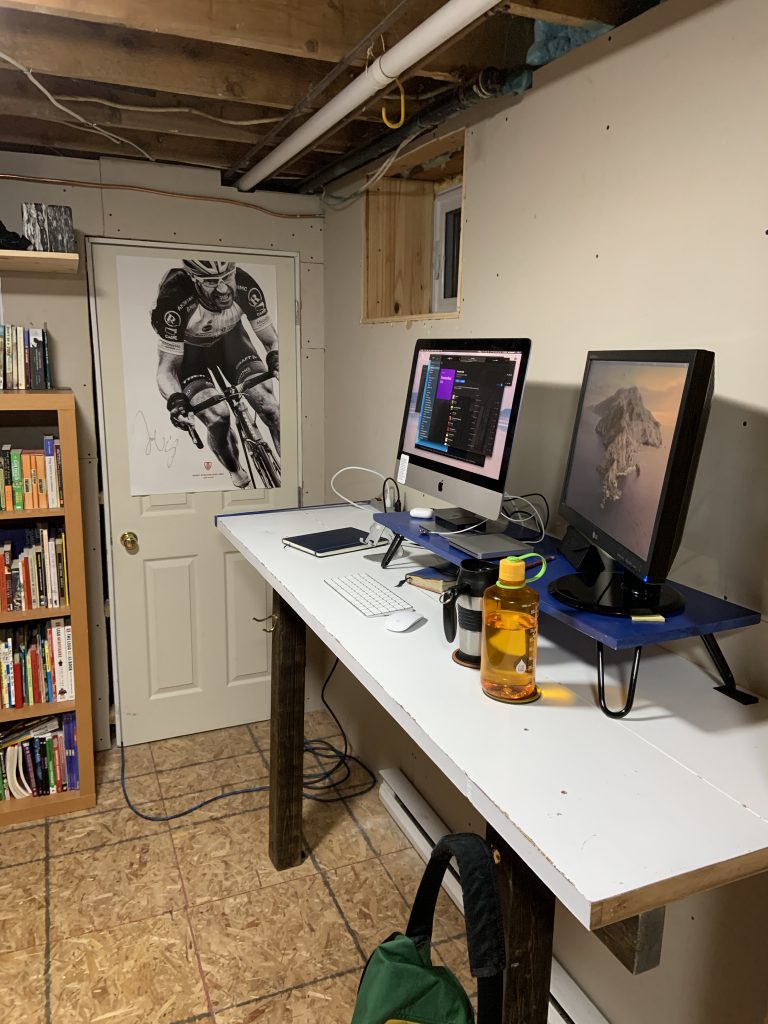
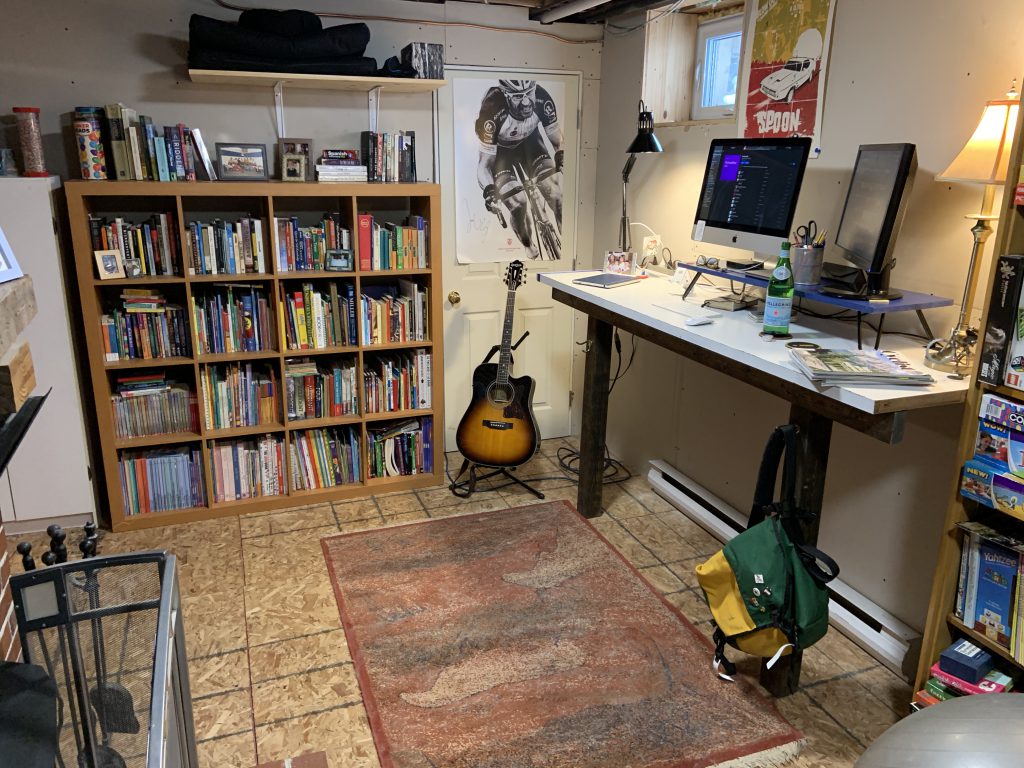
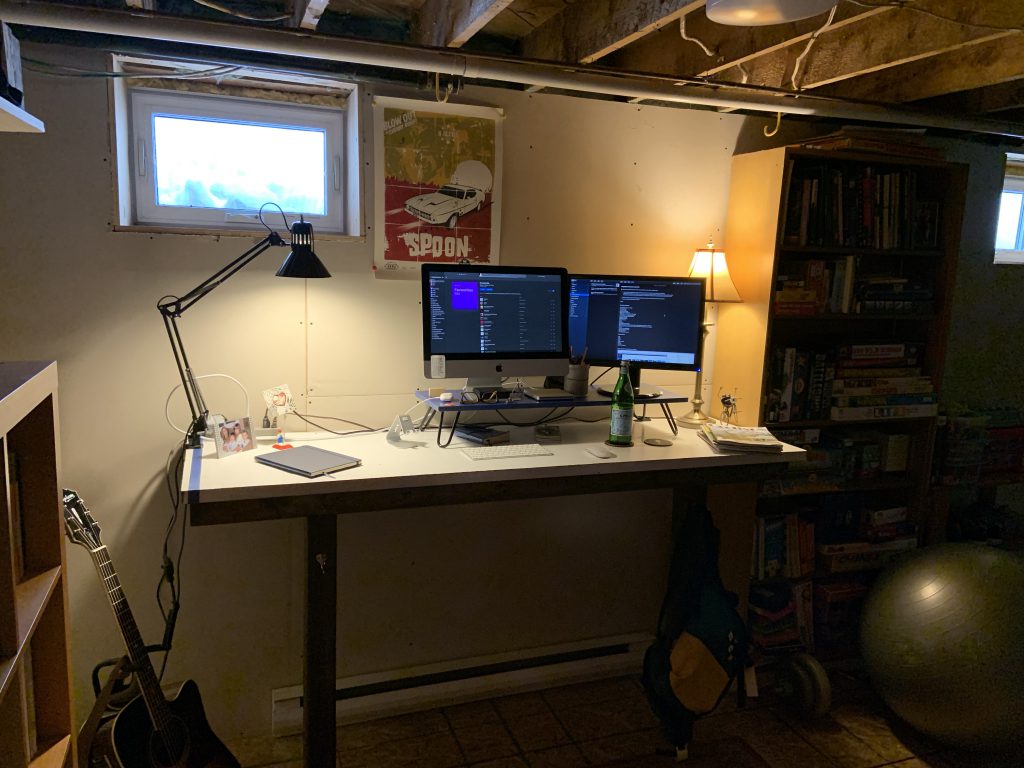
2020: DIY Standing Desk Corona Edition
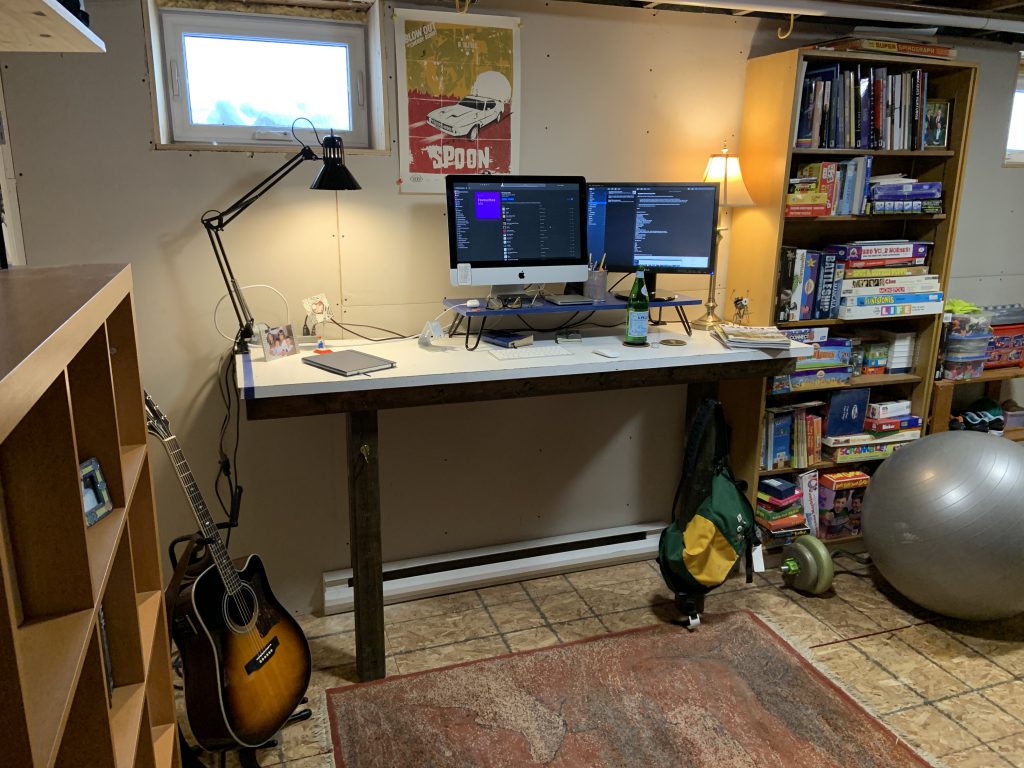
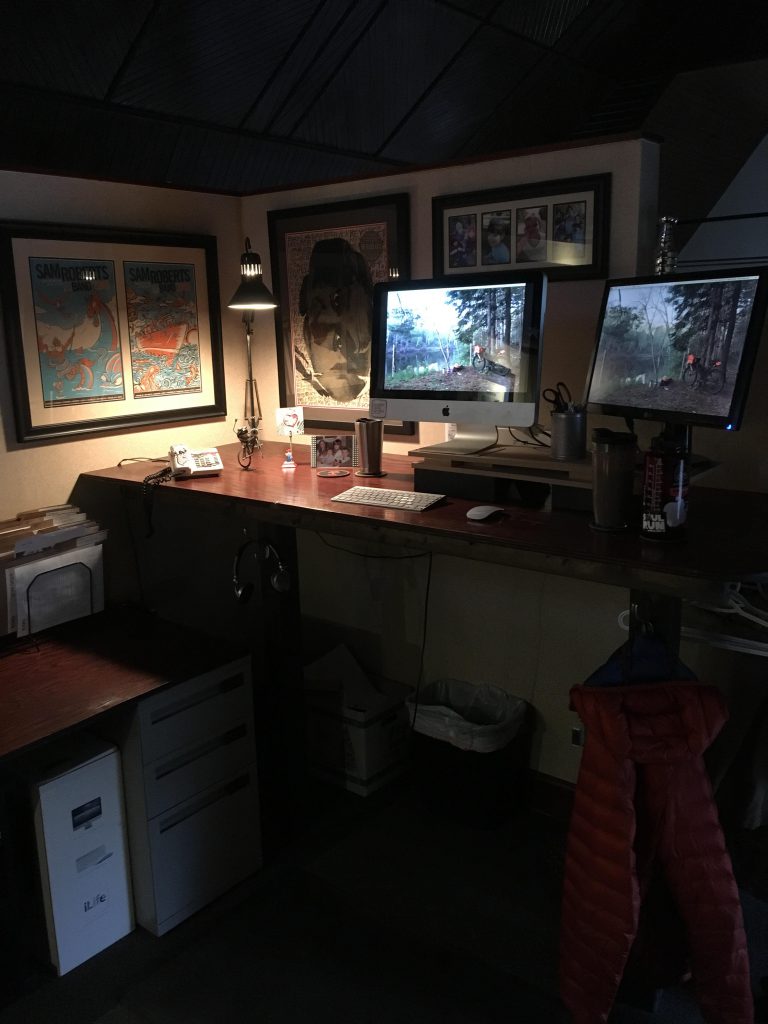
So recently when COVID-19 decided to roll across the planet and eventually land in New Brunswick, I decided it made the most sense to work from home (temporarily?) – something I’d always wanted to try anyway. There was no way though, that I could go back to sitting at the desk we had at home for the family computer. In addition, I felt like in order to be as productive and efficient at home as I could be at the office, I wanted to create a purpose built workspace for me specifically.
Although I initially wanted to put it upstairs – more natural light – I was somewhat worried about a lot of glare on screens in all the locations that seemed possible. Checking downstairs, I found a spot that seemed to work in what was already sort of the ‘man lair’ – or the closest thing I have to one anyway. I also realized that putting the ‘home’ office downstairs would make it easier to make the physical distinction of being ‘at work’ and ‘going’ to work and ‘leaving’ work. I didn’t want work to become all-consuming simply because it was at home now.
A trip out to the shed netted me an old bi-fold closet door that had been retired. It was already painted, a little dinged up, but I left it as-is. I was actually able to use the same legs and cross support that I’d used from my first Kiers standing desk in 2011 – I’d saved them fortunately. Instead of free-standing, I mounted this one to the wall at the back, like I’d done with the first Kiers one as well. Brought home my monitor stand, lamp and a few other items from work and voila, DIY Standing Desk Project:Cornona.
I’m pretty happy with the way it tuned out. The door isn’t as deep as the one at my office, but that’s ok as it doesn’t intrude in the room as much that way, a nice feature since this is also the space in the house that I do yoga, stretching and other workouts. How long will I eventually be here vs. at the office? Only time will tell. For now, I’m good.